
How to Install Ink Cartridges in a New Printer?
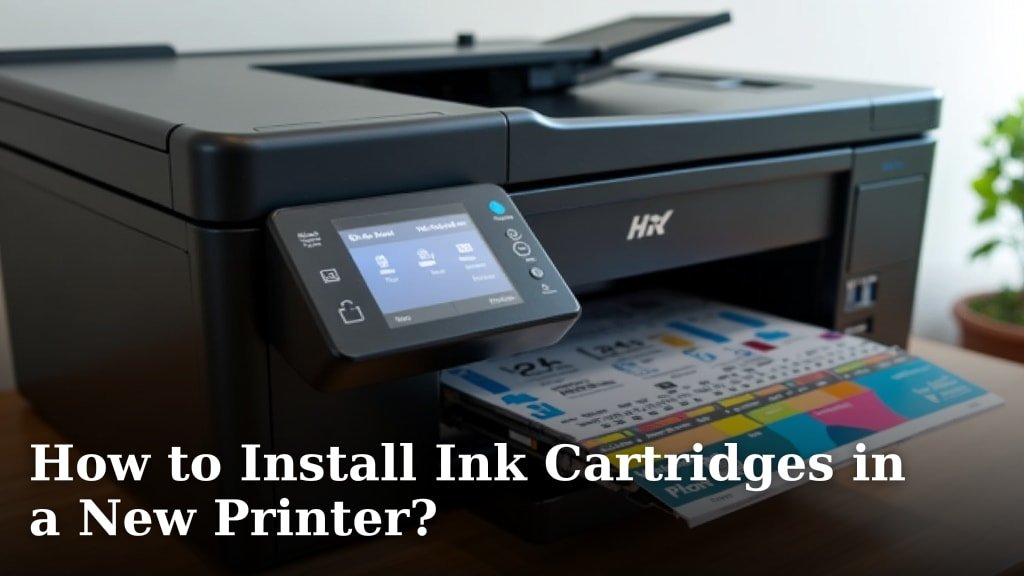
To install ink cartridges in a new printer, you typically open the access door, remove any protective packaging from the cartridges, and then insert them into their designated slots until they click into place. After closing the door, your printer will likely run an initial alignment or calibration process.
Getting your new printer up and running can feel a bit daunting, right? We’ve all been there, staring at an open printer, wondering which way the little ink tanks go. Many people find that understanding the basic steps for cartridge installation makes the whole process much smoother.
TL;DR:
- Unpack your new printer and cartridges.
- Open the printer’s ink cartridge access door.
- Remove all protective tapes and clips from the ink cartridges.
- Insert each cartridge into its color-coded slot until it clicks.
- Close the access door and let the printer initialize.
Let’s walk through exactly how to install those ink cartridges, ensuring your new printer is ready to print perfectly from the very first page.
Getting Started: Preparing for Your First Cartridge Install
Before you even touch those ink cartridges, a little preparation goes a long way. Think of it like cooking: you gather your ingredients before you start stirring. This helps avoid fumbling and keeps things clean.
Unboxing Your New Printer and Supplies
Your new printer probably came in a box filled with lots of exciting (and sometimes confusing) packaging. Take a moment to unpack everything. You’ll usually find the printer itself, a power cord, a USB cable (sometimes), manuals, and, of course, your brand-new ink cartridges.
- Remove all tape and protective films from the printer body.
- Take out any foam inserts or cardboard pieces from inside the printer’s various compartments. Many printers have internal packing materials to prevent damage during shipping.
- Locate the ink cartridges. They might be in a separate smaller box or tucked into a compartment within the main packaging.
It’s a good idea to keep the manual handy. While we’ll cover general steps, your specific printer model might have unique quirks.
Before You Touch the Cartridges: A Quick Checklist
We’ve found that a quick run-through of this checklist can prevent common headaches. It ensures you’re ready for a smooth installation.
- Have you plugged in the printer? It usually needs power to move the print head into position.
- Is the printer turned on? Look for a power button and an indicator light.
- Do you have enough space around the printer? You’ll need to open doors and possibly reach inside.
- Are your hands clean and dry? Ink can be messy, and you don’t want to introduce dirt into the printer.
- Have you read any quick-start guides included with your printer? Sometimes they offer model-specific tips.
The Main Event: Installing the Ink Cartridges
This is where the magic happens! Installing ink cartridges is often simpler than you think. Most printers follow a similar process, designed to be user-friendly.
Opening the Ink Cartridge Access Door
Every printer has an access point for the ink cartridges. This is usually a flap or a cover that lifts open. You might find it on the front, top, or sometimes even a side panel.
- Look for a recessed area or a small latch.
- Gently lift or pull the door open. You might hear a click.
- Once open, the print head carriage (the part that holds the cartridges) will often slide into a central position. This is normal and helpful.
If the carriage doesn’t move automatically, don’t force it. Consult your printer’s manual. Some models require you to press a button on the printer’s display first.
Preparing the Ink Cartridges for Installation
Your new ink cartridges come sealed to prevent drying out and leaks. You’ll need to remove this protective packaging carefully. This is a common step that many people overlook (Epson Support).
Removing Protective Tapes and Clips
Each cartridge will have some form of protective material:
- Orange pull tabs or strips: These usually cover the ink nozzles or vents. Gently pull them straight off.
- Plastic caps or clips: Some cartridges have a small plastic cap on the bottom or a clip around the sides. Twist or pull these off.
- Peel-off films: You might see a clear or colored film over certain areas. Peel these off completely.
Important: Avoid touching the metallic contacts or the ink nozzles. These are delicate and can be damaged by oils from your skin, which might affect print quality.
Inserting Cartridges into Their Slots
Now for the satisfying part: popping them in! Printer manufacturers make this easy by color-coding and shaping the slots.
Matching Colors and Shapes
Look inside your printer. You’ll see several slots, often labeled with colors (Black, Cyan, Magenta, Yellow) or symbols. Each ink cartridge will have a corresponding color or symbol on its label.
We found that matching the color is the easiest way to ensure you’re putting the right cartridge in the right place. The cartridges are also often shaped uniquely, so they’ll only fit in their designated slot one way.
Pushing Until It Clicks
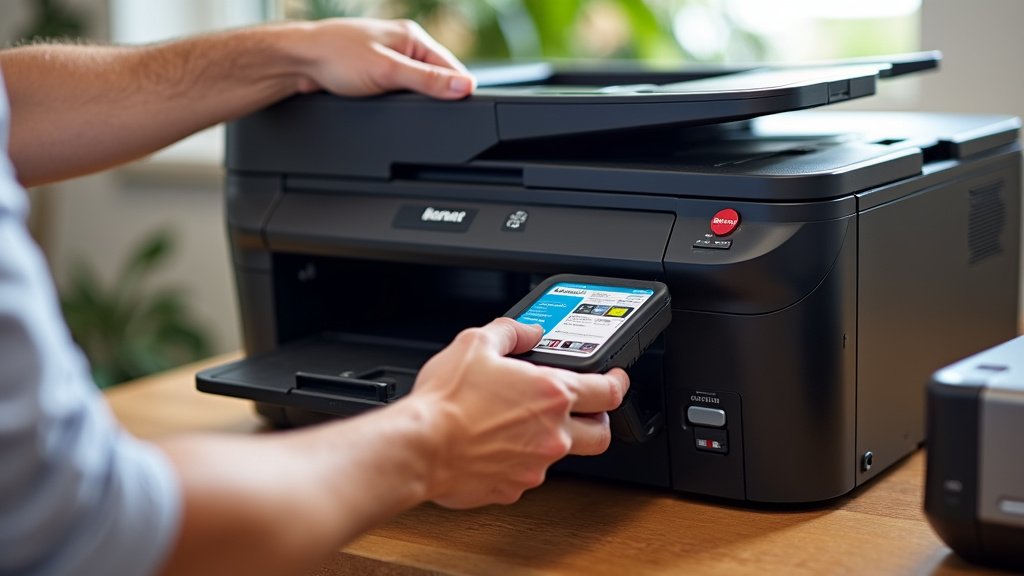
Hold the cartridge with the label facing up (or as indicated by arrows on the cartridge or printer). Slide it into its slot. You might need to push firmly but gently. You should hear a distinct “click” sound, which tells you it’s seated correctly. If it doesn’t click, try re-orienting the cartridge. Don’t force it.
Here’s a general guide for common cartridge types:
| Cartridge Type | How to Insert | Common Action |
|---|---|---|
| Small, blocky (HP, Canon) | Push straight in, slightly upward angle | Click into place |
| Larger, rectangular (Epson) | Push down until it clicks | Snap into position |
| Ink Bottles (Ecotank, MegaTank) | Align with nozzle, invert, let it drain | No click, just fill |
Always insert all cartridges required by your printer, even if you only plan to print in black and white. Most printers won’t operate with missing cartridges.
Post-Installation: What Happens Next?
You’ve installed the ink! High five! But your printer isn’t quite ready to churn out documents just yet. There’s usually a brief, automatic setup process.
Closing the Access Door
Once all cartridges are securely in their slots, gently close the ink cartridge access door. Make sure it latches properly. If it’s not fully closed, your printer might display an error message.
Printer Initialization and Calibration
After you close the door, your printer will usually go through an initialization process. This can take a few minutes. You might hear whirring, clicking, and other mechanical sounds. This is normal. During this time, the printer is:
- Recognizing the new cartridges.
- Priming the print heads.
- Performing an initial alignment or calibration (HP Support). This ensures the ink sprays correctly onto the paper for sharp prints.
Your printer’s display might show messages like “Initializing,” “Calibrating,” or “Aligning Print Heads.” Some printers will even print an alignment page that you then scan back into the printer. Follow any on-screen prompts.
Once this process is complete, your printer should indicate that it’s ready to print. Often, a “Done” message appears, or the power light stops blinking and remains steady. Congratulations, you’re ready to print your first masterpiece!
Conclusion
You’ve successfully navigated the steps to install ink cartridges in your new printer! It’s less complicated than it often seems. By carefully unpacking, removing protective packaging, and matching cartridges to their color-coded slots, you set yourself up for success. Remember that satisfying “click” means you’re almost done. Your printer will handle the rest with its internal calibration. Now you’re ready to print those important documents or cherished photos without a hitch. Enjoy your perfectly operational new printer!
Frequently Asked Questions
Why won’t my printer recognize the new ink cartridges?
There are a few common reasons. Double-check that all protective tapes and clips were completely removed. Make sure each cartridge is firmly seated until it clicks. Sometimes, simply removing and reinserting a cartridge can help your printer recognize it.
Can I use non-brand ink cartridges in my new printer?
While many third-party cartridges are available, your printer manufacturer often recommends using their brand. Using non-brand cartridges might void your printer’s warranty. Some printers also display warnings or have issues recognizing compatible inks.
What should I do if ink gets on my hands during installation?
Don’t panic! Ink is often water-soluble. Wash your hands immediately with soap and warm water. For stubborn stains, a little rubbing alcohol or hand sanitizer can help. Avoid touching your clothes or furniture until your hands are clean.
How do I know if my new ink cartridges are empty or full?
New ink cartridges come full. Your printer’s software or display panel will typically show you the ink levels. You can check this after the initial setup is complete. Don’t worry about them being empty right out of the box.
Do I need to install all ink cartridges, even if I only print in black?
Yes, almost all color printers require all cartridges (black, cyan, magenta, yellow) to be installed to function. Even if you only intend to print in black and white, the printer uses all cartridges for maintenance cycles and to ensure proper print head operation.
