
Can You Print Labels without a Label Maker?
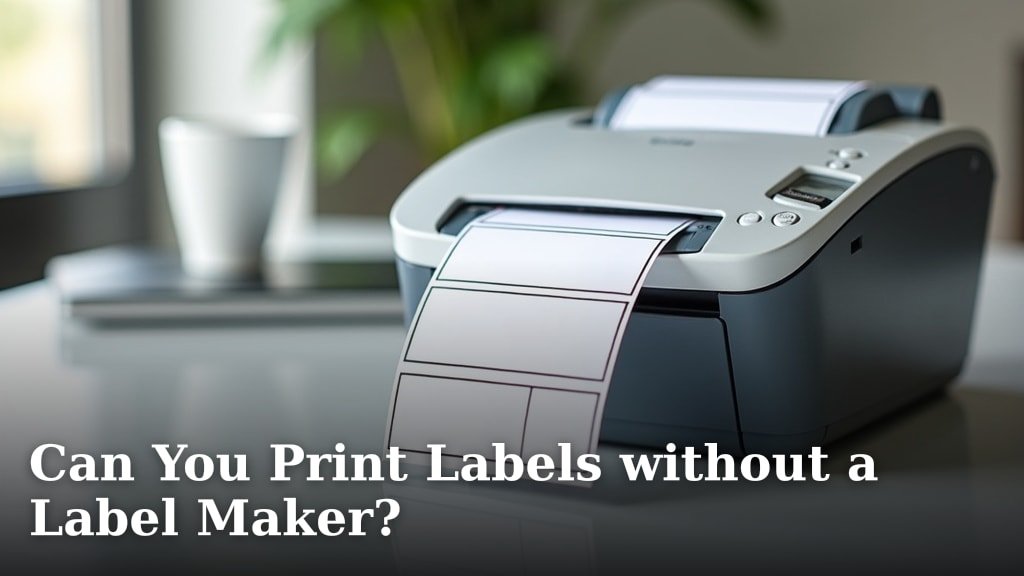
How to Print Labels without a Label Maker
Yes, you absolutely can. You can use your standard home or office printer, some free software, and the right paper. Many people successfully print professional-looking labels this way every day.
Using Your Standard Printer with Word or Google Docs
This is the most common method. You simply design the label layout yourself using familiar word processing software. It’s like making a really organized grocery list, but for your printer.
Most office supply stores sell blank label sheets. These come in various sizes and are designed to run through your inkjet or laser printer. You download a template that matches your label sheet brand.
Step-by-Step Guide for Word/Google Docs
First, identify your label sheet brand (like Avery or Deco). Go to their website. Find the free templates section. Download the template file for your specific label number.
Next, open the downloaded file in Word or Docs. The page will already be divided into labels. Simply type your text into each box. You can add simple logos or borders if you like.
Finally, load your blank label sheets into the printer. Print a test page on regular paper. Hold it up against a label sheet to check the alignment. Make small adjustments if needed, then print on the real labels.
Free Online Label Maker Tools
If you don’t want to download software, web-based tools are fantastic. Sites like Avery Design & Print Online or Canva let you create labels right in your browser. We found these tools often have more design options.
These platforms provide a drag-and-drop interface. You pick a template, add your text, choose fonts, and upload images. It feels more like creating a social media post than a boring label.
The big advantage is the preview feature. You see exactly how your label will look before you print. Many experts say this visual step reduces mistakes and wasted label sheets.
Choosing the Right Materials for Your Project
The success of your DIY labels depends heavily on the paper you use. Regular printer paper won’t cut it for most labeling tasks. The right adhesive backing is key.
Label sheets come with different adhesives. Permanent adhesive sticks strongly for file folders or storage bins. Removable adhesive is perfect for labeling gifts or temporary jars.
Label Paper Types and Their Best Uses
Understanding the paper finish helps you get a great result. A glossy finish makes colors pop and is wipeable. A matte finish gives a classic, easy-to-write-on look.
| Paper Type | Best For | Printer Type |
|---|---|---|
| Glossy Labels | Address labels, product stickers, colorful designs | Inkjet or Laser (check packaging) |
| Matte Labels | File folders, storage bin labels, QR codes | Inkjet or Laser (check packaging) |
| Kraft Paper Labels | Rustic weddings, gifts, artisanal products | Mostly Inkjet |
| Clear Labels | “No label” look on glass jars or clear containers | Inkjet or Laser |
Always check the packaging. Using laser labels in an inkjet printer can cause smearing or even damage your printer. The reverse is also true. Compatibility matters.
Creative Alternatives When You Don’t Have Label Sheets
What if you need a label *right now* and don’t have specialty paper? You can still get the job done. It just requires a little more creativity.
One simple method is to print on high-quality cardstock. Then, use scissors or a paper cutter to trim them. Attach them with double-sided tape, glue dots, or even a cute piece of washi tape.
Another trick is to print on regular paper, then laminate the labels. You can then use a glue stick. Lamination adds durability and a bit of water resistance, which is great for kitchen containers.
The Handwriting Option
Never underestimate a nice marker and a bit of time. For small projects, hand-lettering labels on pre-cut cardstock can look wonderfully personal. It’s perfect for homemade jams or holiday gifts.
Use a fine-point permanent marker for a clean look. Metallic markers on dark paper can feel very elegant. This method costs almost nothing besides the marker.
Troubleshooting Common Label Printing Problems
Even with a good plan, you might hit a snag. The most common issue is misaligned printing. The text ends up on the wrong part of the label. This is almost always a template or margin setting issue.
First, check your printer settings. Make sure it’s set to “Actual Size” or “100% Scale.” Do not select “Fit to Page,” as this will shrink your template and throw off the alignment.
If alignment is still off, most word processors have a “Print Borders” or “View Gridlines” option. Turn this on to see the template lines on your screen. You can nudge your text boxes slightly to compensate for the printer’s pull.
Another problem is ink smearing. This happens if you touch a fresh inkjet label too soon. Let the labels dry for a few minutes before handling. For laser prints, smearing is rare, but the labels can get hot.
Design Tips for Professional-Looking DIY Labels
You want your labels to look sharp, not messy. A few design principles go a long way. Keep it simple is the most important rule.
Use plenty of white space around your text. Don’t crowd every edge. Choose one or two easy-to-read fonts. A script font is nice for a title, but pair it with a simple sans-serif font for details.
Color and Contrast Matter
Ensure your text has strong contrast with the background. Black text on a white or light label is always readable. Dark blue or charcoal can be a softer, more attractive alternative to pure black.
If you’re printing colored labels, do a test print on plain paper. Hold it up to the light. This helps you see if the colors will print accurately and if the text is legible.
When Should You Consider Getting a Label Maker?
Printing your own labels is a fantastic solution for many tasks. However, a dedicated label maker has some unique benefits. Knowing when to use each tool saves you time and frustration.
A label maker excels at quick, on-the-spot labeling. It’s ideal for filing cabinets, cable management, and small storage boxes. The keyboard entry is fast for short bursts of text.
They also often offer specialty tapes. These tapes are durable, water-resistant, and designed for long-term use. Many come with fonts and symbols you can’t easily replicate at home.
Quick Comparison: DIY Printing vs. Label Maker
| Feature | DIY Printing (Word/Online Tools) | Dedicated Label Maker |
|---|---|---|
| Best For | Large batches, address labels, designs with graphics | Small batches, quick office/home organization |
| Cost Per Label | Very low (pennies per label) | Higher (tape cartridges can be pricey) |
| Design Flexibility | High (any font, image, or color) | Limited to built-in fonts and symbols |
| Portability | Requires a computer and printer | Handheld and portable |
So, if you need 500 address labels for holiday cards, print them. If you need to quickly label a dozen new file folders tomorrow, a label maker might be worth the investment.
Quick Checklist for Printing Your Own Labels
Ready to start? Use this checklist to make sure you’re prepared. It will help you avoid common pitfalls and get a great result on your first try.
- Gather Materials: Blank label sheets, regular paper for testing, scissors.
- Check Printer Type: Confirm if your printer is inkjet or laser and buy compatible labels.
- Download Template: Get the correct template for your specific label sheet brand and model.
- Design & Preview: Use the tool’s preview function to check alignment and spelling.
Conclusion
So, you absolutely don’t need a fancy label maker to get the job done. Your standard printer, some blank label sheets, and free templates are all you need for professional results. You’ve learned how to use software you already know, choose the right materials, and troubleshoot common issues. The key is starting with a test print on regular paper to avoid wasting your label sheets. Now, grab your materials and try printing your first batch of labels today. You’ll be surprised at how easy and cost-effective it is.
Frequently Asked Questions
Can I print labels on regular printer paper and cut them out?
Yes, you can. Use high-quality cardstock for best results. Print your design, then use scissors or a paper cutter to trim each label. Attach them using double-sided tape, glue dots, or washi tape. This is a great temporary solution when you don’t have label sheets.
What is the cheapest way to print a large batch of address labels?
Using blank label sheets from an office supply store is the most budget-friendly method. You can print hundreds of labels for pennies each using a free template. Buy labels in bulk online or at a store like Staples or Office Depot to save even more on your project.
Will my homemade labels be waterproof if I use my inkjet printer?
Most inkjet inks are not waterproof on their own. To make them water-resistant, you can laminate the labels or use glossy, water-resistant label sheets designed for inkjet printers. This adds a protective layer that helps prevent smudging from moisture.
How do I fix misaligned text on my labels after printing?
Alignment issues are usually caused by printer settings. Make sure your printer is set to print at “Actual Size” or “100%,” not “Fit to Page.” If the problem continues, you may need to slightly adjust your text boxes within the template to compensate for your printer’s margin pull.
Is a dedicated label maker better than printing labels myself?
It depends on your needs. A label maker is great for quick, small organization tasks at home or in an office. Printing your own labels is better for large batches, like holiday card envelopes, and gives you more design flexibility. Choose based on how many labels you need to make.
