
Master Home Sublimation Printing: A Step-by-Step Guide
You can print sublimation designs at home with a few key pieces of equipment and a clear understanding of the process. This allows you to create vibrant, permanent designs on various items right from your craft space or office.
Many crafters find that sublimation printing at home opens up a world of customization. You can personalize anything from mugs and t-shirts to phone cases and keychains, making unique gifts or starting a small business.
- Gather the right equipment.
- Understand the sublimation process.
- Choose suitable blank items.
- Design and print your graphics.
- Heat press your creations.
Ready to turn your creative ideas into tangible, colorful products? Let’s walk through how to print sublimation designs step by step.
Setting Up for Sublimation Printing at Home
Diving into sublimation printing at home can feel like a big step. But don’t worry, it’s quite manageable with the right tools. Your first task is to gather the essential equipment. Think of it like baking a cake – you need all your ingredients before you start mixing!
Understanding Sublimation Printers
The heart of your home sublimation setup is the printer. Not just any printer will do. You need a dedicated sublimation printer or a converted inkjet printer. Why is this important? Because sublimation ink is very different from regular printer ink. It transforms from a solid to a gas when heated.
Dedicated Sublimation Printers vs. Converted Inkjets
Dedicated sublimation printers are often preferred for ease of use. They are built specifically for sublimation. This means they come ready to go with the right ink and settings. Brands like Sawgrass are popular choices in this category. They offer consistent results and good support.
Alternatively, you can convert certain Epson inkjet printers into sublimation printers. This involves flushing out the original ink and replacing it with sublimation ink. It can be a more budget-friendly option initially. However, it requires a bit more technical know-how. We’ve found that proper cleaning is key to avoid clogging print heads (Epson support guides often provide helpful tips for maintenance).
The Sublimation Process Explained
Once you have your printer, understanding the process is next. Sublimation is a chemical process. It uses heat and pressure to transfer ink. The ink goes from a specialized paper onto a specially coated item. The result is a permanent design that won’t crack or peel.
Think of it like magic, but with science behind it! The ink essentially becomes part of the material. This is what makes sublimation different from iron-on transfers. Iron-on transfers sit on top of the fabric. Sublimation dyes become one with it.
Choosing Your Sublimation Blanks
Not everything can be sublimated. This is a common question we get! You need specific items, often called “blanks.” These blanks must be either polyester or have a special polyester coating. This coating is what the sublimation ink bonds with. Cotton items won’t work for sublimation, as the fibers don’t lock in the dye.
What can you sublimate? The options are vast! Here’s a brief list of popular blanks:
- T-shirts and apparel (must be at least 65% polyester for vibrant results, 100% is best)
- Mugs and drinkware
- Coasters and mousepads
- Phone cases
- Keychains and ornaments
- Canvas bags and pillow covers
Designing and Preparing Your Graphics
Your design is the star of the show. You’ll create your artwork using graphic design software. Programs like Adobe Photoshop, Illustrator, or even simpler tools like Canva work great. The goal is to have a high-resolution image.
Image Quality Matters
A low-quality image will result in a blurry or pixelated final product. Aim for at least 300 DPI (dots per inch) for your designs. This ensures crisp lines and vibrant colors. Sometimes, what looks good on your screen won’t print well. A higher resolution gives you more detail.
Mirroring Your Design
This is a crucial step that many new sublimators forget! You must mirror your image before printing. If you don’t, your text and certain designs will appear backward on your final product. Imagine putting a shirt on with backward words — not ideal! Your printer settings usually have an option for mirroring.
Printing Your Sublimation Transfers
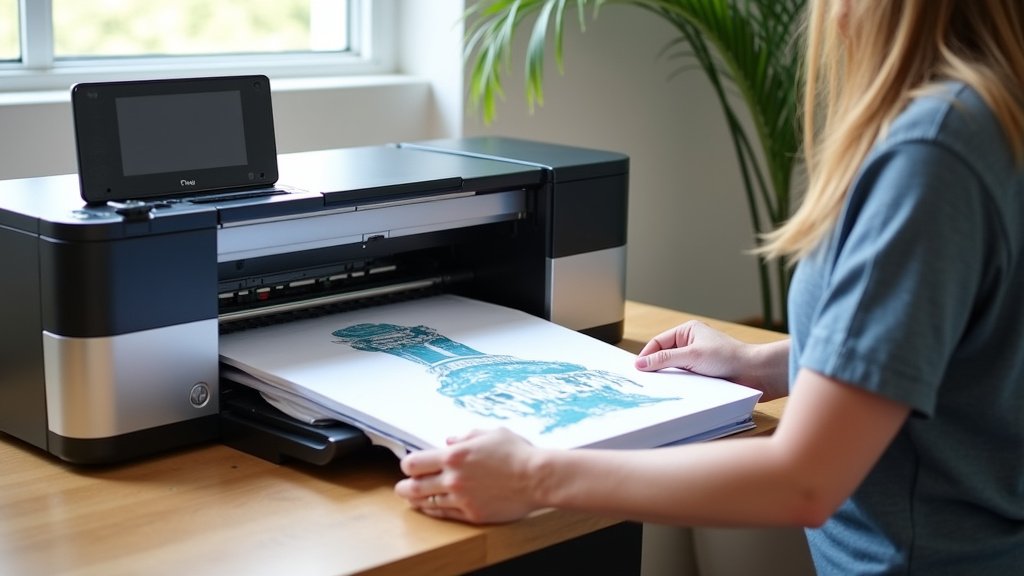
Once your design is ready and mirrored, it’s time to print. You’ll need special sublimation paper. This paper is coated to hold the ink perfectly. It then releases the ink efficiently under heat and pressure.
Check your printer settings. Make sure you select the correct paper type. Often, there’s a “premium photo paper” or “glossy photo paper” setting that works well. Also, ensure your print quality is set to “high.” These small adjustments make a big difference in the vibrancy of your finished product.
Heat Pressing Your Creations
This is where the magic really happens! You’ll need a heat press for this step. An iron won’t cut it, unfortunately. Heat presses provide consistent heat and pressure across the entire design. This ensures a proper and even transfer.
There are different types of heat presses: flatbed presses for t-shirts, mug presses for mugs, and often specialty presses for hats or plates. The type you need depends on what you’re sublimating. Many crafters start with a standard flatbed press, which offers versatility.
The Heat Press Process
Each sublimation blank will have specific instructions for heat, time, and pressure. Always check these guidelines. For example, a ceramic mug might require 400°F for 240 seconds. A polyester t-shirt might need 385°F for 60 seconds.
Here’s a general checklist for heat pressing:
- Preheat your heat press to the recommended temperature.
- Clean your blank thoroughly (dust and lint can cause imperfections).
- Place a piece of butcher paper or protective paper inside apparel blanks.
- Secure your printed design onto the blank using heat-resistant tape.
- Place the blank and design in the press, covering with a top sheet of butcher paper.
- Close the press, applying the correct pressure for the recommended time.
- Carefully open the press and remove the hot item. Peel off the sublimation paper immediately (unless instructed otherwise).
- Allow the item to cool completely before handling or wearing.
Troubleshooting Common Sublimation Issues
Even with the best intentions, you might run into a few bumps. Don’t get discouraged! Many common issues have simple fixes.
| Issue | Possible Cause | Solution |
|---|---|---|
| Faded or Dull Colors | Incorrect temperature or pressure; low ink levels; old sublimation paper; too much polyester in blank. | Increase heat/pressure slightly; check ink; use fresh paper; ensure higher polyester content in blank. |
| Blurry or Ghosted Image | Design shifted during pressing; too much moisture; uneven pressure. | Use heat-resistant tape to secure design; pre-press fabric blanks to remove moisture; check press for even pressure. |
| Lines or Streaks | Clogged printer nozzles; dust on print head or paper; old ink. | Run a print head cleaning cycle; ensure clean workspace; replace old ink cartridges. |
| Uneven Transfer | Uneven heat press temperature or pressure; blank not placed flat. | Calibrate heat press for even heat; ensure blank is flat; check pressure across the platen. |
Most issues come down to adjustments in heat, time, or pressure. Keep a small logbook of your successful settings for different blanks. This will save you a lot of guesswork later on. Consistency is your friend in sublimation!
Conclusion
You’ve now got a solid roadmap for printing sublimation designs at home. From choosing the right printer and understanding the scientific process to selecting suitable blanks and mastering the heat press, each step contributes to stunning, durable results. We’ve seen that patience and attention to detail are your best allies.
Don’t be afraid to experiment with settings and document your successes. With practice, you’ll confidently create personalized items that truly stand out. Now, grab your supplies and start bringing your creative visions to life!
Frequently Asked Questions
Do I need special software for sublimation designs?
While you don’t always need professional software, a good graphics program helps. Programs like Adobe Photoshop, Illustrator, or even Canva allow you to create high-resolution images. This ensures your final product looks crisp and clear.
How long do sublimation prints last?
Sublimation prints are incredibly durable and designed to last. The ink becomes part of the material, meaning it won’t crack, peel, or fade quickly. With proper care, items like mugs and T-shirts can look vibrant for many years.
Can I use my regular home iron for sublimation?
Unfortunately, a standard home iron generally won’t work for sublimation. Sublimation requires consistent, high heat and even pressure across the entire design. Home irons don’t provide this uniformity, leading to faded or uneven transfers.
What’s the best way to store sublimation paper and ink?
Store your sublimation paper in its original packaging, flat and away from humidity and direct sunlight. Keep ink cartridges sealed upright in a cool, dry place. Proper storage prevents moisture issues and extends shelf life.
Is sublimation printing safe to do at home?
Yes, sublimation printing is generally safe for home use when you follow guidelines. Work in a well-ventilated area, especially when operating the heat press, as some fumes can occur. Always handle hot items carefully to prevent burns.
