
How to Print Iron on Transfers for Dark Shirts?
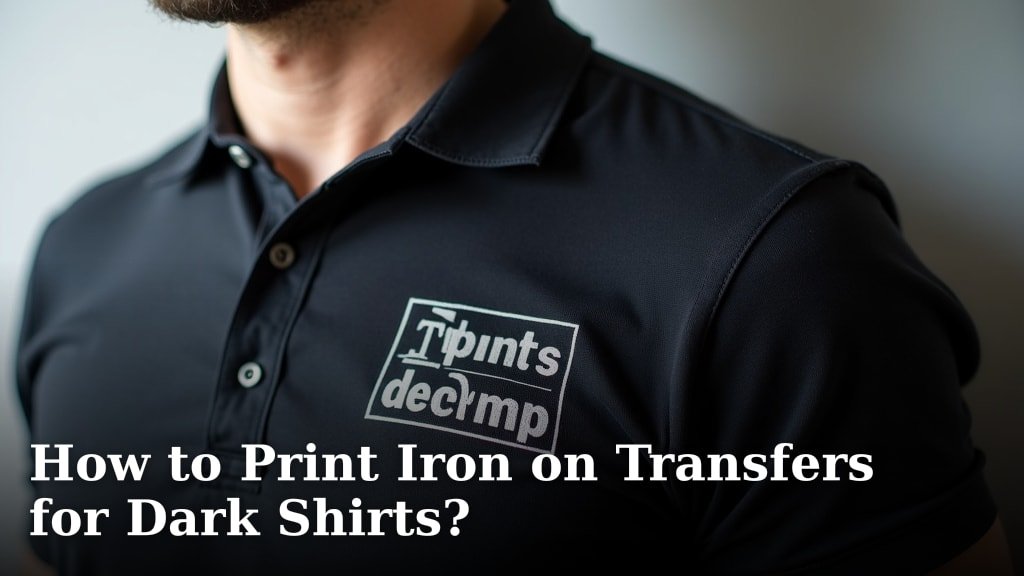
Yes, you can absolutely print iron-on transfers for dark shirts! The key is using the right type of transfer paper, which is specifically designed to show up vibrantly on dark fabrics. With this special paper, your designs will look clear and colorful on black, navy, or any dark garment. You don’t need a special printer either, a standard inkjet printer will do the job just fine.
Many people think printing on dark shirts is difficult. But with the correct materials, it’s surprisingly straightforward. We found that using paper that comes with a backing sheet is essential for dark fabrics. This backing allows the ink to adhere properly and prevents transparency. It’s a simple trick for professional-looking results at home.
- Use transfer paper made for dark fabrics.
- Print your design on the correct side of the paper.
- Consider a design that uses solid colors.
- Follow the heat press or iron instructions carefully.
Ready to get started? Let’s walk through exactly how to print your own iron-on transfers for dark shirts, step by step.
Printing Your Own Iron-On Transfers for Dark Shirts
Creating custom designs on dark t-shirts is totally achievable! You just need to know the secret sauce. That secret is using transfer paper specifically designed for dark fabrics. This paper is made differently. It has a special coating. This coating helps your printed design show up brightly. It won’t look faded or see-through on black, navy, or other dark colors. Forget needing a fancy printer. Your everyday inkjet printer is all you need.
Choosing the Right Transfer Paper for Dark Fabrics
This is the most critical step. Using the wrong paper will lead to disappointment. You’ll end up with a dull or even invisible design. We’ve found that papers labeled “for dark fabrics” or “opaque” are your best bet. These papers often have a white or lightly colored backing. This backing is what makes the magic happen. It acts as a solid base for your ink. So, when you transfer it, your colors pop.
Unlike paper for light shirts, you don’t need to mirror your image. This is a big relief, right? You print directly. The design goes onto the fabric as you see it on your screen. Many brands offer this type of paper. Do a quick online search for “iron on transfer paper for dark t-shirts.” Read reviews to see what other crafters recommend. We found that brands with clear instructions tend to be easier to use for beginners.
Preparing Your Design and Printer Settings
Once you have your special transfer paper, it’s time to get your design ready. Think about what you want to put on your shirt. Solid colors and bold shapes often work best on dark fabrics. Fine details might get a little lost. If your design has a background, like a white rectangle, you’ll want to make sure that background is part of the transfer. This is because the paper is opaque.
Now, let’s talk about printing. Make sure your printer is set to its highest quality print setting. This will ensure the ink is as vibrant as possible. Also, check your printer’s settings for paper type. Select a photo paper or a heavier paper option. This helps the ink lay down correctly. We found that using the “plain paper” setting can lead to smudged or uneven prints.
Understanding the Paper’s Print Side
This is where many people get tripped up. Transfer paper for dark fabrics has a distinct print side and a non-print side. The non-print side usually has a grid pattern or a colored backing. The print side is typically smooth and white. Your inkjet printer needs to deposit ink onto this smooth side.
So, how do you know which side is which? Manufacturers usually make it clear. The paper might have instructions printed on the backing. Or, the packaging will tell you. Generally, you’ll feed the paper into your printer with the smooth, white side facing up. If you’re unsure, it’s always best to print a small test image on a scrap piece of the transfer paper. This way, you won’t waste a whole sheet if you get it wrong.
The Transfer Process: Heat Press vs. Home Iron
You’ve got your printed design. Now for the exciting part: getting it onto your shirt! You have two main options: a heat press or a standard home iron. Both can work, but they require slightly different approaches.
Using a Home Iron
A home iron is more accessible. It’s what most of us have in our laundry rooms. The key here is to use high heat and no steam. Turn your iron to the highest setting your fabric can handle. Many transfer paper brands recommend a cotton or linen setting. Absolutely turn off the steam function. Steam can create moisture. This moisture can interfere with the transfer process and make your design smudge.
You’ll need to apply firm, even pressure. Press down hard on the iron. Move it slowly over the entire design. Don’t just hold it in one spot. Cover the whole area. We found that going over the design multiple times in different directions helps ensure a good bond. Ensure the shirt is on a hard, flat surface. A sturdy table works well. Avoid ironing on an ironing board. They are too soft and can cause uneven pressure.
Using a Heat Press
A heat press offers more consistent heat and pressure. This often leads to more professional and durable results. If you plan to do a lot of custom shirts, a heat press might be a worthwhile investment. The temperature and time settings are usually provided by the transfer paper manufacturer.
Set your heat press to the recommended temperature. Most heat presses have a digital display for precise control. You’ll also set the timer. Then, place your shirt on the press. Position your printed transfer face down onto the shirt. Close the heat press firmly. It will automatically open when the time is up. The even pressure and consistent heat from a heat press are fantastic for dark fabrics. This method helps the transfer adhere really well.
Peeling the Backing: Hot Peel vs. Cold Peel
This is another detail that can make or break your transfer. After applying heat, you need to remove the paper backing. Some transfer papers require you to peel the backing off immediately while it’s still hot. This is called a “hot peel.” Others need you to let it cool down completely before peeling. This is a “cold peel.”
The instructions that came with your specific transfer paper are your guide here. It’s super important to follow them. Trying a hot peel when it’s a cold peel paper can result in a patchy design. Conversely, waiting too long for a hot peel paper might make it harder to lift cleanly. We found that testing on a small corner of the design after the recommended time is a good practice. If it’s not peeling easily, apply a little more heat or pressure.
Caring for Your Custom Dark T-Shirts
You’ve done it! You have a fantastic custom shirt. Now, you want it to last, right? Proper care is essential for keeping your design looking sharp. The first wash is often the most important.
Always wait at least 24 hours after applying your transfer before washing the shirt. This allows the transfer to fully cure and bond with the fabric. When you do wash it, turn the garment inside out. This protects the design from abrasion in the washing machine. Use a mild detergent. Avoid using bleach or fabric softeners. These can break down the transfer material over time.
Washing in cold water is generally recommended. High heat in a washing machine can also be tough on transfers. For drying, tumble dry on low heat. It’s even better to hang your shirt to dry if you can. If you need to iron your shirt after washing, always iron on the reverse side. Or, place a thin cloth or parchment paper over the design before ironing. This prevents direct contact with the hot iron.
Troubleshooting Common Issues
Even with the best intentions, you might run into a hiccup. Don’t get discouraged! Many common problems have simple solutions.
- Design is dull or faded: This could be due to not using paper for dark fabrics, insufficient heat, or not enough pressure. Double-check your paper type and heat/pressure settings.
- Transfer is peeling off: This often happens if the peel was done incorrectly (hot vs. cold peel), or if the initial transfer didn’t get enough heat or pressure. You might need to re-apply heat to the affected area.
- Ink smudged: This could be from too much steam if using an iron, or handling the transfer before it was fully adhered. Ensure no steam is used and allow proper cooling time if required.
- Design cracked after washing: This is usually a sign of the transfer not being fully cured onto the fabric. Ensure you wait the full 24 hours before washing and follow all care instructions.
We found that reading the specific instructions for your transfer paper is the best way to avoid most issues. They are tailored to that particular product.
Quick Checklist for Success
Want a super-quick recap? Follow these points for your best chance at success:
- Use Transfer Paper for Dark Fabrics: This is non-negotiable.
- Check Print Side: Print on the smooth, white side.
- Printer Settings: Use highest quality and heavy paper settings.
- Iron Settings: High heat, NO steam, firm pressure.
- Peel Correctly: Hot or cold peel as instructed.
- Care for Your Shirt: Wait 24 hours before washing, then wash inside out in cold water.
Conclusion
You’ve learned that printing your own iron-on transfers for dark shirts is totally within your reach. By selecting the right paper designed for dark fabrics and paying attention to your printer settings, you’re already halfway there. Remember to always follow the heat press or iron instructions precisely, and don’t forget the critical step of peeling the backing correctly. With these steps, you can create amazing custom apparel that truly stands out. Your next custom project awaits – go ahead and give it a try!
Frequently Asked Questions
Can I use regular inkjet printer transfer paper on dark shirts?
No, you cannot use regular inkjet transfer paper meant for light-colored shirts on dark fabrics. That type of paper is transparent and won’t show up well on black or navy. You absolutely need transfer paper specifically labeled for dark shirts, which has an opaque or white backing.
How do I know which side of the transfer paper to print on?
Transfer paper for dark shirts typically has a smooth, white side that is meant for printing. The other side will often have a grid pattern or a colored backing. Always check the manufacturer’s instructions, but generally, you’ll feed the paper with the smooth, white side facing up into your printer.
What’s the difference between hot peel and cold peel?
Hot peel means you remove the paper backing immediately after applying heat, while it’s still hot. Cold peel means you let the transfer cool down completely before peeling off the backing. Following the specific instructions for your transfer paper is vital to avoid damaging your design.
Can I wash my custom dark t-shirt right away?
It’s best to wait at least 24 hours after applying the transfer before washing your custom dark t-shirt. This waiting period allows the transfer to fully cure and bond with the fabric, ensuring a more durable design. Always wash inside out in cold water afterwards.
What if my design looks faded after printing?
A faded design often means insufficient heat or pressure was applied during the transfer process. Make sure your iron is on the highest setting (with no steam) or your heat press is set to the correct temperature and time. Also, ensure you’re using the correct transfer paper for dark fabrics.
