
How to Print on Fabric with an Inkjet Printer?
Yes, you can print on fabric with an inkjet printer, but you need to use special fabric sheets or treat your fabric first. This allows your regular printer to transfer images onto textile surfaces.
You might be wondering, “How do I get my favorite photos or designs onto fabric?” We found that using specially prepared fabric sheets is key. These sheets are designed to feed smoothly through your printer and hold the ink without bleeding, making it possible to create custom fabric prints right at home.
- Prepare your fabric sheets or treat your fabric.
- Choose an inkjet printer and suitable ink.
- Print your design directly onto the prepared fabric.
- Follow curing or setting instructions for durability.
- Enjoy your personalized fabric creations!
Let’s walk through exactly how to print on fabric with an inkjet printer, step by step, ensuring your projects turn out beautifully.
Getting Started: What You’ll Need for Fabric Printing
To successfully print on fabric with your inkjet printer, you’ll need a few key items. Think of it like baking; you can’t make a cake without flour, right? The right supplies make all the difference for a smooth process and a great result.
Your Inkjet Printer & Ink Choices
First and foremost, your inkjet printer is your primary tool. Most standard inkjet printers can work for this project. We found that printers with a straight-through paper path often handle thicker fabric sheets better. However, many consumer models do just fine.
When it comes to ink, pigment-based inks are generally preferred over dye-based inks. Why? Pigment inks are more resistant to water and UV light. This means your colorful fabric creations will be much less likely to fade or bleed when washed. If your printer uses dye inks, which are more common, don’t worry! You can still get good results, but they might not be as long-lasting (National Institutes of Health).
Checking Your Printer’s Specifications
Before you begin, quickly check your printer’s manual or online specifications. Look for information on the maximum paper thickness it can handle. Fabric sheets can be a bit thicker than regular paper, so it’s good to know your printer’s limits. Most inkjet printers can accommodate thicknesses up to about 10-12 mil (0.25-0.30 mm) without a problem.
Fabric Sheets: The Canvas for Your Designs
This is where the magic really happens! You have two main options for getting your fabric print-ready: using pre-treated fabric sheets or treating your own fabric. Both have their upsides.
Pre-Treated Fabric Printer Sheets
These are probably the easiest and most beginner-friendly choice. Pre-treated fabric sheets look like regular paper, but they have a fabric layer bonded to a paper backing. This backing helps them feed smoothly through your printer, just like a piece of cardstock.
- They come in various fabric types, such as cotton or silk.
- The treatment on the fabric locks in the ink, preventing spread or bleed.
- You simply load them into your printer and print!
- After printing, you generally peel the fabric away from the paper backing.
DIY Fabric Treatment for Printing
Want to use your own fabric? No problem! You can prepare it yourself. This method involves using a special liquid fabric treatment product. It coats the fabric fibers, allowing them to accept and hold inkjet ink. This option gives you more freedom with fabric choice, like printing on a specific type of linen or canvas.
- You’ll need a fabric treatment solution (sometimes called “Printable Fabric Solution”).
- You’ll also need a carrier sheet, like freezer paper or a printable fabric stabilizer, to give your fabric rigidity.
Here’s a quick comparison of the two fabric preparation methods:
| Feature | Pre-Treated Fabric Sheets | DIY Fabric Treatment |
|---|---|---|
| Ease of Use | Very easy, ready to print. | Requires more steps, but still manageable. |
| Fabric Choice | Limited to what’s available commercially. | Choose almost any natural fiber fabric. |
| Cost | Generally higher per sheet. | Potentially lower, especially for larger projects. |
| Print Quality | Excellent, designed for inkjet. | Can be excellent with proper preparation. |
Other Essential Supplies
Beyond the printer and fabric, you’ll want to have these items handy to ensure a smooth printing experience:
- Iron and Ironing Board: Crucial for preparing your fabric and often for setting the ink.
- Scissors or Rotary Cutter: For trimming your fabric precisely.
- Ruler: To help with accurate measurements.
- Squeegee or Roller (for DIY method): To apply treatment solution evenly.
- Parchment Paper or Wax Paper: Useful for protecting your iron and work surface.
Preparing Your Fabric for Printing: Step-by-Step
The preparation phase is critical. Think of it as painting a wall; you wouldn’t just slap paint on a dirty, uneven surface, would you? A little prep work here saves a lot of heartache later.
Using Pre-Treated Fabric Sheets
This is the simplest path. If you’ve chosen pre-treated sheets, your preparation is minimal. Just take them out of the package!
- Unpackage Carefully: Remove the sheets from their packaging, being mindful not to bend or crease them.
- Load into Printer: Place the fabric sheet into your printer’s paper tray, ensuring the fabric side is facing the correct way for your printer to print on it. Usually, this means fabric side down for bottom-feed trays and fabric side up for top-feed trays. Check your printer’s manual if you’re unsure.
- That’s it!: You’re ready to print!
Treating Your Own Fabric with a Stabilizer
If you’re using your own chosen fabric, you’ll need to do a bit more work. This process creates a sturdy, printable fabric “sheet.”
Washing and Drying Your Fabric
First, always pre-wash your fabric. Just like preparing fabric for sewing, this step removes any sizing or chemicals that might interfere with ink adhesion. It also pre-shrinks the fabric, so your design won’t distort later (American Chemical Society).
- Wash your fabric according to its care instructions.
- Dry it completely.
- Iron out any wrinkles to ensure a smooth printing surface.
Applying the Stabilizer/Treatment Solution
Now, let’s create your printable fabric sheet. We found that using freezer paper as a temporary stabilizer works wonderfully for cotton fabrics.
- Cut Your Fabric: Trim your pre-washed, ironed fabric to the size of your printer paper (e.g., 8.5 x 11 inches or A4). Make sure your cuts are straight and precise.
- Attach Freezer Paper: Lay your fabric wrong-side up on an ironing board. Place a piece of freezer paper (shiny side down) onto the wrong side of the fabric. The freezer paper should be slightly larger than your fabric piece.
- Iron Together: Using a warm, dry iron, press the freezer paper to the fabric. The heat will bond the shiny wax coating of the freezer paper to the fabric. Work from the center outwards to avoid bubbles.
- Trim Excess: Once the fabric and freezer paper are firmly bonded, carefully trim the edges so the fused piece is exactly the size of your printer paper. Any uneven edges can cause jams.
If you’re using a liquid fabric treatment solution, follow the manufacturer’s instructions. Typically, you apply the solution evenly, allow it to dry, and then iron it smooth onto a carrier sheet. Always read the specific product’s guide carefully!
Designing Your Image and Printer Settings
You’re almost ready to print! But before you hit that button, let’s make sure your design is ready and your printer settings are optimized. This helps you get crisp, vibrant images on your fabric. It’s like seasoning your food – the right adjustments make it taste great!
Image Resolution and Quality
For fabric printing, source images with high resolution are crucial. Low-resolution images will look pixelated or blurry when printed. Aim for at least 300 dots per inch (dpi) if possible, especially for detailed designs or photos.
- Use a good photo editor if you need to adjust image size or quality.
- Review the image on your screen at 100% zoom to check for clarity.
- Consider a test print on plain paper first to catch any errors.
Optimizing Printer Settings
Your printer’s settings can significantly impact the final print quality on fabric. Don’t just use the default “plain paper” setting!
- Paper Type Setting: Select a paper type that is thicker or more absorbent. Options like “Glossy Photo Paper,” “Matte Photo Paper,” “Heavyweight Paper,” or “Cardstock” often work well. This tells the printer to lay down more ink and often to move the print head slower.
- Print Quality: Choose the highest print quality setting available (e.g., “Best,” “Photo,” or “High”). This uses more ink but results in a much sharper, more vibrant image on your fabric.
- Color Adjustments: If your printer software allows, you might experiment with color saturation. Fabric can absorb ink differently than paper, so sometimes a slight boost in saturation can make your colors pop more.
- Mirroring (if transferring): If you plan to use a heat transfer method later, remember to mirror your image before printing! However, for direct fabric printing, you typically do NOT mirror the image.
Checklist before printing your final design:
- Fabric is prepared (pre-treated or DIY stabilized).
- Image resolution is optimal (at least 300 dpi).
- Printer paper type is set to “photo” or “heavyweight.”
- Print quality is set to “best” or “high.”
- Fabric is loaded correctly in the printer tray.
Printing and Setting Your Fabric Design
The moment of truth! Printing your design onto the fabric is exciting, but the steps after printing are just as important for a durable, washable result.
The Printing Process
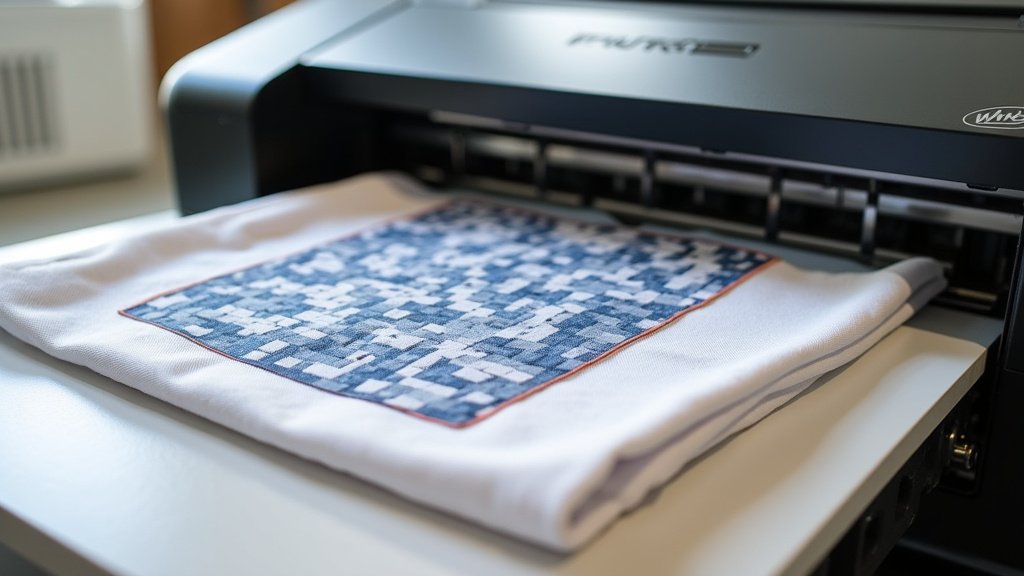
Carefully load your prepared fabric sheet into the printer tray. Double-check that it’s facing the correct direction to be printed on. Then, send your design to the printer!
- Watch for Jams: Pay attention as the fabric feeds through. If your DIY stabilizer isn’t perfectly flat, it might jam. If it does, gently pull the fabric out following your printer’s jam-clearing instructions.
- Allow to Dry: Once printed, carefully remove the fabric sheet. The ink will be wet, so avoid touching the printed area. Lay it flat on a clean, protected surface and allow it to dry completely. This might take anywhere from 15 minutes to an hour, depending on your ink and how much was printed.
Separating and Setting the Ink
This final step is what makes your fabric wearable and washable!
- Peel Away Backing: If you used pre-treated fabric sheets, gently peel the fabric away from the paper backing once dry. For DIY fabric with freezer paper, just peel the freezer paper off the back. It should come off easily.
- Heat Setting the Ink: This is perhaps the most critical step for durability. Lay the printed fabric face-up on an ironing board. Cover it with a piece of parchment paper or a thin pressing cloth to protect your iron and the ink.
- Iron Thoroughly: Using a hot, dry iron (no steam!), press firmly over the entire printed area. Keep the iron moving slowly for about 1-3 minutes. The heat cures the ink, making it much more resistant to washing and fading. Many experts recommend this step for optimal ink longevity (Cleveland Clinic).
