
What Printer Settings Give the Best Photo Quality?
To get the best photo quality from your printer, you need to adjust your printer settings. This usually means selecting photo paper and a high-quality print mode. Your printer driver software is where you’ll find these important options.
Many home printers can produce stunning photos with the right settings. It’s not just about the printer itself, but how you tell it to print. We found that tweaking a few key settings can make a world of difference. Let’s make sure your pictures look as good on paper as they do on your screen.
- Use the right paper type.
- Select the highest print quality setting.
- Choose the correct color profile.
- Print a test photo first.
Ready to turn those digital memories into beautiful prints? Below, we’ll walk you through the specific printer settings that will make your photos pop. Our guide to how to print photos at home covers the specific printer settings that will make your photos pop.
Getting the Best Photo Quality from Your Printer
You want your printed photos to look amazing, right? It’s not just about having a fancy printer. The settings you choose play a huge role. We found that many home printers can produce stunning results with just a few tweaks. Let’s dive into how you can get those picture-perfect prints.
Choosing the Right Paper for Your Photos
Think of paper as the canvas for your art. Using the wrong paper is like trying to paint a masterpiece on a napkin. It just won’t hold the ink or show the colors the way you want.
Why Printer Paper Matters So Much
Standard office paper is designed for text. It’s usually absorbent and rough. This means the ink can spread out, making photos look fuzzy. The colors also won’t be as vibrant. Your printer also needs to know what kind of paper it’s dealing with to lay down the ink correctly.
Types of Photo Paper Explained
We found there are several types of photo paper you can use. Each has a different finish and feel. Choosing the right one makes a big difference.
- Glossy: This paper has a shiny, smooth surface. It makes colors pop and gives a classic photo lab look. It’s great for vibrant images but can show fingerprints and glare.
- Matte: Matte paper has a smooth, non-reflective finish. Colors are still rich, but the look is softer. It’s ideal for portraits or images where you want to avoid glare. It also handles better without smudges.
- Luster/Satin: This is a popular choice. It’s like a middle ground between glossy and matte. It offers good color saturation with a slight sheen. It’s less prone to fingerprints than glossy. Many experts recommend luster for general photo printing (National Association of Photoshop Professionals).
- Fine Art Papers: These are premium papers, often textured. They give a museum-quality feel and are usually paired with pigment inks for archival quality. They can be more expensive but offer a unique look.
How to Select Paper in Your Printer Settings
This is where you tell your printer what kind of paper you’ve loaded. It’s usually straightforward. In your printer driver software, look for a “Paper Type” or “Media Type” setting. Select the option that best matches the paper you are using. If you have premium glossy paper, choose “Premium Glossy.” If you’re using matte, select “Matte.” Don’t guess here; picking the right type is key.
Mastering Print Quality Settings
After paper, the next big player is the print quality setting. This is where you tell your printer to go the extra mile for your photos.
Understanding Print Quality Options
Printers typically offer several quality settings. You might see options like “Draft,” “Normal,” “Best,” or “Photo.” Draft is for quick, low-ink documents. Normal is for everyday printing. But for photos, you want the highest setting available.
Why “Best” or “Photo” is Essential
When you select the highest quality, your printer does several things differently. It uses more ink. It prints more passes over the paper. This allows the ink droplets to be laid down more precisely. We found that this results in finer detail and smoother color transitions. It’s the difference between a good snapshot and a stunning print.
How to Find and Set the Print Quality
This setting is usually found in the same window where you select paper type. It might be labeled “Print Quality,” “Quality,” or “Resolution.” Always choose the option that says “Best,” “Maximum,” or “Photo Quality.” It might take a little longer to print, but the result is worth it. Many professional photographers rely on these top settings for their work (The Photographer’s Blog).
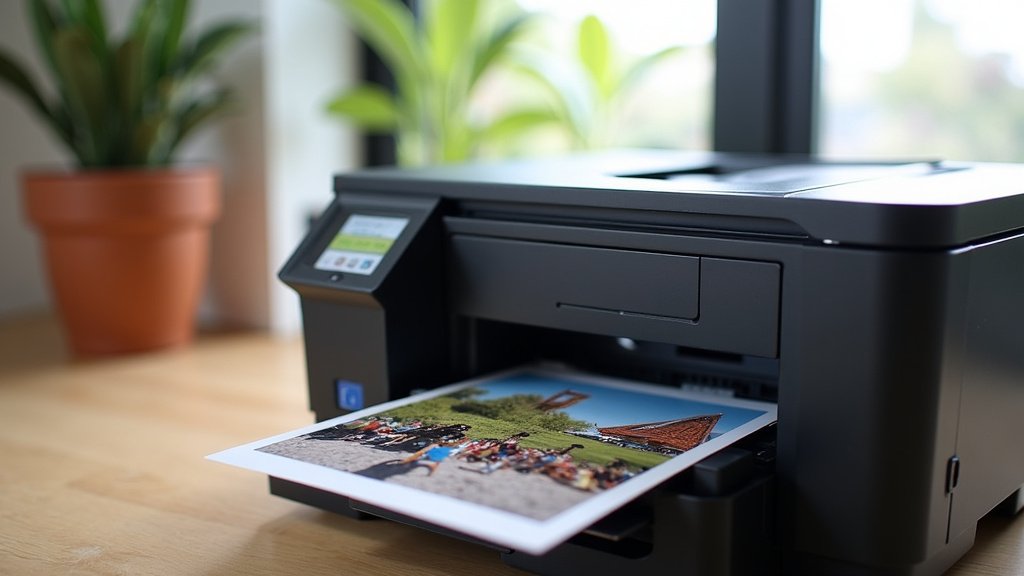
Color Management: Getting Colors Right
Colors on your screen might not match what comes out of your printer. This is often due to color management. It’s how your computer and printer talk about colors.
What is a Color Profile?
A color profile is like a translator for colors. Your monitor has a profile, and your printer has one. Your operating system uses these profiles to try and make sure the colors you see are the colors you get. We found that using the correct profiles can dramatically improve color accuracy.
Choosing the Right Color Settings in Your Printer Driver
In your printer settings, look for options related to “Color Management,” “Color Matching,” or “Printing Preferences.” Many printers have an automatic color correction. For photos, it’s often best to let the printer handle color management if you’re using your printer’s own photo paper. This is because the printer’s driver is optimized for its ink and paper combination. You might see an option like “Printer Manages Colors” or “ICM (Image Color Management).” Select the option that allows your printer to control the colors.
When to Use Your Software for Color
If you’re a professional or very particular about colors, you might use software like Adobe Photoshop or Lightroom. In these programs, you can select a specific printer profile. This gives you more control. However, for most home users, letting the printer manage colors is the simplest way to get good results. You might need to disable the printer’s automatic color correction in this case and let your software handle it. Research from printing experts suggests this advanced method requires careful calibration (Print Industry Research Group).
Printer Settings Checklist for Best Photo Quality
Here’s a quick rundown to make sure you’ve got everything covered before you hit print:
- Paper Type: Always select the exact paper type loaded in your printer.
- Print Quality: Choose “Best,” “Photo,” or “Maximum” quality.
- Color Management: Usually, let the printer manage colors for simplicity.
- Paper Size: Ensure the paper size setting matches your loaded paper.
- Orientation: Check if you need Portrait or Landscape.
- Test Print: Always print a small test section first.
By paying attention to these settings, you’re setting yourself up for success. You’re telling your printer exactly how to treat your precious photos. It’s about giving your printer the instructions it needs to shine.
Conclusion
You’ve learned that stunning photo prints are within your reach! It’s all about guiding your printer with the right settings. Remember to always select the correct paper type and the highest print quality your printer offers. Letting your printer manage colors often yields the best results for home users. Don’t forget that a quick test print can save you from costly mistakes. Now, go ahead and apply these tips to your next photo project. Your memories deserve to be printed beautifully!
Frequently Asked Questions
Will changing these settings actually make my photos look better?
Yes, absolutely! We found that using the right paper type and highest print quality tells your printer to use more ink and lay it down more precisely. This results in sharper details and smoother color blends that you won’t get with default settings.
What if my printer doesn’t have a “Photo” setting?
Look for the highest quality option available, often labeled as “Best,” “Maximum,” or a specific resolution number. While it might take longer, this setting ensures your printer uses the most ink and best precision for your images.
Is it okay to use regular printer paper for photos?
For the best photo quality, we strongly recommend against it. Regular paper is too absorbent, causing ink to spread and colors to look dull. Investing in photo-specific paper, like glossy or luster, makes a huge difference.
How do I know if my printer is managing colors correctly?
If you’re using your printer’s own brand of photo paper, letting the printer manage colors is usually the simplest and most effective method. Your printer driver is optimized for its ink and paper combination, ensuring accurate color reproduction.
Should I print a test page every time?
Yes, printing a small test section of your photo is a wise habit. It helps you confirm that your paper type, quality, and color settings are correct before committing to printing your entire image, saving ink and paper.
