
How to Print Shipping Labels at Home?
To print shipping labels at home, you will need a printer, adhesive label sheets or plain paper, and access to a shipping carrier’s website like USPS, FedEx, or UPS. The process involves creating an account, entering package details, paying for postage online, and then printing the label from your computer.
This convenient method saves you trips to the post office and often comes with discounted shipping rates. We found that printing labels at home makes sending packages much easier for individuals and small businesses. It lets you prepare shipments whenever it suits your schedule, right from your own workspace.
TL;DR:
- You need a printer and labels.
- Sign up on a carrier’s website.
- Enter package info and pay.
- Print your label.
- Save time and money!
Ready to make shipping simpler? Let’s walk through exactly how to print shipping labels at home, step by step.
Getting Started with At-Home Shipping Labels
Printing shipping labels from your home is easier than you think. It really transforms how you send packages. Think of it as your own personal post office, open 24/7. This method saves you precious time and, often, money too.
What You’ll Need to Print Shipping Labels
Before you dive in, let’s gather your tools. You likely have most of these already. Having everything ready makes the process smooth and stress-free.
Your Basic Home Setup
First, you need a computer or a tablet with internet access. This is where you’ll create and manage your labels. Then, a working printer is essential. It can be an inkjet or a laser printer; either works fine for standard labels.
You’ll also need paper. Regular printer paper is perfectly acceptable. If you plan to ship a lot, adhesive label sheets are a great upgrade. We found they save you from taping.
Lastly, grab some tape and scissors. You’ll need these to securely attach your label to the package. A clear packing tape is usually best so the barcode is readable.
Choosing Your Label Type
You have a couple of choices here, each with its own perks. We often wonder which is best for different needs. It truly depends on how much you ship.
- Standard Paper: This is the most common and budget-friendly option. You print the label on regular printer paper, cut it out, and then tape it to your package. Make sure all edges are taped down, especially over the barcode.
- Adhesive Label Sheets: These are pre-cut sheets with a sticky back. They come in common sizes like 4×6 inches or 8.5×11 inches. You simply peel and stick. This is much faster and looks more professional. Many experienced shippers prefer these for convenience.
- Thermal Printer Labels: If you’re running a small business and shipping frequently, a thermal printer might be worth considering. These printers don’t use ink; they use heat to print directly onto special labels. They are fast and cost-effective in the long run. We found they are a favorite among e-commerce sellers.
Choosing Your Shipping Carrier
This is where you decide who will deliver your package. You have several reliable options in the United States. Each carrier has its own strengths, so choosing the right one can save you money and headaches.
Popular US Shipping Services
The three big names are USPS, FedEx, and UPS. Each offers a range of services from economy to express. We found that most people start with USPS for smaller items due to its widespread presence and competitive pricing.
United States Postal Service (USPS)
The USPS is a go-to for many individuals and small businesses. They offer affordable rates, especially for lightweight packages and documents. You can schedule a free package pickup from your home, which is a huge time-saver. We often use them for domestic shipments.
- First-Class Mail: Best for envelopes and small, light packages (under 13 oz).
- Priority Mail: Fast service (1-3 business days) with flat-rate options. Great for many items.
- Media Mail: Very economical for books, CDs, and DVDs. Slower delivery.
To print labels, you’ll visit their website, create an account, and navigate to their Click-N-Ship service. It’s quite intuitive.
FedEx and UPS
These carriers are known for their speed and reliability, especially for larger or time-sensitive shipments. They also offer excellent tracking capabilities. While sometimes pricier than USPS, their service quality is top-notch, especially for business needs. We found that they excel with heavier or more urgent deliveries.
- FedEx Ground/Home Delivery: Reliable for everyday packages.
- UPS Ground: Similar to FedEx Ground, a solid choice for standard shipments.
- Express/Air Services: Both offer next-day or 2-day delivery options for urgent items.
Both FedEx and UPS have user-friendly websites where you can create shipping labels. You’ll need to set up an account, input your package details, and pay for postage directly online.
Comparing Carrier Options
How do you pick the best one for your package? It comes down to cost, speed, and package size. We suggest comparing rates before you commit.
| Feature | USPS | FedEx | UPS |
|---|---|---|---|
| Best For | Small, light items; cheapest for < 1 lb; PO Boxes | Medium to large; fast business shipping; international | Medium to large; reliable ground; business services |
| Price Range | Generally lowest for small items | Moderate to high | Moderate to high |
| Speed | 1-8 business days (varies by service) | 1-5 business days (Ground), faster for Express | 1-5 business days (Ground), faster for Air |
| Tracking | Good | Excellent | Excellent |
| Package Pickup | Free for Priority Mail | Available, often for a fee | Available, often for a fee |
Many online tools let you compare rates side-by-side. Just enter your package dimensions and destination. This ensures you always get the best value for your shipment.
Step-by-Step: Creating and Printing Your Label
Once you’ve chosen your carrier, the real work begins. Don’t worry, it’s a straightforward process. You’ll be surprised how quickly you get the hang of it.
Preparing Your Package
Before you even think about the label, your package needs to be ready. This includes proper packaging and accurate measurements. A well-packed item is a safe item.
Packaging Your Items Securely
Use a sturdy box that fits your item well. If the box is too big, your item might shift and get damaged. If it’s too small, it could burst open. Fill any empty spaces with packing peanuts, crumpled newspaper, or bubble wrap. This protects your contents during transit. We always recommend over-packing slightly rather than under-packing.
Measuring and Weighing Your Package
This is a critical step for accurate postage. Use a kitchen scale or a dedicated shipping scale for weight. A measuring tape will give you the length, width, and height. Be precise here; incorrect measurements can lead to extra charges or delays. Many experts emphasize the importance of accuracy in package dimensions (USPS guidelines).
Generating Your Shipping Label Online
Now, let’s create that label! This is where your chosen carrier’s website comes into play. It’s like filling out a digital form.
Using the Carrier’s Website
Go to the website of your chosen carrier (USPS, FedEx, or UPS). Look for sections like “Ship Now,” “Create a Label,” or “Click-N-Ship.” You’ll typically need to log in or create an account if you haven’t already. This is usually a quick sign-up process.
You’ll then enter the sender’s address (your address) and the recipient’s address. Double-check these for any typos! A wrong zip code means a delayed package. Then, input your package’s weight and dimensions that you just measured. The system will use this to calculate the shipping cost.
Next, you’ll select a shipping service. This is where you choose between ground, express, or other options. Pick the one that fits your budget and desired delivery speed. You might also see options for insurance or delivery confirmation. Consider these for valuable items or peace of mind. Finally, you’ll pay for the postage using a credit card or your account balance. This generates the digital label.
Printing and Attaching Your Label
You’re almost there! This final step makes your package ready to go.
Printing the Label Correctly
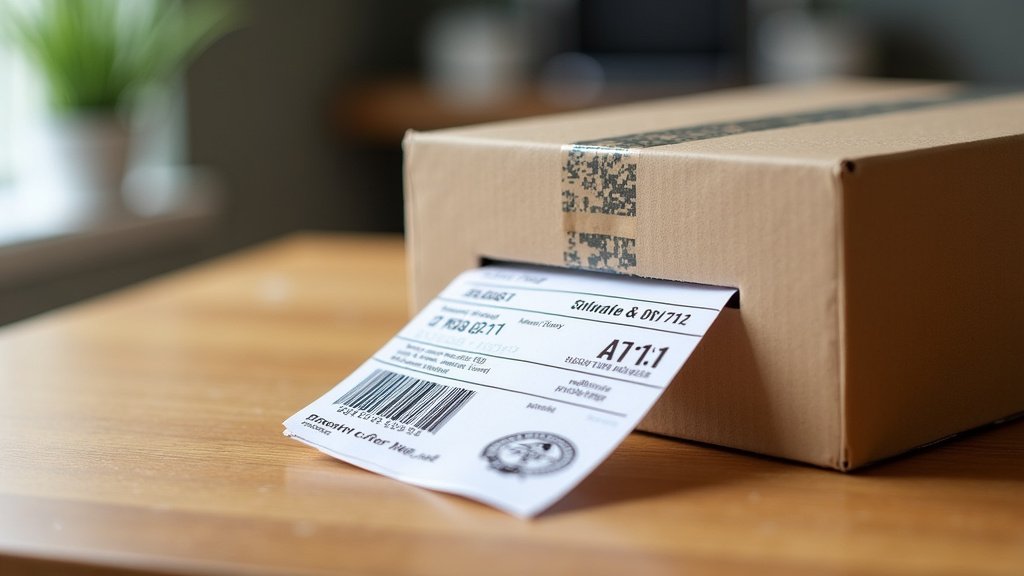
After payment, you’ll see an option to “Print Label.” Click this, and your computer will usually open a PDF file. Send this to your printer. Make sure your printer has enough ink and paper. Print clearly, ensuring the barcode is crisp and readable. A blurry barcode can cause scanner issues and delays.
Attaching the Label to Your Package
If you used adhesive labels, simply peel and stick. Make sure it’s flat and smooth on one side of the package. For regular paper, cut out the label. Use clear packing tape to secure it to the package. Tape all four edges down, covering the entire label. It’s crucial that the barcode is not wrinkled or obstructed by tape that isn’t smooth. We found that taping over the entire label helps protect it from moisture during transit.
Final Checklist Before Shipping
One last review ensures everything is perfect. Think of this as your safety check before takeoff!
- Is the package securely sealed?
- Is the shipping label clearly printed and firmly attached?
- Are the sender and recipient addresses correct and legible?
- Is the barcode free from wrinkles, folds, or tape glare?
- Have you paid for the correct postage based on weight and dimensions?
Once you’ve checked these off, your package is ready for its journey. You can now drop it off at a designated location or schedule a pickup, depending on your chosen carrier and service. Wasn’t that easy?
Conclusion
You now have all the tools and knowledge to confidently print shipping labels from home. This simple process truly streamlines your shipping tasks, saving you time and money. Remember, gathering your supplies, accurately measuring your package, and choosing the right carrier are key to success. We believe mastering this skill will make sending packages stress-free and efficient for you. Start enjoying the convenience today!
Frequently Asked Questions
Do I need a special printer to print shipping labels?
No, you do not need a special printer. A standard inkjet or laser printer that you already use for documents will work perfectly. Just ensure the print quality is clear, especially for the barcode.
Can I print international shipping labels at home?
Yes, you can print international shipping labels from home using the same carrier websites. You’ll typically need to provide additional customs information about the package contents and value. Be sure to fill out all required fields carefully.
What if my printed shipping label looks blurry or faded?
If your label looks blurry, do not use it. A faded or unclear barcode can prevent scanners from reading it, leading to delays or returns. Check your printer’s ink levels or toner, clean the print heads, or adjust your printer settings for a clearer output.
Is it cheaper to print labels at home or buy them at the post office?
It is almost always cheaper to print labels at home or online. Carriers often offer discounted rates when you purchase and print postage through their websites. This is a significant benefit, especially for frequent shippers.
What kind of tape should I use to attach a paper label?
Use clear packing tape to attach a paper label securely to your package. Make sure to tape over the entire label, especially the barcode, ensuring it lies flat and smooth without wrinkles. This protects the label from moisture and damage.
