
How to Print T-shirt Transfers at Home?
<p>You can absolutely <strong>print t-shirt transfers at home</strong> with the right tools and a little know-how. It’s a <strong>fun and creative</strong> way to personalize clothing and other fabric items.</p>
<p>Creating custom t-shirts in your own space is <strong>easier than you might think</strong>. We found that you mainly need an <strong>inkjet printer</strong> and special transfer paper. This lets you bring your unique designs to life on fabric.</p>
<ul>
<li>You’ll need an inkjet printer and iron-on transfer paper.</li>
<li>Design your graphic on a computer or tablet.</li>
<li>Remember to mirror your image before printing.</li>
<li>Use a hot iron or heat press to apply the transfer.</li>
<li>Carefully peel the backing paper for best results.</li>
</ul>
<p>Ready to make some awesome custom apparel? Let’s walk through exactly how to print t-shirt transfers at home, step by simple step.</p>
Getting Started with At-Home T-Shirt Transfers
Printing your own t-shirt transfers at home is a fun project. It lets you customize clothes, bags, and other fabric items. You can make gifts or just express your unique style.
We found the process is quite simple once you gather your materials. Think of it like baking – you need the right ingredients before you start.
Gathering Your Essential Tools and Materials
Before you dive in, you’ll need a few key items. Having everything ready makes the transfer process smooth and enjoyable. What do you need? Let’s break it down.
Choosing the Right Printer for Transfers
The type of printer you have at home matters greatly. We found that an inkjet printer is necessary for iron-on transfers. Laser printers use toner, which won’t work with this method.
Make sure your inkjet printer is in good working order. Check that it has enough ink. A printer with fresh ink cartridges will give you the best color and image quality (HP Support).
Selecting the Best Transfer Paper
This is where the magic happens! Transfer paper is specially coated to release your design onto fabric. There are two main types:
- Light fabric transfer paper: For white or very light-colored fabrics. Your design will show up clearly.
- Dark fabric transfer paper: For black or darker colored fabrics. This paper usually has a white background that helps colors pop on dark materials.
Always buy transfer paper that matches your fabric color. We found that using the wrong type leads to dull colors or designs that don’t show up well.
Check the packaging for specific instructions too. Some papers are “cold peel” and others are “hot peel.” This affects when you remove the backing.
What Fabric Can You Use?
Most iron-on transfers work best on cotton, polyester, or cotton-poly blends. Natural fibers tend to absorb the ink well. We found that very stretchy or textured fabrics can be tricky.
Always wash and dry your fabric item first. This removes any sizing or finishes that might prevent the transfer from sticking. Plus, it pre-shrinks the fabric.
Designing Your Custom Graphic
Now for the creative part! What will your t-shirt say or show? You can use a variety of software for this step. Simple programs work just as well as complex ones.
Software Options for Design
You don’t need expensive software to create a great design. Here are some popular choices:
- Microsoft Word or PowerPoint: Great for text and basic shapes.
- Canva: An online tool with many templates and design elements.
- Adobe Photoshop or Illustrator: For more advanced graphic design.
- Free online editors: Many websites offer simple image editing.
The goal is to have a clear, crisp image or text. Think about how it will look on a shirt.
Mirroring Your Image: A Crucial Step
This is perhaps the most important step before printing! If your design includes text or a specific orientation, you MUST mirror it. Why? When you iron the transfer onto the shirt, it flips the image.
Imagine writing your name on a piece of paper. If you hold it up to a mirror, it looks backward. You need to print it backward so it looks correct on the shirt.
Most design software has a “flip horizontal” or “mirror image” option. Always double-check this before printing. We’ve all made the mistake of forgetting this step!
Printing Your Design onto Transfer Paper
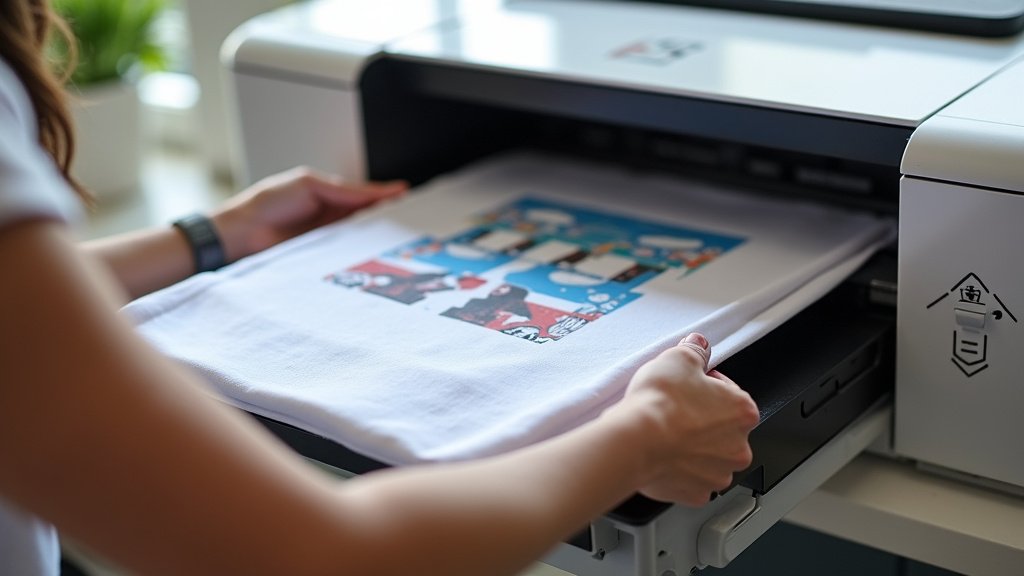
Load your transfer paper into your inkjet printer. Make sure you load it correctly so it prints on the coated side. The packaging usually indicates which side to print on.
Print a test sheet on plain paper first. This lets you check the size, colors, and that you remembered to mirror the image.
When you’re ready, print your design. Don’t touch the printed image immediately. Give the ink a minute or two to dry completely.
Applying Your Transfer to Fabric
This is the moment of truth! Applying the transfer requires a steady hand and proper heat. You’re almost there!
Preparing Your Work Surface
You need a firm, flat, heat-resistant surface. An ironing board might be too soft and uneven. A sturdy table with a pillowcase or towel laid over it works well. Avoid padded ironing boards that absorb heat.
Make sure the surface is clean and free of debris. Any bumps underneath could affect the transfer.
Ironing vs. Heat Press: What’s Best?
You have two main options for applying heat:
| Tool | Pros | Cons |
|---|---|---|
| Household Iron | Affordable, readily available. | Less consistent heat, more effort needed. |
| Heat Press | Professional results, even heat and pressure, faster. | More expensive, takes up space. |
For home users, a good quality household iron is usually sufficient. If you plan to make many shirts, a heat press might be a good investment (Craftsy).
The Application Process with an Iron
Here’s how to apply your design using a household iron:
- Preheat your iron: Set it to the highest heat setting. Make sure the steam setting is OFF. You want dry heat.
- Pre-iron your fabric: Iron the shirt or fabric where the design will go. This removes wrinkles and moisture.
- Position the transfer: Place your cut-out design face down on the fabric. If you used light fabric transfer paper, it’s typically face up. Refer to your specific paper’s instructions.
- Apply heat and pressure: Press down firmly with the iron. Move it slowly and evenly over the entire design area. Don’t skip spots!
- Follow timing: The transfer paper package will give you a recommended ironing time. Stick to it. Too little heat and it won’t stick; too much and it might burn.
- Peel the backing: This is where “hot peel” or “cold peel” instructions matter. Carefully peel off the paper backing. If it’s a hot peel, do it while the transfer is still warm. If it’s cold peel, wait until it’s completely cooled.
If parts of the design don’t stick, you might be able to re-iron them quickly. But be careful not to overheat.
Caring for Your New Custom Item
You’ve made a custom shirt! Now you want it to last. Proper care is key to keeping your design looking fresh and vibrant.
Washing and Drying Tips
Many experts agree that improper washing is the main reason transfers fade or peel (Gildan).
- Wait at least 24 hours before the first wash. This allows the transfer to fully cure.
- Turn the garment inside out before washing. This protects the design from friction.
- Wash in cold water on a gentle cycle. Hot water can loosen the adhesive.
- Use a mild detergent. Avoid harsh chemicals or bleach.
- Air dry your garment if possible. High heat in a dryer can cause the transfer to crack or peel.
- If you must use a dryer, tumble dry on the lowest heat setting. Again, turn the garment inside out.
Ironing Your Transferred Fabric
If you need to iron the garment after it’s been washed, be careful. Never iron directly over the transferred design. The heat can melt or damage it.
Turn the garment inside out before ironing. Or, place a thin cloth (like a pillowcase) over the design before ironing the right side.
Troubleshooting Common Transfer Problems
Sometimes, things don’t go perfectly the first time. Don’t get discouraged! Many common issues have simple fixes.
What if the Design Isn’t Sticking?
If your transfer isn’t sticking, you likely need more heat or pressure. Or perhaps a longer application time. Make sure your iron is on its highest setting and you’re pressing down firmly.
Also, check if your fabric was pre-washed. Dirt or finishes on the fabric can prevent adhesion.
Design Is Cracking or Peeling
This often happens after washing and drying. It’s usually due to overheating in the dryer. Or, it could be from using an old or low-quality transfer paper.
Make sure you’re following the washing instructions carefully. Air drying is always your best bet.
Colors Look Dull or Faded
Dull colors can be a sign of a few things. You might have used the wrong type of transfer paper (e.g., light fabric paper on a dark shirt). Or, your printer might be low on ink.
Sometimes, not enough heat during application can also lead to less vibrant colors. Ensure your iron is hot enough.
Your T-Shirt Transfer Checklist
Before you start your next custom project, run through this quick checklist:
- Inkjet printer ready and inked?
- Right type of transfer paper for your fabric?
- Image mirrored in your design software?
- Fabric pre-washed and dried?
- Firm, heat-resistant surface prepared?
- Iron at highest setting, steam off?
- Know your paper’s peel instructions (hot/cold)?
Conclusion
You’ve now got everything you need to start printing custom t-shirt transfers at home. It’s a fantastic way to personalize your wardrobe or create unique gifts. Remember the key steps: an inkjet printer, the right transfer paper, mirroring your design, and careful heat application. We found that attention to these details makes all the difference for a professional-looking result. Don’t be afraid to experiment and have fun with it. Go ahead, transform your plain fabrics into personalized masterpieces today!
Frequently Asked Questions
Can I use regular printer paper for t-shirt transfers?
No, you cannot use regular printer paper. T-shirt transfers require special transfer paper. This paper has a unique coating that allows the ink to release and adhere to fabric when heat is applied. Regular paper will not work and could damage your iron or heat press.
How long do homemade t-shirt transfers typically last?
With proper care, homemade t-shirt transfers can last for many washes. We found that following the washing instructions carefully is key. Expect them to last anywhere from 20-50 washes before you might see some fading or minor cracking. Air drying helps extend their lifespan significantly.
Do I need a special ink for printing t-shirt transfers?
You do not need special ink. Your standard inkjet printer ink will work perfectly with iron-on transfer paper. The paper itself is designed to capture and release the ink effectively onto the fabric. Just ensure your printer cartridges have sufficient ink for vibrant results.
Can I make t-shirt transfers using a laser printer?
Generally, no. Most home t-shirt transfer papers are specifically designed for inkjet printers. Laser printers use toner, which melts and fuses to the paper differently than inkjet ink. Using laser toner on inkjet transfer paper typically won’t transfer properly and can even damage your printer.
What if my design peels off after the first wash?
If your design peels after the first wash, it’s often due to insufficient heat or pressure during application. We’ve seen this happen if the iron wasn’t hot enough or moved too quickly. Make sure to press down firmly, cover the entire design evenly, and follow the recommended ironing time for your specific transfer paper.
