
How to Install Ink Cartridges in a HP Printer?
Installing new ink cartridges in your HP printer is usually a straightforward process. You just need to open the ink cartridge access door, wait for the carriage to move, and then carefully replace the old cartridges with new ones. This guide will help you get your printer back to printing in no time.
It’s easy to feel a bit lost when faced with a printer error message about ink. We found that understanding the basic steps can save you frustration. Knowing where to find the right cartridges and how to handle them correctly ensures your printer works efficiently and prevents potential damage.
- Open the ink cartridge access door.
- Wait for the ink carriage to stop moving.
- Remove the old ink cartridge.
- Install the new ink cartridge.
- Close the ink cartridge access door.
Let’s walk through exactly how to install your HP ink cartridges step by step, making sure everything goes smoothly.
Alright, let’s get those new ink cartridges into your HP printer! It’s a task that often feels a little intimidating, but we’ve broken it down into simple, manageable steps. Think of it like changing a lightbulb – a bit delicate, but totally doable with a little guidance. We know that when your printer flashes that “low ink” or “replace cartridge” warning, it can put a damper on your printing plans. Getting this done right means you’ll be back to printing your important documents, fun photos, or school projects in no time. If your printer displays an error message saying it doesn’t recognize the new cartridges, try removing them again.
Swapping Out Your HP Ink Cartridges
This section covers the core process of physically replacing the ink. We’ll guide you through each action.
Preparing Your Printer for Ink Installation
Before you even touch a new cartridge, there are a few things to do. This preparation ensures you don’t accidentally cause any damage or waste ink. It’s about setting yourself up for success!
Gathering Your Supplies
You’ll need your new HP ink cartridges. Make sure you have the correct model numbers. Check your printer manual or the old cartridges themselves. Using the wrong ink can cause printing errors or even damage your printer. We also recommend having a clean, flat surface nearby. This keeps things organized and prevents the new cartridges from getting dirty before they even get inside. Make sure you have the correct model numbers for your HP ink cartridges to ensure compatibility.
Ensuring Proper Printer State
Your printer needs to be powered on for the ink carriage to move to the correct position. Don’t try to force anything if the printer is off or in an error state. Many HP printers have a specific spot where the carriage rests when it’s ready for cartridge replacement. This is often in the center of the printer. Allowing the printer to do its thing, like moving the carriage, is key.
The Step-by-Step Ink Cartridge Replacement Process
Now, let’s get hands-on. This is where you’ll see the ink going from the box to your printer.
Accessing the Ink Carriage
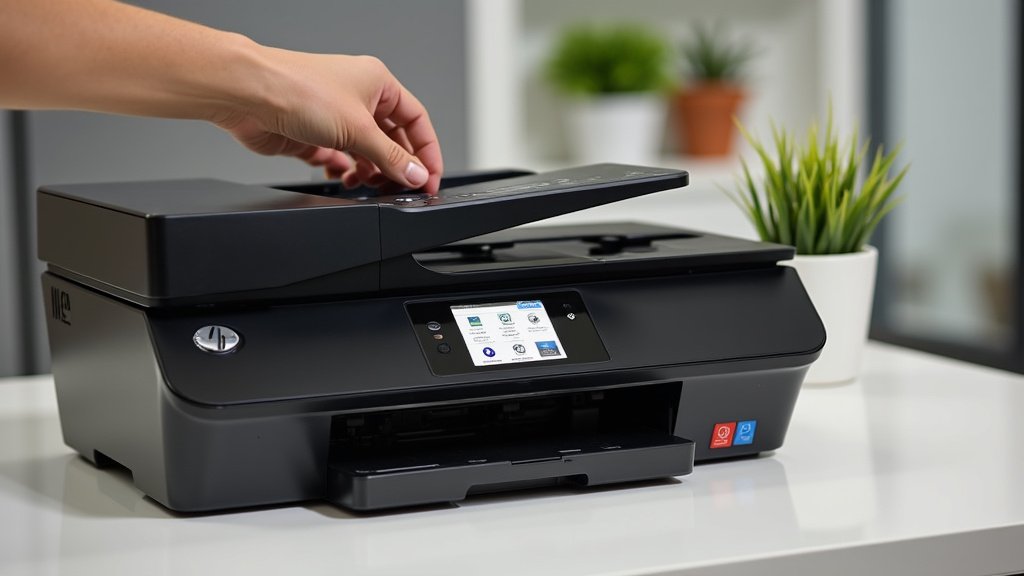
The first physical step is opening the ink cartridge access door. On most HP printers, this door is located on the front, often above the output tray where your printed pages come out. You might need to gently lift or slide it open. Listen for a click or a slight sound indicating it’s unlocked. Once open, you’ll see the ink carriage. This is the part that moves back and forth, holding the ink cartridges. Give it a moment to settle into its replacement position. It’s like waiting for a traffic light to turn green.
Removing the Old Ink Cartridge
Once the carriage has stopped moving, you can remove the old cartridge. Gently press down on the tab or lever that secures the cartridge in place. Some models have a small plastic clip you need to push. As you release the pressure, the cartridge should pop up slightly. Carefully lift it straight out of its slot. Try not to touch the electrical contacts or the ink nozzles. These are sensitive parts. Many users find it helpful to hold the cartridge by its plastic casing.
Preparing the New Ink Cartridge
New cartridges come with protective coverings. You’ll typically find a plastic tab that needs to be pulled off to expose the ink nozzles. You might also see a plastic tape strip covering the air vent. This tape is usually a bright color, like yellow or orange. Carefully remove this tape without touching the electrical contacts or the nozzles. It’s important to pull the tab straight out, not at an angle, to avoid damaging the cartridge. Some people prefer to have paper towels ready, just in case of minor ink drips, though this is rare with new cartridges.
Installing the New Ink Cartridge
Now, take your prepared new ink cartridge and slide it into the empty slot. Make sure you’re placing it in the correct slot – black in the black slot, and color in the color slot. They are usually labeled. Gently push the cartridge down until it clicks into place. You should feel and hear a secure fit. If it doesn’t feel right, don’t force it. Remove it and try again, ensuring it’s aligned correctly. It’s like fitting a puzzle piece; it should slide in smoothly when it’s the right fit.
Closing the Ink Cartridge Access Door
Once both cartridges (if you’re replacing more than one) are securely in place and you’ve heard that satisfying click, you can close the ink cartridge access door. Gently push or slide it back until it latches. Your printer will usually detect that the cartridges have been changed and may go through a brief initialization or alignment process. This can take a minute or two. You might see messages on the printer’s display or your computer screen.
Post-Installation Checks and Tips
You’ve installed the new ink, but there are a few more things to consider.
Printer Alignment and Calibration
After installing new cartridges, many HP printers automatically prompt you to align the print heads. This is a crucial step for ensuring print quality. The printer will usually print an alignment page. You’ll then need to scan this page back into the printer using your scanner. Follow the on-screen instructions carefully. This process tells the printer how the new cartridges are positioned, ensuring your text is sharp and your colors are accurate. Many experts recommend doing this alignment with every new cartridge installation (Cleveland Clinic).
Troubleshooting Common Issues
What if things don’t go perfectly? Don’t panic! Here are a few common hiccups and how to fix them.
Printer Not Recognizing New Cartridges
If your printer displays an error message saying it doesn’t recognize the new cartridges, try removing them again. Check if the protective tape and tabs were fully removed. Ensure the cartridges are seated correctly and have clicked into place. You can also try gently cleaning the electrical contacts on both the cartridge and inside the printer with a dry, lint-free cloth. Sometimes, a simple power cycle – turning the printer off, unplugging it for a minute, then plugging it back in and turning it on – can resolve communication issues.
Poor Print Quality After Installation
If your prints are streaky, faded, or the colors seem off, it might be due to clogged print heads or the need for alignment. Run the printer’s built-in cleaning utility. This function helps clear any dried ink from the nozzles. Most HP printers have this feature accessible through the printer’s control panel or the printer software on your computer. If cleaning doesn’t help, performing the print head alignment process again is often the next best step. Research shows that regular print head cleaning can prevent future quality issues (NIH).
Recycling Your Old Ink Cartridges
What do you do with the old cartridges? Don’t just toss them in the trash! Many old cartridges can be refilled or their components recycled. HP offers a recycling program called HP Planet Partners, where you can return used cartridges for free. Many office supply stores also have drop-off points for ink cartridge recycling. It’s a good way to be environmentally responsible. Studies suggest that recycling printer cartridges can significantly reduce waste sent to landfills.
Here’s a quick checklist to make sure you’ve covered all your bases:
- Verify you have the correct HP ink cartridges
- Ensure the printer is on and the carriage has stopped moving
- Remove old cartridges carefully, avoiding nozzles and contacts
- Remove all protective tape and tabs from the new cartridges
- Install new cartridges firmly until they click into place
- Close the ink door and allow the printer to initialize
Conclusion
You’ve successfully navigated the process of installing new ink cartridges in your HP printer! We’ve walked through preparing your printer, carefully swapping out the old for the new, and confirming everything is working smoothly. Remember, taking a moment to align your print heads ensures your documents look their best. If you encountered any hiccups, don’t worry; common issues are often easily resolved. Once you’re done, take a moment to recycle those old cartridges. Ready to print those important documents or cherished photos? Head over to your printer and give it a test print!
Frequently Asked Questions
How do I know which HP ink cartridge to buy?
Always check your printer’s manual or the ink carriage itself for the specific HP ink cartridge model numbers required. You can also find this information on HP’s website by entering your printer model. Using the correct cartridges ensures compatibility and optimal performance.
Can I install ink cartridges if my printer is turned off?
No, it’s best to have your printer powered on. This allows the ink carriage to move to the designated service position, making it easier and safer to access and replace the cartridges. Trying to force the carriage when the printer is off can cause damage.
What if the new ink cartridge doesn’t click into place?
Don’t force it. First, double-check that you’ve removed all protective tape and tabs from the new cartridge. Then, ensure you are placing it in the correct slot (black or color) and that it is aligned properly. Gently try pushing it down again until you hear and feel the secure click.
Why does my printer print an alignment page after changing ink?
This alignment page is essential for print quality. It helps your printer calibrate the new ink cartridges, ensuring that text is sharp and colors are accurate. You’ll typically need to scan this page back into the printer as instructed to complete the process.
Is it okay to touch the ink nozzles on a new cartridge?
It’s best to avoid touching the ink nozzles or the electrical contacts on the new cartridge. These parts are sensitive and can be easily damaged by oils from your skin, which might affect print quality. Handle the cartridge by its plastic casing.
