How to Print an Invitation with Envelopes to Match?
On this page (3 sections)
Yes, you absolutely can print invitations with matching envelopes yourself! It’s a fantastic way to save money and add a personal touch. With the right setup, you can achieve professional-looking results right at home. Many people worry about the alignment and paper quality, but it’s more achievable than you think.
Printing your own invitations allows for complete creative control. You can choose the exact font, color, and design to match your event’s theme. Plus, matching the envelopes ensures a polished and cohesive presentation. We’ve found that even beginners can master this with a little guidance and the correct materials.
- Know your printer’s capabilities.
- Choose the right cardstock and envelopes.
- Design with print margins in mind.
- Test print before your main run.
- Double-check envelope sizing.
Let’s walk through exactly how to print your invitations and envelopes so they perfectly match your event’s style.
Printing Your Own Perfectly Matched Invitations and Envelopes
Printing your own invitations and envelopes can seem daunting, but it’s totally doable. You get to be the designer and printer. This means big savings and a truly custom look. Let’s break down how to get professional results right from your home printer.
Choosing the Right Paper and Envelope Stock
The foundation of a great invitation is the paper. For invitations, you’ll want a cardstock. It’s much thicker than regular paper. Aim for something between 80 lb and 100 lb cover weight. This feels substantial in your guests’ hands. Lighter paper can feel cheap. Heavier stock can jam some printers.
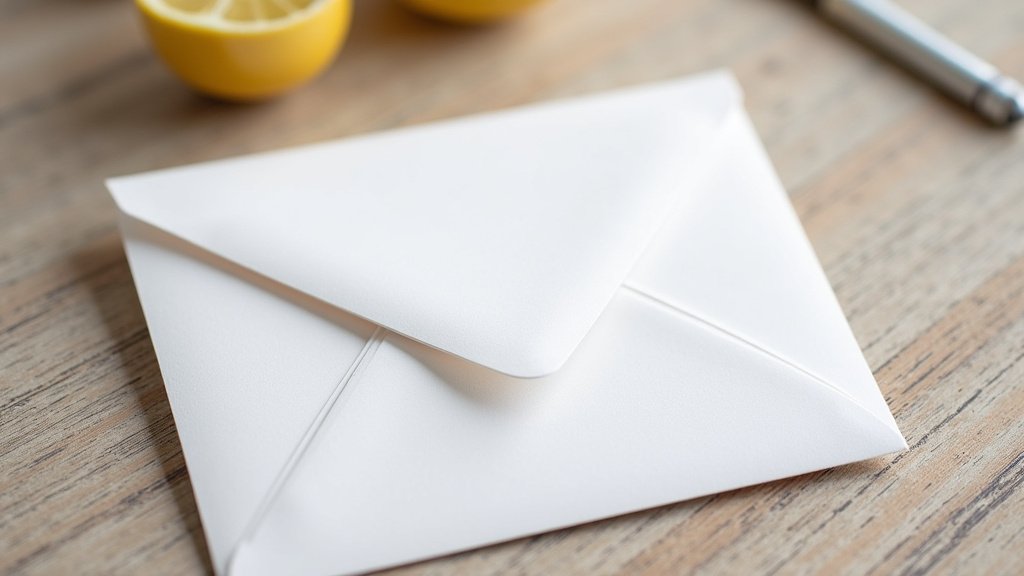
For your envelopes, you need a good quality paper as well. A 24 lb or 28 lb envelope paper is standard and works well. It should be sturdy enough to go through the mail. Make sure the paper for your envelopes has a similar texture or finish to your cardstock. This creates that cohesive, matched look.
Understanding Your Printer’s Capabilities
Before you buy anything, get to know your printer. Can it handle thicker cardstock? Many home printers have limitations. Check your printer’s manual for its maximum paper weight capacity. Also, look at its duplexing capabilities. This is for double-sided printing, which you might need for invitations.
Some printers feed paper from the front and eject it from the top. Others feed and eject from the front. This matters for how you load the envelopes later. You want to know if your printer can reliably feed and print on the small surface area of an envelope. Test this out with plain paper first.
Designing Your Invitations for Print
When you design your invitation, think about where the printer puts ink. You need to leave printable margins. Most printers can’t print right to the edge of the paper. This is called the ‘bleed area’.
Your design software will have settings for margins. Usually, a 0.25-inch margin is safe. This ensures your text and graphics don’t get cut off. If you’re using a template, make sure it’s set up for printing. Some templates are designed for professional printers that handle bleeds differently.
Setting Up Your Design Software
Start with the correct document size. A standard invitation is 5×7 inches. If you’re printing multiple invitations on a larger sheet of paper (like 8.5×11 inches), set up your document accordingly. You’ll then arrange multiple invitation designs on that sheet.
Use high-resolution images and graphics. Low-resolution images will look pixelated when printed. Aim for at least 300 DPI (dots per inch). This is the standard for good quality prints. Your color mode should be CMYK for professional printing, but most home printers handle RGB files well. If in doubt, check your printer’s recommendations.
Preparing Your Envelopes for Printing
This is where things can get a little tricky. You need to tell your printer exactly how to feed the envelope. Most design software allows you to create a custom envelope size or select a standard one. You’ll then place the recipient’s address and your return address on this template.
The key is the orientation and positioning. Will the flap be on the left or right? Will the address be printed on the front or back? Most printers prefer envelopes to be fed with the flap side down or up, depending on the model. You’ll need to align your design within the printable area of the envelope template.
Testing Envelope Printing
Never print addresses directly onto your beautiful envelopes the first time. Use plain paper cut to the size of your envelope. Feed this paper through your printer exactly as you plan to feed the envelopes. This lets you check alignment and positioning. You can make adjustments in your design software. Many people find this step saves them from wasted envelopes.
The All-Important Test Print
Before you commit your entire stack of cardstock and envelopes, do a test print. Print one invitation and one envelope. Check the colors. Are they vibrant? Is the text crisp and easy to read? Look at the alignment of the invitation design and the envelope addresses.
You might need to adjust colors or positioning slightly. Printers can vary in how they interpret colors. Small tweaks can make a big difference. A test print is your best friend. It helps you catch errors before you print fifty or more invitations.
Printing Your Invitations: Step-by-Step
Load your cardstock into the printer. Make sure it’s loaded correctly according to your printer’s feed mechanism. Double-check that the side you want printed is facing the right way up. Start your print job. Keep an eye on the first few invitations to ensure they feed properly.
Once your invitations are printed and dry, it’s time for the envelopes. Load your matching envelopes. Again, ensure they are oriented correctly. Print your addresses. Allow the ink to dry completely before handling them. This is especially important with inkjet printers.
Ensuring Envelope and Invitation Harmony
The goal is for your invitations and envelopes to look like they were meant to be together. This means matching paper type, color, and font. If your invitation has a border, try to have the envelope address placed so it doesn’t clash with the invitation’s design when inserted.
Many couples choose to print their return address on the back flap of the envelope. This adds another touch of personalization. Ensure the font and size are consistent with the main invitation text. It’s a small detail that really ties everything together.
A Quick Checklist for Success
Here’s a handy checklist to keep you on track:
- Check Printer Specs: Know your printer’s paper weight limits and feed type.
- Select Quality Stock: Choose substantial cardstock for invites and matching envelope paper.
- Design for Margins: Leave adequate space for printer margins in your design.
- Test Print Everything: Print a sample invitation and envelope before bulk printing.
- Verify Envelope Feed: Test how your printer handles envelopes for correct alignment.
- Allow Ink to Dry: Give printed invitations and envelopes ample time to dry fully.
Troubleshooting Common Printing Issues
Sometimes, things don’t go perfectly. Paper jams are common, especially with thicker cardstock. Try removing the paper gently. Reloading it carefully might solve the issue. If your printer constantly jams, it might not be suited for the paper weight you’re using.
Ink smudging can happen if the paper is too smooth or the ink isn’t dry. Some papers require special inks or printer settings. If colors look off, check your printer’s color settings or try a different print profile. Many printer manufacturers offer guides for printing on different media types.
When to Consider Professional Help
While home printing is cost-effective, it’s not always the best solution for everyone. If your printer is old or very basic, you might struggle with quality. Very intricate designs or specialty papers might also be better handled by professionals. Many online print shops offer design services too.
If you’re printing a large quantity, like hundreds of invitations, a professional printer can ensure consistency and speed. They also handle the bleed and color matching perfectly. It’s about finding the right balance for your budget and desired outcome. For many, the DIY approach is incredibly rewarding!
Conclusion
You now have the knowledge to print your own perfectly matched invitations and envelopes. We found that by understanding your printer’s limits and choosing the right paper, you can achieve professional-looking results. Careful design with print margins in mind and thorough test prints are your best allies. Don’t forget to allow ample drying time for a smudge-free finish. Your next step is to gather your supplies and start designing!
Frequently Asked Questions
Can I print on colored envelopes?
Yes, you can print on colored envelopes! Many printers handle colored paper well. The key is to test print first to ensure the ink shows up clearly and the colors contrast nicely. Always check your printer’s manual for specific guidance on printing on colored stock.
What if my printer won’t feed envelopes properly?
Envelope feeding issues are common. Try adjusting the paper guides in your printer’s tray. Some printers have a specific envelope feeding slot. If your printer struggles, consider hand-addressing or using envelope printing services for the matching envelopes.
How do I ensure the font on the envelope matches the invitation exactly?
To ensure an exact match, use the same font file in your invitation design software and your envelope design software. Make sure you’re using the same font name and size. Saving your invitation design as a PDF can also help maintain font consistency.
What is the best way to position text on the envelope for printing?
Position your text within the printable area of your envelope template. Most printers prefer the address centered vertically and left-aligned horizontally. For return addresses, the back flap is a popular spot, typically placed in the upper left corner.
My printed invitations look slightly different in color than I designed them. What’s wrong?
This is often due to your printer’s color settings or calibration. Check your printer’s driver settings for color management options. You might need to adjust the saturation or contrast. Printing a test page on your specific paper stock is essential for fine-tuning colors.