How to Print Multiple Photos on One Page?
On this page (6 sections)
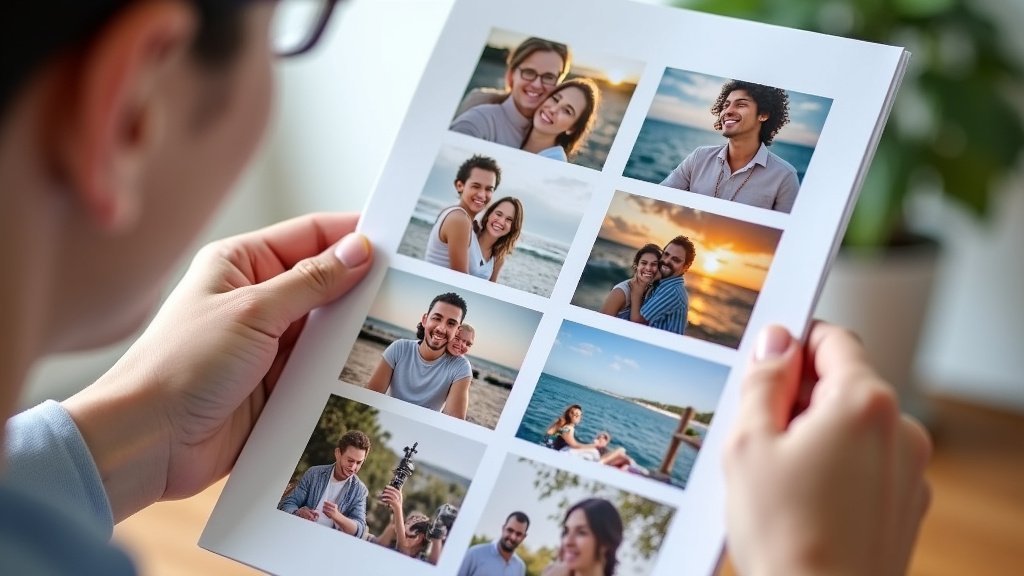
You absolutely can print multiple photos on one page! This is a fantastic way to save paper and ink. It also helps you organize your memories without needing a full photo album. Most photo printing services and even your home printer software make this very easy to do. You just need to know where to look.
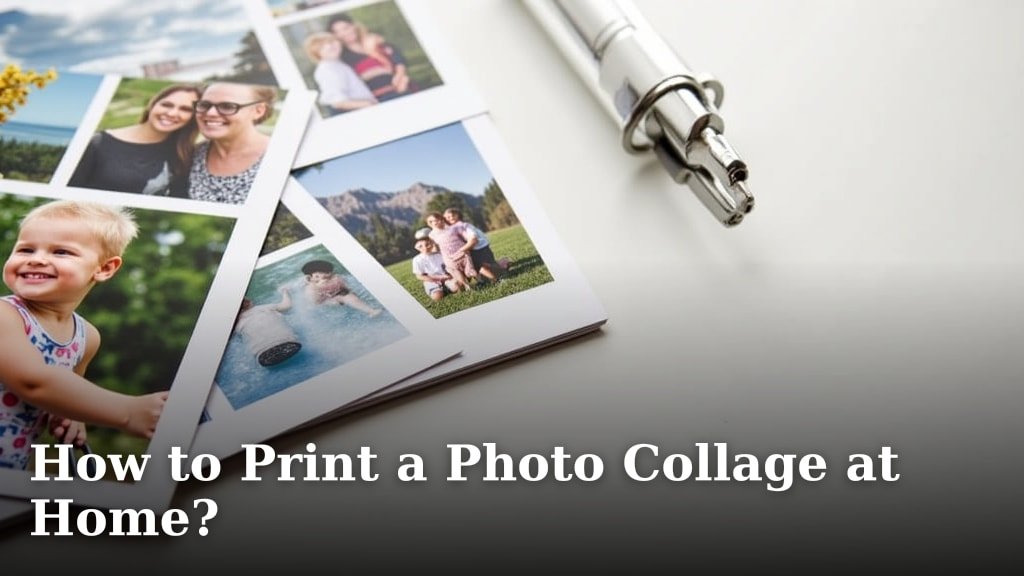
Whether you’re prepping for a scrapbook, creating a photo collage, or just want to share a bunch of pictures at once, printing photos together is a smart move. It’s a cost-effective printing method. Plus, it gives your photo layouts a professional and creative touch. We’ll show you how.
- Print multiple photos on one page to save paper.
- This is easy to do with most printers and services.
- It’s a great way to organize and display many pictures.
- You can create collages or prepare for scrapbooking.
Let’s walk through exactly how you can get those photos printed together, step by step.
Getting More Photos on a Single Sheet
Printing multiple photos on one page is a smart way to conserve resources. You’ll save money on ink and paper. It’s also a fantastic method for creating photo pages for your scrapbook. You can even make your own custom photo collages this way. Most modern printers and even online printing services make this surprisingly simple.
Understanding Your Printing Options
There are two main ways you can achieve printing multiple photos on a single page. You can use your home computer and printer. Or, you can use an online photo printing service. Each has its own set of advantages. Your choice will likely depend on your needs and how many photos you’re printing.
Using Your Home Printer Software
Most home printers come with software that lets you manage print jobs. This software often has built-in features for printing multiple images. You can usually select a layout. Then, you drag and drop your chosen photos into the available slots. It’s like putting together a puzzle, but with memories!
You’ll typically find options for how many photos per page. Common choices include 2, 4, 6, or even 9 photos. Some software even allows for custom arrangements. This is perfect for when you have a mix of picture sizes in mind. You simply need to make sure your printer is connected and the correct drivers are installed.
Leveraging Online Photo Printing Services
Many online photo printing services offer collage printing or multi-photo prints. You upload your photos to their website. Then, you select a pre-designed template or a custom layout. These services often have user-friendly interfaces. They guide you through the process easily. Some even offer advanced editing tools.
These services can be great for larger print jobs. They often use professional-grade printers. This can result in higher quality prints. You’ll get to see a digital preview before you commit. This helps ensure everything looks exactly how you want it. Think of it like a dress rehearsal for your photos.
Steps for Printing Multiple Photos at Home
Printing multiple photos on one page from your computer is quite straightforward. You’ll usually use your operating system’s built-in photo viewer or a dedicated photo editing program. Let’s break down the common steps involved.
Preparing Your Photos
Before you even think about printing, get your photos ready. Make sure the pictures you want to print are in a single folder on your computer. This makes them easy to find. You should also check their resolution. Low-resolution photos might look blurry when printed larger than intended.
Many experts suggest using photos with a resolution of at least 300 DPI (dots per inch) for good print quality. For typical 4×6 inch prints, this is usually sufficient. If your photos are for a small collage, slightly lower resolution might still look acceptable. But for larger prints, higher resolution is always better (National Geographic).
Using Windows Photo Viewer or Photos App
If you’re a Windows user, you probably have access to the Photos app or the older Windows Photo Viewer. Here’s how to print multiple photos using these tools:
- Open your chosen photo viewer application.
- Select the photos you want to print. You can often do this by clicking on the first photo, then holding down the ‘Ctrl’ key while clicking on others.
- Right-click on any of the selected photos.
- Look for an option like “Print” or “Print pictures.”
- A printing window will appear. Here, you’ll find options for paper size, layout, and quantity.
- Under “Layout,” choose a multi-photo option like “2 pictures per page” or “4 pictures per page.”
- Adjust other settings as needed, such as paper type and quality.
- Click “Print.”
The Photos app in Windows 10 and 11 is quite user-friendly. It offers various layouts directly within the print dialog. You can experiment with different arrangements to see what fits best. Some users prefer this for its simplicity. It feels very intuitive.
Using macOS Preview
For Mac users, the built-in Preview application is your go-to tool. It’s surprisingly powerful for basic photo tasks:
- Open the first photo you want to print in Preview.
- In the menu bar, go to “File” and then “Print.”
- In the print dialog box that appears, you’ll see various options.
- Look for a “Layout” dropdown menu. Select a layout that shows multiple photos per page. Options like “2×2” or “3×3 contact sheet” are common.
- You can then add more photos to the print job. Go back to Finder, select the additional photos, and drag them directly into the print preview window.
- Adjust other settings like paper size and orientation.
- Click “Print.”
The “Contact Sheet” layout in Preview is particularly useful. It arranges your selected photos in a grid. This is ideal for creating an index of your pictures or preparing pages for a scrapbook. It’s a real time-saver. You won’t have to manually resize each image.
Using Photo Editing Software
More advanced photo editing software like Adobe Photoshop, Lightroom, or even free options like GIMP can offer more control. These programs are excellent if you want a highly customized layout. They allow you to precisely position each photo.
Most of these programs have a “Print Module” or similar feature. You can import multiple images. Then, you can arrange them on a digital canvas that matches your paper size. You can add borders, text, or other design elements. This level of control is unmatched. It’s perfect for creating professional-looking photo collages or invitations.
For instance, in Lightroom, you can go to the “Print” module. You can choose a template or create your own. You can specify the exact dimensions and spacing for each photo. You can even set up rulers and guides. This helps you align everything perfectly. It’s like having a digital layout studio.
Tips for the Best Multi-Photo Prints
To ensure your multi-photo prints turn out great, keep a few things in mind. These small details can make a big difference in the final look and feel of your prints.
Choose the Right Paper
The type of paper you use impacts the final appearance of your photos. For everyday prints, plain printer paper might suffice. However, for better quality and vibrancy, consider using photo paper. There are glossy, matte, and satin finishes available.
Glossy paper makes colors pop but can show fingerprints. Matte paper has a smooth, non-reflective surface, which is great for scrapbooks. Satin paper offers a good middle ground with a subtle sheen. Many experts recommend using paper specifically designed for your printer type (inkjet or laser) for optimal results (Epson).
Check Print Preview Carefully
Always use the print preview function before hitting that print button. This screen shows you exactly how your photos will appear on the page. You can catch any errors, like photos being cut off or misplaced. It’s your last chance to make adjustments.
Look closely at the margins and the spacing between photos. Ensure that important parts of your pictures aren’t being cropped out. If something looks off, go back and adjust your layout. Don’t be afraid to try a different layout option if the first one isn’t working. It’s better to adjust now than waste ink and paper.
Consider the Purpose of Your Prints
Are you printing for a scrapbook? Or perhaps for a quick photo-sharing session with friends? The purpose can guide your layout choices. For scrapbooking, you might want smaller photos with space around them for journaling. For sharing, you might want more photos crammed onto a single page.
Think about how people will view the final print. If it’s a collage for a wall, larger individual photos might be better. If it’s a page in an album, a contact sheet style could be more practical. Aligning your print strategy with your end goal makes the process more efficient.
Don’t Forget Ink Levels
Printing multiple photos can consume a fair amount of ink. Before you start a large printing job, check your ink levels. Running out of ink mid-print can lead to streaks or incomplete images. It’s also a waste of the paper you’ve already used.
Many printer software applications will alert you when ink is low. It’s a good habit to check these levels periodically. If you’re planning a big printing session, consider stocking up on replacement cartridges in advance. This prevents unexpected interruptions. Running out of ink is like a band hitting a sour note – it ruins the rhythm.
Test Print a Small Batch
If you’re printing a large number of photos or trying a new layout, do a test print first. Print just one or two pages. Examine them closely. This allows you to confirm that the colors are accurate and the layout is as you intended. It’s a low-risk way to ensure success.
This is especially important if you’re using a new printer or new paper. Sometimes, printer settings need fine-tuning. A test print helps you catch any calibration issues. Once you’re satisfied with the test, you can proceed with printing the rest of your photos with confidence.
| Method | Best For | Pros | Cons |
|---|---|---|---|
| Home Printer Software | Small to medium jobs, quick prints | Convenient, no upload needed, instant results | Quality may vary, ink can be expensive |
| Online Printing Services | Larger jobs, higher quality needs | Professional quality, wide layout options, often cheaper for bulk | Requires uploading, delivery time, less immediate |
| Advanced Photo Software | Custom layouts, creative control | Precise control, design flexibility, professional results | Steeper learning curve, software cost |
Quick Checklist for Your Next Print Job
Here’s a quick rundown to make sure your multi-photo printing goes smoothly:
- Gather & Organize: Put all desired photos in one folder.
- Check Quality: Ensure photos have good resolution for printing.
- Select Software/Service: Choose your preferred printing method.
- Pick a Layout: Select a template or arrange photos in your software.
- Review Preview: Always check the print preview before printing.
- Prepare Supplies: Ensure you have enough ink and the right paper.
Conclusion
You now have all the tools to print multiple photos on a single page with ease. Whether you’re using your home printer’s software, a macOS Preview, or advanced editing programs, the process is more accessible than ever. Remember to prepare your photos, check print previews carefully, and choose the right paper for the best results. This simple technique is a fantastic way to save money and get creative with your memories. Your next printing project is just a few clicks away!
Frequently Asked Questions
Can I print photos in different sizes on the same page?
Some advanced photo editing software, like Photoshop or Lightroom, allows you to precisely arrange photos of different sizes on a custom layout. Your home printer’s built-in software might offer fewer options for this, often sticking to a uniform grid for all images.
What is the best resolution for printing multiple photos?
For good print quality, aim for a resolution of at least 300 DPI (dots per inch). If you’re printing smaller photos on one page, a slightly lower resolution might still look acceptable. However, always check your printer’s recommendations and consider the final size of each photo.
How do I avoid my photos being cut off when printing multiple on one page?
Always use the print preview function before you print. This will show you exactly how your photos will appear on the page and where any cropping might occur. You can then adjust the layout or reposition your photos as needed to ensure nothing important is missed.
Is it cheaper to print multiple photos on one page versus individually?
Yes, printing multiple photos on one page is generally cheaper. You’ll use less paper and significantly less ink compared to printing each photo on its own sheet. This is especially true if you are printing many small photos.
What should I do if my colors look different when printing multiple photos?
Color discrepancies can happen due to monitor calibration or printer settings. Try using your printer’s specific color profiles or selecting a “photo” setting in the print dialog. Doing a test print on a single page can help you fine-tune these settings before committing to a larger print job.