How to Print Return Address Labels?
On this page (10 sections)
- Getting Your Return Address Labels Printed at Home
- Choosing the Right Label Sheets for Your Printer
- Preparing Your Design and Text
- Setting Up Your Printer for Printing Labels
- Performing a Test Print
- Printing Your Return Address Labels
- Troubleshooting Common Label Printing Issues
- Quick Checklist for Printing Success
- Conclusion
- Frequently Asked Questions
Printing your own return address labels is a super handy way to save time and add a professional touch. You can easily do this using your home printer and some special label sheets. This method is much faster than writing them all by hand.
Getting your return address labels printed at home means you can customize them whenever you need to. Whether you’re sending out holiday cards or just everyday mail, having pre-printed labels is a huge time-saver. It’s a simple trick that makes a big difference for your correspondence. Plus, you can get creative with your designs.
- Use a home printer for return address labels.
- Special label sheets are available for most printers.
- This saves time compared to handwriting addresses.
- Customize your labels for a personal touch.
- It’s a quick and efficient mailing solution.
Let’s walk through exactly how to print your own return address labels step by step.
Getting Your Return Address Labels Printed at Home
Printing your own return address labels is a super handy way to save time and add a professional touch. You can easily do this using your home printer and some special label sheets. This method is much faster than writing them all by hand.
Getting your return address labels printed at home means you can customize them whenever you need to. Whether you’re sending out holiday cards or just everyday mail, having pre-printed labels is a huge time-saver. It’s a simple trick that makes a big difference for your correspondence. Plus, you can get creative with your designs.
Choosing the Right Label Sheets for Your Printer
Before you can print, you need the right materials. The most important thing is to select label sheets that are compatible with your printer. You wouldn’t want to buy a whole pack only to find out they don’t work!
Understanding Label Sheet Types
Label sheets come in various sizes and configurations. The most common type for return address labels is a sheet with multiple small, rectangular labels. These are often called “address label sheets” or “mailing label sheets.”
Sheet Sizes and Layouts
You’ll find sheets with different numbers of labels. Some might have 30 labels, while others could have 60 or even more. The layout matters too. Look for sheets where the labels are a good size for your return address. Standard return address labels are typically about 1 inch tall and 3 inches wide, but you can find smaller ones too.
Material Matters: Paper vs. Synthetic
Most label sheets are made of paper. These are usually the most affordable option. They work well for most everyday mailing needs. However, if your mail might encounter moisture, a synthetic label might be better. Synthetic labels, often made of vinyl or polyester, are more durable and water-resistant. For regular mail, paper labels are perfectly fine (Source: U.S. Postal Service recommendations on mail preparation).
Ensuring Printer Compatibility
This is a big one! You need to make sure the label sheets are designed for your specific printer type: inkjet or laser. Using the wrong type can damage your printer or result in smudged ink. Make sure the label sheets are specifically inkjet or laser compatible.
Inkjet Printers
Inkjet printers spray liquid ink onto the paper. Most standard address label sheets work well with inkjet printers. Just make sure the label material is compatible. Some inkjet-specific labels have a coating that helps the ink dry faster and prevents smudging. If you’re unsure, check the label packaging for “inkjet compatible” wording.
Laser Printers
Laser printers use toner, which is fused onto the paper with heat. Not all label sheets can withstand this heat. Look for labels specifically marked as “laser compatible.” These labels are often made with materials that won’t melt or warp under the heat of a laser printer. Using the wrong labels in a laser printer can cause serious damage and be a fire hazard (Source: Printer manufacturer guidelines). Using inkjet paper in a laser printer can cause damage due to high heat.
Preparing Your Design and Text
Now that you have your label sheets, let’s get your address ready to print. You can do this with basic software you likely already have on your computer.
Using Word Processing Software
Your trusty word processor, like Microsoft Word or Google Docs, is an excellent tool for this. You can create your labels from scratch or use built-in templates.
Creating a Custom Layout
Open a new document. You can set up a table with the exact dimensions of your labels, or you can use the “Labels” feature in most word processors. In Word, for example, you go to the “Mailings” tab, then select “Labels.” You can then choose a product number that matches your label sheet brand, or set up custom dimensions. This ensures your text lines up perfectly.
Inputting Your Return Address
Type your return address carefully. Double-check for any typos! Include your full name, street address, city, state, and ZIP code. Many people also add their email address or phone number on a second line if space allows, though this isn’t required for postal services.
Formatting for Readability and Style
This is where you can add a personal touch. Think about how you want your labels to look.
Font Choices
Select a font that is easy to read. Avoid overly decorative or script fonts for the main address text. A clean, simple font like Arial, Calibri, or Times New Roman is usually best. You can experiment with font sizes too, but ensure it’s not too small to read at a glance.
Adding a Personal Touch (Optional)
Want to make your labels stand out? You can add a small graphic, your company logo, or even a decorative border. Keep it simple, though. The primary purpose is for your address to be clear. Most software allows you to insert images or shapes. Make sure any graphics are low-resolution enough to print clearly but don’t take up too much space.
Setting Up Your Printer for Printing Labels
Printing labels isn’t quite like printing a regular document. A few printer settings need your attention to ensure a perfect print job.
Loading the Label Sheets Correctly
This is critical! How you load the sheets affects where the labels print on the page. Always consult your label sheet’s instructions for guidance. Generally, you’ll load the sheets with the printable side facing up or down, depending on your printer model. Pay attention to which edge of the sheet goes into the printer first.
Tray vs. Manual Feed
Some printers have a special tray for labels or thicker paper. If yours does, use it. If not, you’ll likely use the main paper tray or a manual feed slot. The manual feed is often best for labels as it gives you more control over how the sheet is fed through. Make sure the label sheet lies flat and isn’t bent or curled.
Adjusting Printer Settings
Your printer driver software has options that can make a big difference. Don’t just hit “print” right away!
Paper Type and Quality
In your printer’s settings (usually accessed by clicking “Preferences” or “Properties” from the print dialog box), look for the “Paper Type” or “Media Type” setting. Select “Labels,” “Cardstock,” or a similar option that indicates a thicker material than plain paper. This helps the printer adjust its feeding mechanism and ink/toner application. Also, set the print quality to “Best” or “High” for the sharpest results.
Print Preview is Your Friend
Before printing a whole sheet, always do a test print. Print on a plain piece of paper first, lining it up exactly where your label sheet would go. You can even put a plain sheet behind your label sheet in the manual feed to see how it aligns. This way, you can catch any alignment issues before wasting a whole sheet of expensive labels.
Performing a Test Print
Think of this as a dress rehearsal for your labels. It’s a small step that can save you a lot of frustration and wasted labels.
The First Label Test
After you’ve set up your document and loaded the label sheet, print just one label, or better yet, print a whole sheet but on plain paper first. You can mark where the text should fall on that plain paper.
Alignment Check
Once printed, carefully compare the text on your test paper to the actual label sheet you’ll be using. Are the lines centered? Is the text too close to the edges of the labels? If something looks off, go back to your software and adjust the margins or the layout of your text. This might take a couple of tries to get just right.
Making Adjustments
If your test print shows the text is too high, too low, too far left, or too far right, you’ll need to tweak your document settings. Tiny adjustments can make a big difference. You might need to adjust the top margin in your software or the horizontal alignment. Again, consult your label sheet’s instructions for guidance on how they recommend aligning them.
Printing Your Return Address Labels
You’ve prepped, designed, and tested. Now it’s time for the main event!
Loading the Final Sheet
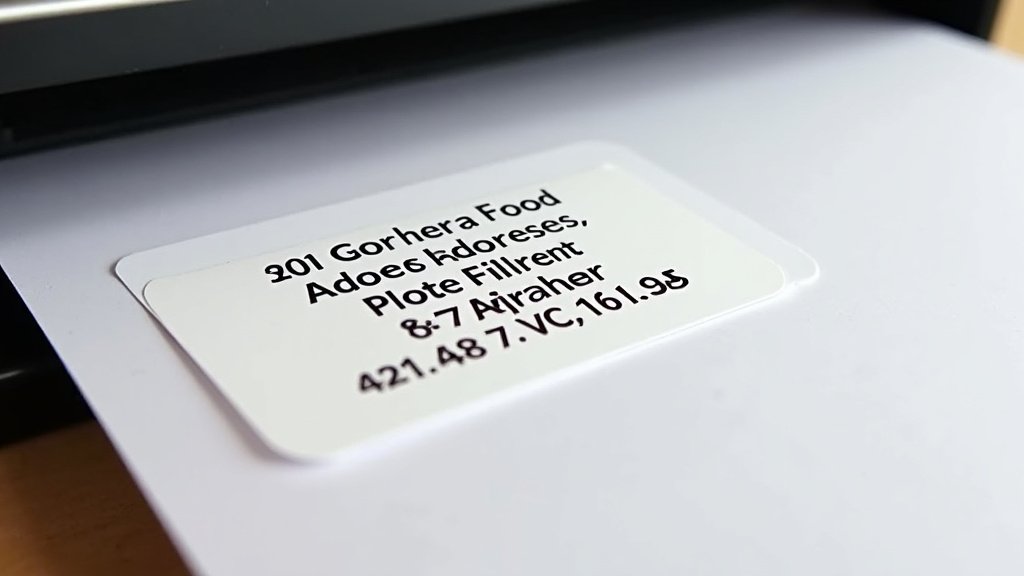
Carefully load your actual sheet of return address labels into the printer. Follow the same loading procedure you used for your test print to ensure perfect alignment.
Initiating the Print Job
Once the sheet is loaded correctly, go ahead and click “Print” from your software. Keep an eye on the printer as it feeds the sheet through. Listen for any unusual noises and watch for any smudging or misfeeds. If everything looks good, you’ll soon have a sheet of perfectly printed return address labels!
Troubleshooting Common Label Printing Issues
Sometimes, things don’t go exactly as planned. Here are a few common problems and how to fix them.
Smudged Ink or Toner
This often happens if you used the wrong paper type setting or if the ink hasn’t dried. Ensure you selected “Labels” for the paper type. For inkjet printers, try letting the labels dry for a few minutes after printing before handling them. For laser printers, ensure you’re using laser-compatible labels.
Misaligned Text
If your text is consistently printing off-center, it’s usually an issue with how the label sheet is loaded or how the software margins are set. Double-check your loading method against the label sheet’s instructions and re-verify your software layout and margins. Even a millimeter can make a difference.
Labels Not Feeding Properly
Curled or damaged label sheets can cause feeding problems. Ensure your sheets are flat and undamaged. If your printer has a manual feed, try using that. Sometimes, slightly adjusting the paper guides in the tray can help the sheet feed more smoothly.
Quick Checklist for Printing Success
Follow these simple steps for a smooth printing experience:
- Choose the right label sheets for your printer type (inkjet or laser).
- Format your return address clearly in your chosen software.
- Load the label sheets correctly according to printer and label instructions.
- Select the correct paper type in your printer settings.
- Perform a test print on plain paper first.
- Adjust and reprint if necessary before printing the full sheet.
Conclusion
You’ve got this! Printing your own return address labels is totally achievable and a fantastic way to make your mail look polished. By selecting the right label sheets for your printer, carefully preparing your design, and paying attention to printer settings, you’ll be printing perfect labels in no time. Remember to always do that crucial test print on plain paper first. It’s a small step that saves you so much hassle. So go ahead, set up your design, load your printer, and start creating those professional-looking labels for all your correspondence.
Frequently Asked Questions
What’s the best software to use for printing return address labels?
Your everyday word processing software, like Microsoft Word or Google Docs, is usually perfect for creating your return address labels. Most programs have built-in label templates or allow you to set custom dimensions easily.
Can I reuse a label sheet if I make a mistake?
Unfortunately, once a label has been printed on and potentially fed through the printer, it’s usually not reusable. It’s best to aim for perfection on the first try, which is why test prints are so important.
How do I make sure my text is centered on the label?
Centering your text involves adjusting the margins and layout within your software. Using a label template in your word processor or creating a table with precise label dimensions will help significantly with alignment.
What if my printer keeps jamming when I try to print labels?
Label sheets can sometimes be too thick or curled for a printer. Make sure your sheets are flat and undamaged. Using your printer’s manual feed or a dedicated label tray, if available, can often resolve jamming issues.
Are there different label sizes I should be aware of?
Yes, return address labels come in various sizes. Standard labels are often around 1 inch by 3 inches, but you can find smaller or larger ones. Always check the dimensions of your label sheet to match your design settings.