
How to Install Ink Cartridges in a Canon Printer?
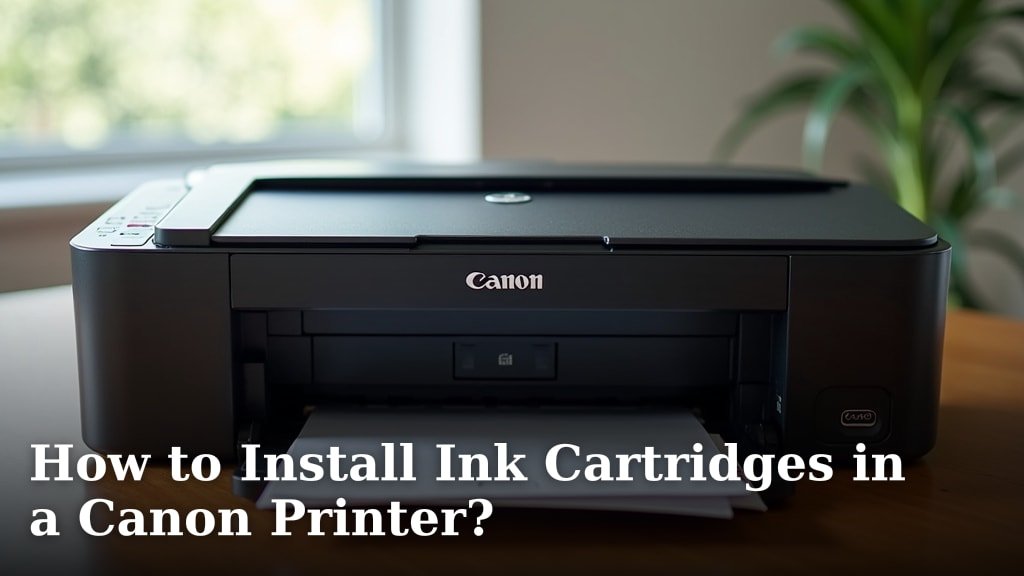
Installing ink cartridges in your Canon printer is a straightforward process. You’ll typically need to open the printer cover, wait for the print head to move, and then carefully remove the old cartridges and insert the new ones. It’s important to handle them gently and ensure they click into place.
Replacing ink is a common printer task. Doing it correctly ensures your printer continues to produce clear, vibrant prints. We’ve found that many users find this task a bit intimidating at first, but it’s really quite simple once you know the steps. This guide will help you get it done quickly.
- Open your printer cover.
- Wait for the print head to position itself.
- Remove the old ink cartridge.
- Install the new cartridge firmly.
- Close the printer cover.
Let’s walk through exactly how to install your Canon ink cartridges step by step, making sure you get it right the first time.
Swapping Your Canon Ink Cartridges: A Simple Guide
Installing new ink cartridges in your Canon printer might seem daunting at first. But don’t worry, we’ve broken down the process into easy-to-follow steps. You’ll have your printer ready for printing in no time. It’s all about being gentle and precise.
Getting Ready to Install New Ink
What You’ll Need Before You Start
Before you dive in, gather your supplies. Having everything ready makes the process much smoother. You don’t want to be searching for things mid-task. Let’s make sure you’re prepared.
- Your new Canon ink cartridge(s). Make sure they are the correct model for your printer.
- A clean, flat surface to place the cartridge on.
- Possibly a lint-free cloth for wiping any accidental smudges.
- Your printer’s power cord plugged in and the printer turned on.
When Is It Time for New Ink?
Your Canon printer will usually tell you when it’s low on ink. You’ll often see a message on your computer screen or the printer’s display. Sometimes, prints might start to look faded or streaky. These are clear signs it’s time for a change. Don’t wait too long, or you might end up with blank pages!
Choosing the Right Canon Ink Cartridges
Canon printers use specific ink cartridge models. Using the wrong kind can cause printing issues or even damage your printer. Always check your printer’s manual or the Canon website for the exact cartridge numbers. You can usually find this information printed on the old cartridges, too.
Many Canon printers use two main types of cartridges: black and color. Some models have separate cartridges for each color (cyan, magenta, yellow), while others use a single tricolor cartridge. Knowing your printer model helps you buy the exact replacements.
Step-by-Step Installation Process
1. Prepare Your Printer
First, turn on your Canon printer. This is important because it allows the printer to move the print head to the correct position for replacement. If you try to replace ink while the printer is off, the print head might not be accessible. We found that this step is often overlooked.
Open the printer’s main cover or access door. This is usually located at the front or top of the printer. You’ll hear a slight whirring sound as the printer prepares itself. Be patient; it might take a minute for the print head to move to the center or the designated ink replacement area.
2. Removing the Old Ink Cartridge
Once the print head has stopped moving, you can identify the cartridge that needs replacing. It will likely be labeled with a color or number. Gently push down on the tab or lever securing the cartridge. It should then pop up slightly.
Carefully pull the cartridge straight up and out of its slot. Avoid touching the electrical contacts or the ink nozzles. These parts are sensitive. If you get ink on your fingers, that’s okay! Just try not to smudge the printer’s internal components. Many experts recommend keeping the old cartridges handy for a moment, just in case.
We suggest placing the old cartridge into a small plastic bag or its original packaging. This prevents any leaks and keeps your workspace clean. Remember, some cartridges can be refilled or recycled. Check your local guidelines for proper disposal.
3. Installing the New Ink Cartridge
Take your new Canon ink cartridge out of its packaging. Be careful not to touch the ink nozzles or the electrical contacts. These are the gold or copper-colored parts. Also, remove any protective tape or covers. Most new cartridges have a yellow or orange tab that needs to be pulled off. It will often say “Pull” on it.
Now, hold the new cartridge at a slight upward angle. Align the cartridge with the correct slot in the print head. The color or number on the cartridge should match the slot. Gently slide the cartridge into the slot. You should feel it begin to seat properly.
Once aligned, push the cartridge down firmly until it clicks into place. You should hear a distinct “click.” This indicates that the cartridge is securely seated. If it doesn’t click, it might not be installed correctly. Try removing it and reinserting it carefully.
Make sure the cartridge sits flush with the other cartridges. If it’s sticking out or at an odd angle, it won’t print correctly. We found that applying even pressure helps ensure it locks in.
4. Completing the Installation
After both old cartridges are removed and new ones are installed, close the printer’s access door or cover. The printer will likely go through a brief initialization or alignment process. This might involve printing a test page or running a cleaning cycle. Let it finish completely.
Your printer’s display or computer screen might prompt you to confirm the installation. Follow any on-screen instructions. Sometimes, you’ll need to press an “OK” button. This tells the printer that you’ve successfully replaced the ink.
It’s a good idea to print a test page after installation. This confirms that the new ink is working correctly and the colors look as they should. If you notice any streaks or missing colors, you might need to run a print head cleaning cycle through your printer’s software. It’s a good idea to print a test page after installation to confirm everything is working correctly.
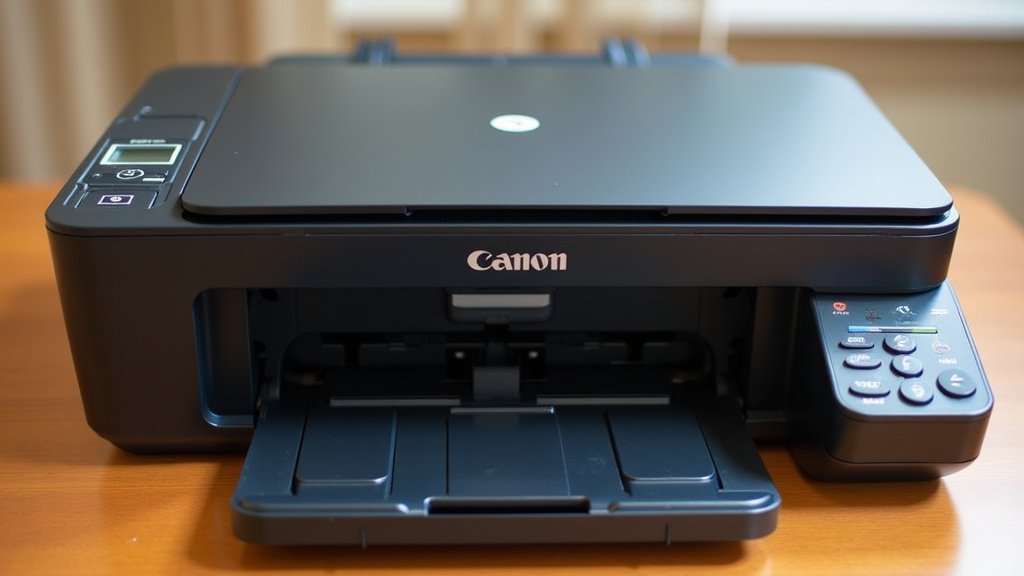
Troubleshooting Common Issues
“Ink Cartridge Not Recognized” Error
If you get an error message saying the cartridge isn’t recognized, don’t panic! First, ensure the cartridge is the correct model for your printer. Then, double-check that you removed all protective tape or seals. Sometimes, a small piece of tape is missed.
Try removing the cartridge and reinserting it. Make sure it clicks firmly into place. Also, check the electrical contacts on both the cartridge and the printer carriage. A gentle wipe with a dry, lint-free cloth might help if they look dusty or smudged.
If the problem persists, the cartridge might be faulty. In rare cases, the printer’s sensor could be the issue. Many experts suggest trying a different new cartridge to see if that resolves the problem.
Print Quality Problems After Replacement
Sometimes, even after a successful installation, your prints might not look perfect. This is often due to air bubbles in the ink lines or a print head that needs alignment. Your printer usually has a built-in utility for this.
Look for options like “Print Head Cleaning” or “Print Head Alignment” in your printer’s settings menu or on the software on your computer. Running these maintenance routines can often clear up streaks or color inconsistencies. Many guidelines suggest running a cleaning cycle once or twice.
Quick Checklist for Ink Cartridge Installation
Here’s a handy checklist to guide you:
- Verify you have the correct Canon ink cartridge model.
- Turn on your printer and wait for the print head to move.
- Remove the old cartridge gently, avoiding contacts and nozzles.
- Unpack the new cartridge, removing all protective tabs and seals.
- Insert the new cartridge until it clicks securely into place.
- Close the printer cover and let the printer initialize.
Conclusion
You’ve successfully navigated the steps to install your Canon ink cartridges! Remember, it’s a process that requires a gentle touch and careful attention to detail. By following these guidelines, you’ve ensured your printer is ready to produce those crisp, vibrant prints you rely on. Don’t hesitate to run a test print to confirm everything is working perfectly. Now, go ahead and enjoy your freshly inked pages!
Frequently Asked Questions
How do I know if I bought the right Canon ink cartridge?
Always check your printer’s manual or the Canon support website for your specific model number. The new cartridge box should clearly state which Canon printer models it is compatible with. You can also often find the correct cartridge number printed on the old ink tank itself.
What should I do if my printer doesn’t recognize the new ink cartridge?
First, take the cartridge out and re-insert it, ensuring it clicks firmly into place. Make sure you’ve removed all protective tape and seals from the new cartridge. If the problem continues, try gently cleaning the electrical contacts on both the cartridge and the printer carriage with a dry, lint-free cloth.
Can I mix different brands of ink cartridges in my Canon printer?
While it might seem like a cost-saving option, it’s generally not recommended. Mixing brands can sometimes lead to poor print quality or even damage your printer. For the best results and to maintain your printer’s warranty, it’s best to stick with genuine Canon ink cartridges.
My prints have streaks after changing the ink, what’s wrong?
This often happens if there’s a bit of air in the ink lines or if the print head needs alignment. Your printer’s software usually has a maintenance utility for this. Look for options like “Print Head Cleaning” or “Print Head Alignment” and run the process. Sometimes, you might need to do this a couple of times.
How should I dispose of old Canon ink cartridges?
Many retailers offer ink cartridge recycling programs, and Canon itself may have options. You can also check your local waste management guidelines for electronic recycling. It’s best to avoid throwing them in your regular trash if possible.
