
How to Fix Streaky Printer Output?
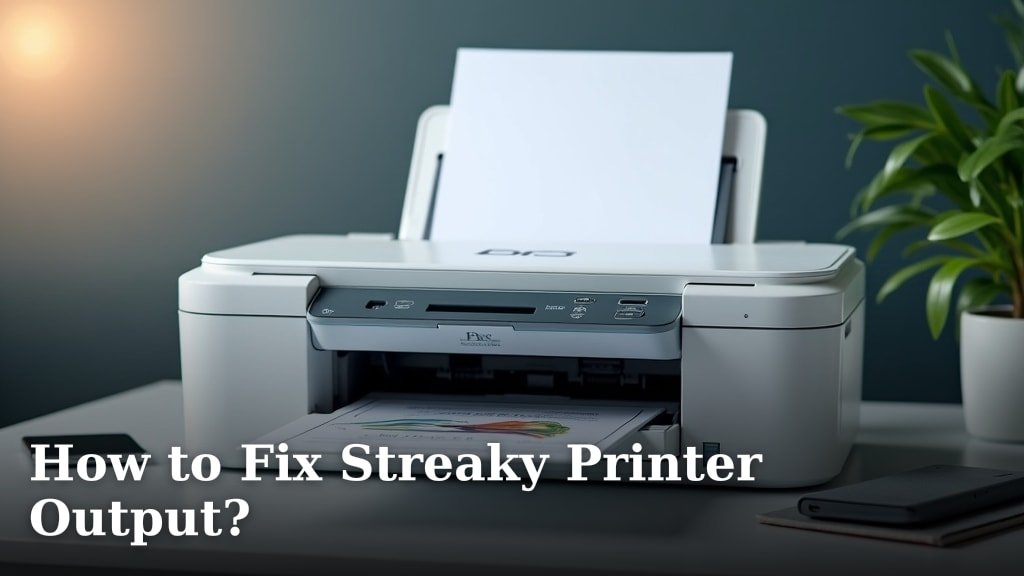
To fix streaky printer output, you should first clean your printer’s print heads and check your ink or toner cartridges. Often, clogged nozzles or low supplies are the main culprits. This simple maintenance often restores print quality quickly.
You know that frustrating feeling when your important document comes out looking like a zebra? We understand your pain! Streaky prints not only look bad but can also suggest underlying printer issues. Luckily, many common causes for streaky printing are easy to diagnose and fix right at home.
- Clean print heads and nozzles.
- Check ink/toner levels.
- Inspect cartridges for damage.
- Adjust printer settings.
- Consider replacing old cartridges.
Let’s walk through how to troubleshoot these common problems and get your printer back to producing crisp, clear documents you can be proud of.
Troubleshooting Common Printer Streaks
You’ve got streaky prints, and you want to know why. Most streaks come from a few common problems inside your printer. Understanding these issues is your first step to clear pages.
We’ve found that inkjet printers often struggle with clogs, while laser printers might have drum issues. Pinpointing your printer type helps narrow down the cause.
Identify Your Printer Type
First, figure out if you have an inkjet or a laser printer. This makes a big difference in how you troubleshoot.
Inkjet printers use liquid ink. They spray tiny drops onto the paper. Think of them like a sophisticated squirt gun.
Laser printers use toner powder. They use static electricity and heat to fuse the powder onto the paper. These are more like a tiny, precise copy machine.
Inkjet Printer Streaks: The Usual Suspects
For inkjet printers, streaks are almost always about the ink delivery system. It’s usually a blocked path or an empty cartridge.
- Clogged Print Heads: This is the most frequent culprit. Dried ink can block the tiny nozzles that spray ink.
- Low Ink Levels: When a cartridge is running on fumes, it can’t deliver a steady stream of ink.
- Old or Expired Cartridges: Ink can degrade over time, leading to poor print quality.
- Dirty Encoder Strip: This clear plastic strip guides the print head. If it’s dirty, the print head can’t move correctly.
Laser Printer Streaks: What to Look For
Laser printers have different components. Their streaks point to other problems, often with the toner or drum unit.
- Low Toner Levels: Just like ink, toner needs to be sufficient for consistent output.
- Damaged Drum Unit: The drum transfers the toner to the paper. Scratches or wear here cause streaks.
- Fuser Assembly Issues: The fuser melts the toner onto the paper. A faulty fuser can leave streaks.
- Dirty Rollers: Paper passing through dirty rollers can pick up unwanted marks.
Solutions for Inkjet Printer Streaks
If you have an inkjet printer, don’t worry. Many fixes are straightforward and you can do them yourself.
We’ve found that cleaning the print heads is often the miracle cure for inkjet streaks. It’s usually the first thing to try.
Clean Your Print Heads (The #1 Fix)
This is your go-to solution for inkjet streaking. Your printer has a built-in cleaning cycle designed to clear clogs.
Access this function through your printer’s control panel or your computer’s printer software. Look for “Maintenance” or “Tools.”
Run the cleaning cycle 2-3 times. Sometimes, one cycle isn’t enough to dislodge stubborn clogs. Be patient.
Many experts recommend performing a nozzle check pattern after cleaning. This diagnostic print shows you if all nozzles are firing correctly.
Check and Replace Ink Cartridges
Is your ink running low? It sounds simple, but low ink is a common cause of streaks. Your printer software usually warns you, but sometimes it’s inaccurate.
Remove the cartridges and gently shake them (inkjets only). This can distribute any remaining ink, giving you a few more pages.
If a cartridge is low or old, replace it. We’ve seen that using genuine manufacturer cartridges often yields better results and fewer streaks.
Manually Clean Dirty Components
Sometimes, a deeper clean is needed. If the print heads are very clogged, you might need to clean them by hand. (Consult your printer manual first!).
For a manual clean, gently wipe the print head nozzles with a damp, lint-free cloth. Only use distilled water; never use harsh chemicals.
Also, don’t forget the encoder strip. It’s a thin, clear strip running across the print head’s path. Gently wipe it clean with a damp cloth.
Solutions for Laser Printer Streaks
For laser printers, streaks usually mean it’s time to inspect the toner or drum unit. These are the workhorses of a laser printer.
Our research shows that replacing the drum unit often resolves persistent laser printer streaks. It’s a common wear-and-tear item.
Inspect and Replace Toner Cartridges
Is your toner almost empty? Even if your printer says “low,” it might be causing streaks. A little shake can sometimes help, but replacement is often needed.
Remove the toner cartridge and gently rock it side-to-side a few times. This can redistribute the toner powder. Reinsert and test.
If streaks persist, consider replacing the toner cartridge, especially if it’s been in there for a while or if you print a lot.
Check the Drum Unit
The drum unit (also called the imaging unit) is crucial for laser printing. It can get scratched or worn out over time.
Carefully remove the drum unit (it might be separate from the toner or combined). Look for any visible scratches or damage on its surface.
A small scratch can leave a repeating streak on every page. If you find damage, the drum unit needs to be replaced.
Many guidelines suggest that drum units have a lifespan measured in pages. Check your printer’s manual for its estimated yield.
Clean the Fuser and Rollers
The fuser unit melts toner onto the paper. If it’s dirty or failing, you might see smudges or streaks.
Cleaning the fuser is generally not recommended for users. It gets very hot! If you suspect fuser issues, it might be time for professional service.
However, you can often clean the paper pickup rollers. Refer to your printer manual for instructions. Dirty rollers can leave marks on the paper.
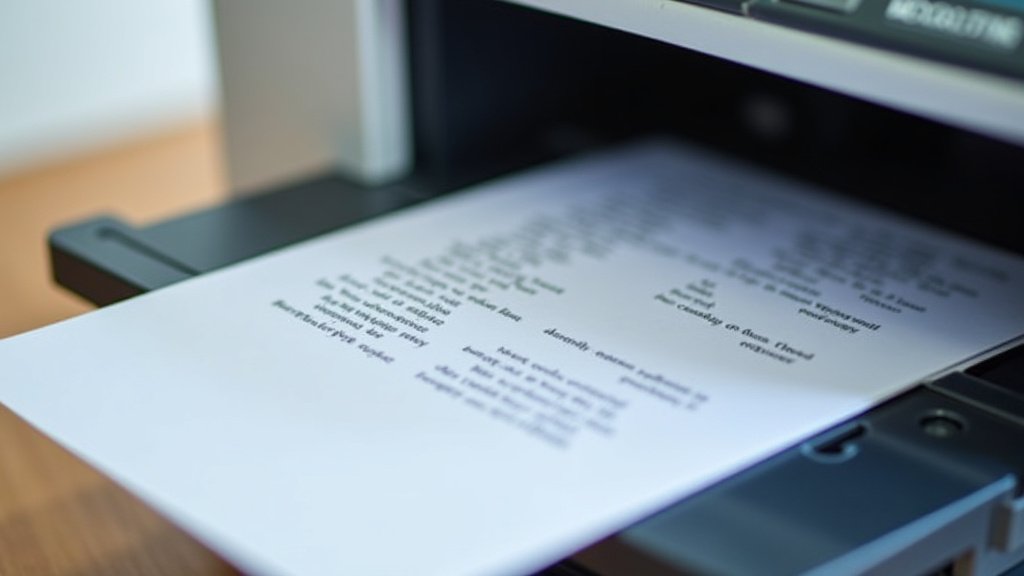
General Tips for Preventing Streaks
Once you’ve fixed the streaks, you’ll want to keep your printer running smoothly. A little prevention goes a long way.
We’ve learned that consistent, light maintenance prevents most printing problems. Don’t wait until things go wrong.
Use Quality Supplies
Cheap ink and toner might seem like a good deal, but they often lead to more problems. They can clog nozzles or produce inconsistent prints.
Invest in genuine ink and toner cartridges from your printer’s manufacturer. This might cost a bit more upfront but saves headaches later.
Also, use the right type of paper for your printer. Some papers absorb ink differently or are too rough for laser printers, causing issues.
Print Regularly
Printers don’t like to sit idle. For inkjet printers, infrequent printing allows ink to dry and clog nozzles.
Try to print at least once a week, even if it’s just a test page. This keeps the ink flowing and prevents clogs.
For laser printers, regular printing helps keep the components in working order and prevents toner from settling.
Keep Your Printer Clean
Dust is a printer’s enemy. It can get inside and interfere with moving parts and sensors.
Gently wipe down the exterior of your printer regularly. Use a can of compressed air to carefully blow out dust from accessible areas (when the printer is off!).
Never spray liquid cleaners directly into the printer. Always apply to a cloth first.
Your Streaky Printer Fix Checklist
- Run print head cleaning cycles (inkjet).
- Check ink/toner levels and replace if low.
- Inspect ink cartridges for blockages or damage.
- Examine the drum unit for scratches (laser).
- Gently clean the encoder strip (inkjet).
- Ensure you’re using quality ink/toner and paper.
| Printer Type | Common Cause of Streaks | First Fix to Try |
|---|---|---|
| Inkjet | Clogged print nozzles | Run print head cleaning cycle |
| Inkjet | Low ink cartridge | Replace ink cartridge |
| Laser | Damaged drum unit | Inspect/Replace drum unit |
| Laser | Low toner cartridge | Replace toner cartridge |
| Both | Dirty internal components | Clean accessible rollers/strips |
Conclusion
You now have the knowledge to tackle those annoying printer streaks. We’ve walked you through identifying your printer type and pinpointing the exact cause of the problem. Remember, whether it’s a clogged inkjet head or a worn laser drum, a solution is usually within reach.
By following these simple troubleshooting steps and committing to a little preventative maintenance, you can save time and money. Don’t let streaky prints get the best of you. Get back to producing clear, professional documents with confidence.
Your next step is to apply these tips. Get your hands dirty and bring your printer back to life!
Frequently Asked Questions
Why do my print head cleaning cycles not fix streaks?
Sometimes, very stubborn clogs need more than one cleaning cycle. Try running the cycle 2-3 times. If streaks persist, a manual clean of the print heads or replacement of the ink cartridge might be necessary.
Can old paper cause streaks or poor print quality?
Yes, old or damp paper can definitely affect print quality. Paper can absorb moisture, leading to uneven ink absorption and streaking. Always use fresh, dry paper stored in a cool, dry place.
How often should I clean my printer to prevent streaks?
There’s no fixed schedule, but regular use helps. For inkjet printers, printing a test page at least once a week can prevent ink from drying. Dusting your printer externally monthly also helps prevent internal buildup.
What does a “dirty encoder strip” mean for my inkjet printer?
The encoder strip is a clear plastic strip that tells your print head where to move. If it’s dirty, the print head can get confused, leading to erratic lines or streaks. Gently cleaning it with a lint-free cloth often solves this.
My laser printer prints fine, but pages come out smudged. What’s wrong?
Smudged output on a laser printer often points to a problem with the fuser unit. The fuser melts the toner onto the paper. If it’s not heating correctly, the toner won’t bind, causing smudges. This usually requires professional service.
