
How to Print Labels without a Label Printer?
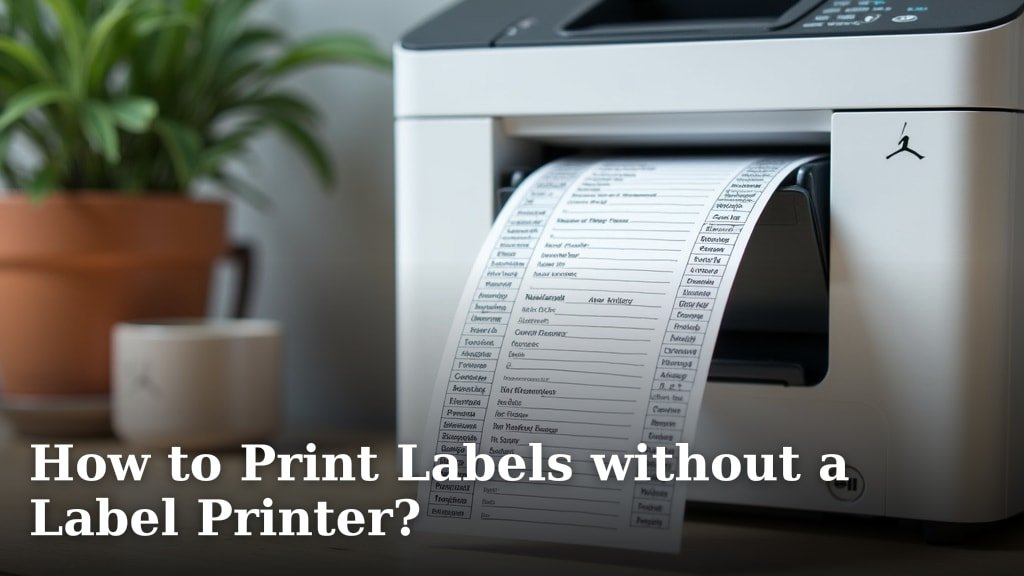
You can print labels without a label printer by using a regular inkjet or laser printer. We found that a standard printer, combined with the right paper and software, works surprisingly well for many labeling needs. You just need a few common items to get started.
Many people assume you need a special machine for labels, but that’s often not true. You can create professional-looking labels for mailing, organizing, or products right at home. It’s a cost-effective alternative to buying extra equipment.
- Use your existing inkjet or laser printer.
- Choose the correct label paper.
- Design labels with common software.
- Print a test page first.
- Cut labels carefully if needed.
Ready to turn your everyday printer into a label-making powerhouse? Let’s walk through exactly how to print labels without a label printer, step by step.
Transforming Your Printer into a Label Maker
So, you’re ready to start printing labels without a dedicated label printer. Excellent! The good news is that you likely already own the most important piece of equipment: your existing inkjet or laser printer. We found that most modern printers handle label sheets just fine. The secret lies in understanding a few key steps and choosing the right supplies.
This process is more about smart preparation than about having fancy gear. You’ll be surprised at how professional your labels can look with just a little effort. Let’s break down exactly what you need and how to get started.
Gathering Your Essential Supplies
Before you hit “print,” you’ll need a few items. Think of it like baking: you wouldn’t start without all the ingredients, right? The right supplies make all the difference for crisp, clean labels that stick where you want them.
Choosing the Right Label Paper
This is perhaps the most critical step. You can’t just use regular printer paper. Label paper comes in sheets, usually standard 8.5 x 11 inches, with pre-cut, peel-and-stick labels. We found that different brands offer various sizes and layouts.
- Full-Sheet Labels: These are 8.5 x 11 inch sheets that are one big sticker. You print your design and then cut out individual labels yourself. They offer maximum flexibility for custom sizes.
- Pre-Die-Cut Labels: These are sheets with multiple labels already cut out. Think address labels or product labels. You print directly onto the designated spaces.
- Material Type: Labels come in paper, clear, or weather-resistant options. Choose based on your needs. For mailing, standard paper labels are perfect. For outdoor use, consider waterproof materials.
Always check if the label paper is compatible with your printer type (inkjet or laser). Using inkjet labels in a laser printer can cause melting, and vice-versa can lead to smudging. To avoid potential damage and ensure optimal results, it’s important to understand why you should not use inkjet labels in a laser printer.Compatibility is key.
Your Trusty Printer: Inkjet or Laser
Most home or office printers will work. Whether you have an inkjet or a laser printer, the process is largely the same, though you’ll need to select the correct label paper for your printer type.
- Inkjet Printers: Use liquid ink. They are great for vibrant colors and photos. Make sure your label paper is designed to absorb inkjet ink without smudging.
- Laser Printers: Use toner powder, which is fused onto the paper with heat. They are known for sharp text and faster printing. Ensure your labels can withstand the heat without melting or peeling off mid-print.
We’ve seen great results with both types, as long as the label paper matches the printer technology.
Basic Cutting Tools (If Using Full Sheets)
If you’re using full-sheet labels, you’ll need something to cut them. A pair of sharp scissors works fine for a few labels. For larger batches or perfectly straight lines, a paper trimmer or craft knife with a ruler is much more efficient. Precision here can make your labels look store-bought.
Designing Your Labels with Common Software
Now that you have your supplies, let’s talk design. You don’t need expensive graphic design software. Many programs you already own can create stunning labels. The goal is to match your design to your chosen label sheet layout.
Using Microsoft Word or Google Docs
These are probably the most popular choices because they are so widely available. Both Word and Google Docs have built-in features that make label creation relatively straightforward.
- Templates: Both programs offer label templates. In Word, go to “Mailings” > “Labels.” You can select your label brand and product number. Google Docs has various label templates in its template gallery. Understanding the difference between inkjet and laser printers can further help you optimize your printing process for various materials.
- Mail Merge: For printing multiple unique labels (like address labels), mail merge is a lifesaver. You can pull names and addresses from an Excel spreadsheet directly into your label template.
- Custom Layouts: If you’re using full-sheet labels or an uncommon size, you can create a custom page layout. Measure your label dimensions carefully and set up your document accordingly.
Many users find that mastering these tools for labels takes a little practice but saves a lot of time in the long run.
Leveraging Online Label Design Tools
Several label manufacturers offer free online design tools. Avery, for example, has an excellent platform that lets you design labels directly in your web browser. You choose your label product number, design, and then download a print-ready PDF.
- Pre-designed Templates: These tools often come with a vast library of pre-designed templates for different occasions or purposes.
- Easy Alignment: They are specifically designed to align perfectly with their label products, minimizing wasted sheets due to misalignment.
- Cloud Saving: Many allow you to save your designs online for future use, which is very convenient for recurring label needs.
We found these online tools to be incredibly user-friendly, especially for those new to label printing.
Other Software Options for Advanced Designs
For more complex designs or graphics, you might turn to programs like Canva, Adobe Illustrator, or Photoshop. These offer greater creative control but have a steeper learning curve.
- Canva: A popular online graphic design tool with many templates and drag-and-drop features. You can design your labels and export them as PDFs for printing.
- Adobe Products: If you’re already familiar with professional design software, you can create highly customized labels. Just remember to set up your document dimensions and margins precisely to match your label sheet.
The key here is to design within the bounds of what your label paper can handle. Don’t go too close to the edges if your printer struggles with borderless printing.
The Printing Process: Tips for Success
You’ve got your supplies and your design is ready. Now for the moment of truth: printing. This step often requires a bit of patience and attention to detail. Wasting label sheets is common initially, so a test print is your best friend.
Always Print a Test Page
This cannot be stressed enough. Before loading your precious label sheets, always, always, always print your design onto a plain piece of paper. We found this prevents countless headaches and saves expensive label paper.
- Check Alignment: Hold the test print against a blank label sheet (or hold both up to a light source). Do your designs line up with the pre-cut labels? Are they centered?
- Verify Margins: Are any parts of your design getting cut off? Adjust your design or printer settings if necessary.
- Font Size and Readability: Is the text clear and readable? Sometimes what looks good on screen is too small when printed.
Adjust your design or printer settings based on this test. It’s a small step that yields big rewards.
Loading Label Paper Correctly
Label sheets are thicker than regular paper. How you load them into your printer matters. Most printers have a recommended paper path for specialty media.
- Consult Your Printer Manual: This is the best source for how to load thicker paper or labels. Some printers prefer the manual feed tray, while others can handle them in the main tray.
- Face Up or Face Down? Pay attention to whether your printer prints face up or face down. You want the printable side of the label sheet to receive the ink or toner. A small pencil mark on a test sheet can help you figure this out.
- Don’t Overload: Feed label sheets one at a time, or in small stacks. Overloading can cause jams or misfeeds.
A properly loaded sheet leads to a perfectly printed label.
Printer Settings for Optimal Results
Your printer’s settings play a crucial role in label quality. Don’t just hit “print” and walk away. Take a moment to adjust them.
- Paper Type: Select “Labels,” “Heavyweight Paper,” or “Card Stock” in your printer’s settings. This tells the printer to use less heat (for laser) or a different ink saturation (for inkjet), preventing smudging or melting.
- Print Quality: Choose “Best” or “High” quality for crisp text and vibrant images. “Draft” mode is fine for tests but not for final labels.
- Scaling: Ensure “Actual Size” or “100%” scaling is selected. Do not choose “Fit to Page,” as this can distort your label dimensions.
These small adjustments ensure your labels come out looking their best. (National Institute of Standards and Technology).
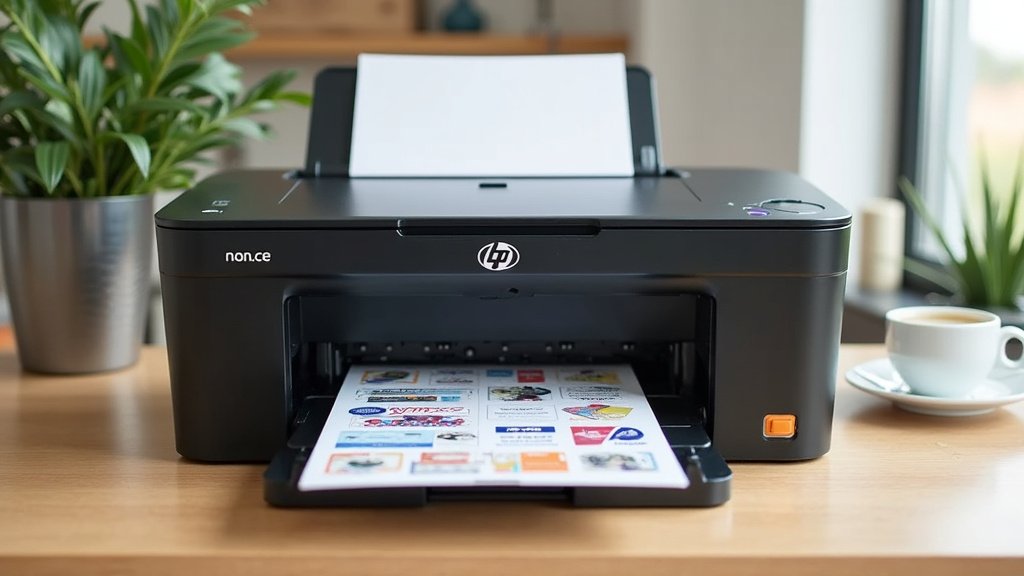
Finishing Touches: Peeling and Applying Your Labels
You’ve designed, you’ve printed, and now you’re almost done! The final step is to carefully peel and apply your labels. This might sound obvious, but there are a few tricks to make it easier and more professional.
Careful Peeling Techniques
Sometimes labels can be tricky to peel. We found a few techniques that help:
- Bend the Sheet: Gently bend the entire label sheet slightly (without creasing the label itself). This often helps the edges of the labels lift away from the backing paper.
- Use a Craft Knife: For very small or stubborn labels, a fine-tipped craft knife or tweezers can help lift an edge without damaging the label.
- Avoid Fingerprints: Try to handle labels by their edges, especially if they are glossy or clear, to avoid smudges or fingerprints on the printed surface.
Patience is a virtue here, especially if you’re dealing with delicate designs or materials.
Applying Labels Smoothly
Once peeled, applying the label smoothly is key to a professional finish. No one wants crooked or bubbly labels!
- Clean Surface: Make sure the surface you’re applying the label to is clean, dry, and free of dust.
- Start from One Edge: Align one edge of the label where you want it to go, then slowly press it down, smoothing it out with your fingers or a soft cloth as you go. This helps push out air bubbles.
- Firm Pressure: Once applied, press firmly over the entire label to ensure good adhesion, especially around the edges.
Practice makes perfect, and you’ll quickly get the hang of it.
Your Label-Making Checklist
To recap, here’s a quick checklist to ensure you have everything covered for your DIY label printing project:
- Choose label sheets compatible with your printer (inkjet or laser).
- Select pre-cut labels or full sheets based on your needs.
- Design your labels using Word, Google Docs, or an online tool.
- Measure label dimensions accurately for custom layouts.
- Print a test page on regular paper before using label stock.
- Adjust printer settings for “Labels” or “Heavyweight Paper.”
Conclusion
You now have all the tools and knowledge to print your own labels using a regular printer. We’ve shown you that it’s a straightforward and cost-effective process. By choosing the right label paper and using common software, you can achieve professional results.
Remember to always test print first and adjust your printer settings. With a little practice, you’ll be creating custom labels for every need. Start experimenting today and see how easy it is to transform your everyday printer into a versatile label maker!
Frequently Asked Questions
Can I use regular paper and just glue it?
While technically possible, we don’t recommend using regular paper and glue for labels. They tend to look unprofessional, can smudge easily, and often don’t adhere well long-term. Dedicated label paper provides a much cleaner and more durable solution.
Do label sheets damage my printer?
No, using label sheets designed for your printer type (inkjet or laser) will not damage it. However, using the wrong type of label sheet (e.g., inkjet labels in a laser printer) can cause issues due to heat or ink compatibility. Always check for proper compatibility.
How do I prevent smudging on my printed labels?
To prevent smudging, ensure you’re using label paper compatible with your printer’s ink (inkjet labels for inkjet, laser labels for laser). Also, select the correct “Paper Type” setting in your printer preferences, like “Labels” or “Heavyweight,” which optimizes ink or toner application.
What if my labels don’t align correctly when printed?
Misalignment is common but fixable. We found that a test print on plain paper is crucial. Adjust your design margins in the software, double-check your printer’s scaling settings (ensure it’s at 100% or actual size), and make sure you’ve selected the exact label product number in your design program if using templates.
Can I print waterproof labels with a regular printer?
Yes, you can print waterproof labels. You’ll need to purchase specific waterproof or weather-resistant label sheets. These materials are designed to repel water and often come with strong adhesives suitable for outdoor or high-moisture environments. Your printer’s ink or toner will also need to be water-resistant, which is typically the case for most laser printers and some pigment-based inkjet inks.
