
How to Refill Ink Cartridges at Home?
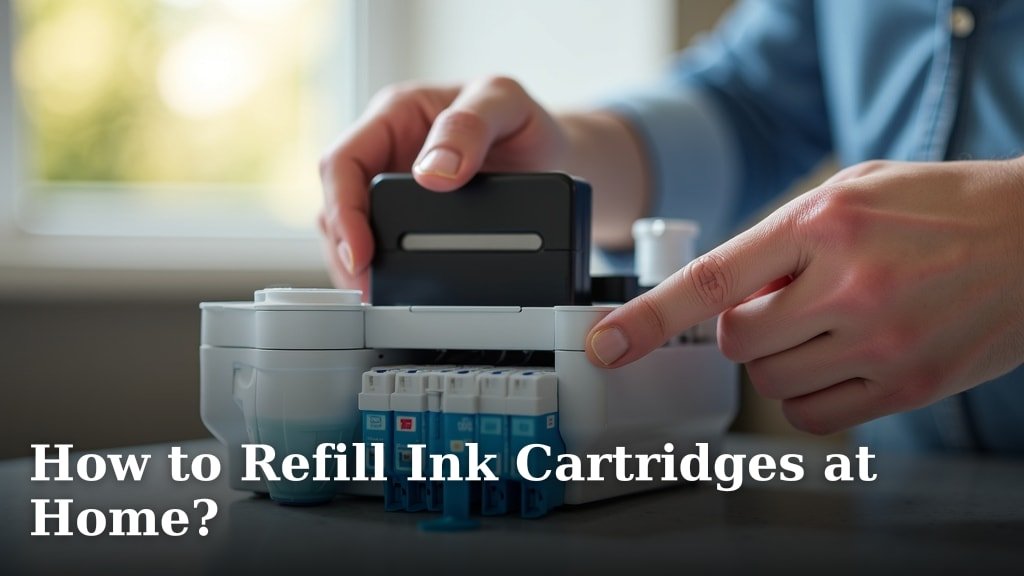
Yes, you can refill ink cartridges at home to save money and reduce waste. It takes some supplies and a little patience, but many people find it a very rewarding DIY task.
You can significantly cut printing costs by refilling cartridges yourself instead of buying new ones. This method works for many printer brands, though the process might vary slightly depending on your specific cartridge model. It’s an eco-friendly choice for your home office or personal use.
- Save money on ink.
- Reduce plastic waste.
- Requires a refill kit.
- Can be a bit messy.
- Works for most inkjet cartridges.
Are you ready to give it a try? Let’s walk through exactly how to refill ink cartridges at home, step by step.
Getting Started: What You Need for Ink Cartridge Refills
To successfully refill your ink cartridges at home, you’ll need a few essential items. Think of it like cooking: you gather your ingredients before you start. Having everything ready makes the process smoother and cleaner.
The Essential Ink Refill Kit
A good refill kit is your best friend here. These kits are usually brand-specific or universal, designed for common inkjet cartridges. We found that a quality kit significantly improves your chances of success.
- Refill ink bottles: Make sure the ink is compatible with your printer model. Using the wrong type can damage your print heads.
- Syringes with needles: These help you accurately inject the ink into the cartridge. They are often blunt-tipped for safety.
- A small hand drill or tool: Some cartridges require a small hole to be made for refilling.
- Rubber gloves: Ink can stain! Protect your hands.
- Paper towels or old newspapers: These are crucial for protecting your work surface from spills.
- Clear tape or a rubber plug: You’ll need this to seal the refilled hole.
Optional but Helpful Supplies
While not strictly necessary, these items can make your refilling experience much easier and less messy.
- Rubbing alcohol: Great for cleaning up small ink spills on surfaces.
- Old clothes: Wear something you don’t mind getting stained, just in case.
- A well-lit, ventilated area: Good lighting helps you see what you’re doing, and ventilation is nice if you’re sensitive to ink smells.
- Magnifying glass: Sometimes the refill holes are tiny!
Choosing the Right Ink for Your Printer
This step is absolutely critical. Using the incorrect ink can lead to poor print quality, clogged print heads, or even permanent damage to your printer. Don’t just grab any ink bottle.
Matching Ink Type and Printer Model
Printers use different types of ink, like dye-based or pigment-based. Your cartridge is designed for a specific kind. For example, many photo printers use dye-based inks for vibrant colors, while some document printers use pigment-based inks for sharper text. We learned that checking your printer’s manual or the cartridge itself will tell you what you need.
- Dye-based ink: Brighter colors, good for photos.
- Pigment-based ink: Sharper text, more water-resistant.
- Printer-specific ink: Always best to confirm compatibility.
Where to Buy Refill Ink
You can find refill ink online from various suppliers or at electronics stores. Read reviews to find a reputable source. Many people find success with universal refill kits, but remember to verify they explicitly state compatibility with your printer brand and cartridge series. Some experts suggest buying from stores that specialize in printer supplies, as they often have more knowledgeable staff.
Preparing Your Workspace and Cartridge
Before you even open an ink bottle, set yourself up for success. This preparation saves you time and prevents accidental messes.
Setting Up Your Refilling Station
Lay down plenty of newspaper or paper towels on a flat surface. This creates a protective barrier. Have your gloves, tools, and the refill kit within easy reach. Imagine you’re doing a small science experiment – organization is key.
Removing the Cartridge Safely
Open your printer’s access door to retrieve the cartridge. Many printers have a specific process for cartridge removal; consult your printer’s manual if you’re unsure. Handle cartridges carefully, avoiding touching the electrical contacts or the print head nozzles.
Once removed, place the cartridge on your protected surface. Some cartridges have a sticker or label on top; you’ll need to gently peel this back to reveal the refill holes, or the spots where you’ll make them.
The Refilling Process: Step-by-Step Guide
Now for the main event! This is where you inject new life into your old cartridges. Take your time, and don’t rush.
Locating and Opening the Refill Hole
Examine the top of your cartridge. You might see small, dimpled holes, or sometimes just a smooth surface under the label. Many cartridges have multiple chambers for different colors, so identify the correct one for the ink you’re using.
- Existing holes: If there are small holes, use a thin needle to clear any dried ink.
- No visible holes: Use the small drill or tool from your kit to carefully create a tiny hole where indicated by the kit’s instructions. Usually, this is directly above the ink reservoir. Be gentle and don’t push too deep.
Injecting the Ink
Draw the appropriate amount of ink into your syringe. Most refill kits provide guidelines on how much ink each cartridge size typically holds (e.g., 5ml for black, 3ml for color). Insert the needle into the refill hole, but don’t push it all the way to the bottom. You want to inject the ink slowly to avoid creating air bubbles or overfilling.
As you inject, you might see a small drop of ink appear at the nozzle end of the cartridge. This is often a sign that it’s full or almost full. Stop injecting when you see this, or when you’ve reached the recommended volume.
Warning: Overfilling can cause leaks and damage to your printer. It’s better to underfill slightly than to overfill.
Sealing and Cleaning the Cartridge
Once filled, gently remove the syringe. If you peeled back a label, smooth it back down to cover the hole. If you made a new hole, use the clear tape or a small rubber plug (provided in some kits) to seal it. The goal is to prevent air from entering the cartridge, which can dry out the ink or cause printing issues.
Use a paper towel to gently wipe any excess ink from the cartridge, especially around the print head nozzles. Be careful not to smudge the electrical contacts. A clean cartridge means a clean printer.
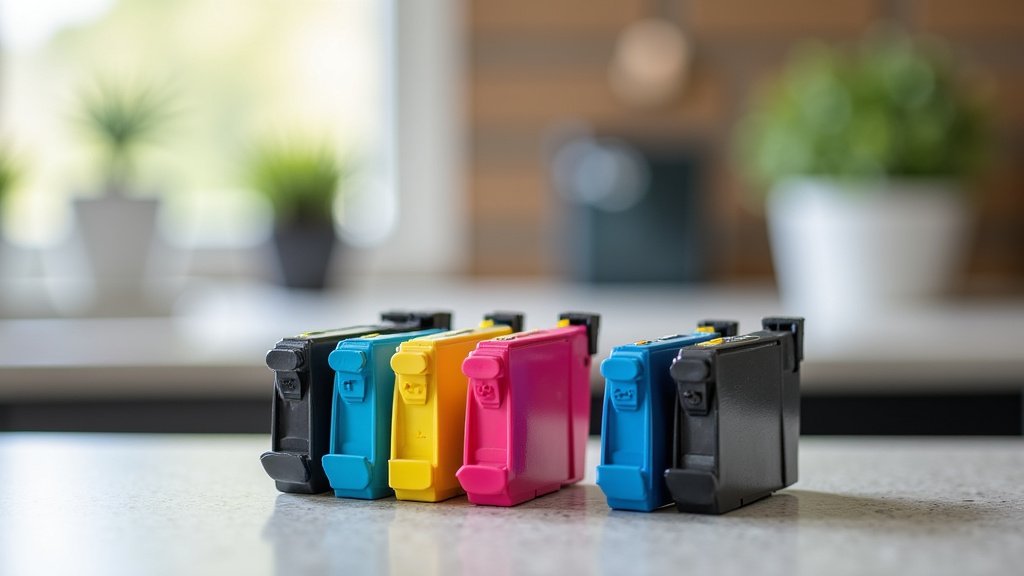
Post-Refill Steps and Troubleshooting
You’ve refilled the cartridge! Now, let’s get it back in the printer and deal with any potential quirks.
Reinstalling and Testing the Cartridge
Carefully reinstall the refilled cartridge into your printer, ensuring it clicks into place. Close the printer’s access door. Many printers will go through a calibration or cleaning cycle after a new or refilled cartridge is installed. Let it complete this process.
Next, print a test page. This helps you check print quality and ensure the ink is flowing correctly. You might need to run the printer’s head cleaning function a couple of times to get optimal results, especially if the cartridge was very dry.
Common Issues and Solutions
Refilling can sometimes come with challenges. Don’t worry, many problems have simple fixes.
| Problem | Possible Solution |
|---|---|
| No ink printing or faint lines | Run print head cleaning cycles (2-3 times). Check for air bubbles in the cartridge. |
| Wrong colors or streaks | Ensure you injected the correct color into the right chamber. Clean print heads again. |
| Printer shows “empty” or “non-genuine” | This is common. Many printers track ink levels via chips. You can often override this by pressing and holding the “Resume” or “Stop” button for 5-10 seconds. Check your printer’s manual for specific override instructions. The printer might still show empty, but it should print. |
| Ink leaks from cartridge | You might have overfilled the cartridge or not sealed the hole properly. Remove, clean, and reseal. |
Keeping Your Printer Healthy After Refills
Regular printing helps keep your print heads from drying out. Even if you don’t need to print something, printing a test page once a week can prevent clogs. We’ve found this to be a simple habit that makes a big difference.
Is Refilling Right for You? A Quick Checklist
Deciding if refilling is worth your time depends on a few factors. It’s not for everyone, but many find it incredibly satisfying and cost-effective.
Consider this checklist to see if you’re a good candidate for home ink refilling:
- Are you comfortable with a little mess?
- Do you want to save money on printing supplies?
- Are you okay with a slight learning curve?
- Do you print frequently enough to justify the initial kit cost?
- Is reducing plastic waste important to you?
- Do you have a few minutes to dedicate to the process when needed?
If you answered “yes” to most of these, then refilling ink cartridges at home could be a great option for you!
Conclusion
You’ve now got the knowledge to confidently tackle refilling ink cartridges at home. It’s a practical skill that saves you money and reduces environmental impact. Remember, preparation is key, and choosing the right ink type for your printer is vital for success.
While there might be a slight learning curve, the satisfaction of a successfully refilled cartridge and the savings you’ll see are well worth the effort. Don’t be afraid to try. You’re ready to embrace this DIY printing solution.
Frequently Asked Questions
Is refilling ink cartridges bad for my printer?
Generally, refilling ink cartridges isn’t inherently bad for your printer if done correctly. We found that using compatible, high-quality ink and avoiding overfilling are crucial. Incorrect ink or messy refills can cause issues like clogged print heads or internal damage.
How many times can I refill an ink cartridge?
Most cartridges can be refilled multiple times, typically 5 to 10 times, before print quality degrades or the cartridge physically wears out. The exact number depends on the cartridge’s original quality and how carefully you handle it during each refill.
Will my printer show the correct ink levels after refilling?
No, your printer will likely still show an “empty” or low ink warning because the internal chip isn’t reset during a home refill. You’ll often need to override this warning by holding down a button on your printer, as described in your manual, to continue printing.
What if the ink colors mix after refilling?
If colors mix, it usually means you injected the wrong color into a chamber or there’s internal leakage. Try running several cleaning cycles through your printer’s software. If the problem persists, the cartridge might be compromised, and replacing it could be the best option.
Where can I dispose of old or completely empty cartridges?
Don’t just throw them in the trash! Many office supply stores and electronics retailers offer recycling programs for empty ink cartridges. This ensures they are properly processed and don’t end up in landfills, aligning with the eco-friendly benefits of refilling.
