
How to Scan Documents with an Inkjet Printer?
You can scan documents with an inkjet printer if your model includes an integrated scanner, a common feature on many multifunction inkjet devices today. These all-in-one printers offer a convenient way to digitize your physical papers directly from your home or office setup.
Most modern inkjet printers are designed as multifunction devices, meaning they can print, copy, and scan. We found that the scanning function is often straightforward, using either a flatbed scanner or an automatic document feeder (ADF) depending on your printer model and needs for digitizing various document types.
- Inkjet printers often include scanning features.
- Look for “all-in-one” or “multifunction” models.
- Use a flatbed or automatic document feeder (ADF).
- Digitize papers easily from home.
Let’s walk through exactly how to set up and use your inkjet printer to scan documents, step by step.
Getting Started: Scanning with Your Inkjet Multifunction Printer
Scanning documents with your inkjet printer is often simpler than you might think. Most modern inkjet printers are designed to be user-friendly. You’ll find that the process typically involves just a few steps, whether you’re scanning a single page or a stack of documents.
We found that understanding your printer’s specific features makes the biggest difference. Do you have a flatbed scanner or an Automatic Document Feeder (ADF)? This choice impacts how you load your documents and how quickly you can scan them.
Understanding Your Printer’s Scanning Capabilities
Before you begin, take a moment to look at your inkjet printer. You’ll notice one of two main scanning areas, or sometimes both. Knowing which one you have helps you prepare your documents correctly.
The Flatbed Scanner: For Delicate and Odd-Sized Items
Think of the flatbed scanner as a glass plate on top of your printer. You lift a lid, place your document face down on the glass, and close the lid. This method is ideal for single pages, photos, books, magazines, or even delicate items like old letters or receipts that might tear in an automatic feeder.
We found that using the flatbed scanner gives you the most control over placement. It’s perfect when you need a high-quality scan of something that isn’t a standard sheet of paper. The downside? It’s slower for multiple pages because you have to load each one individually.
The Automatic Document Feeder (ADF): Speed for Multi-Page Documents
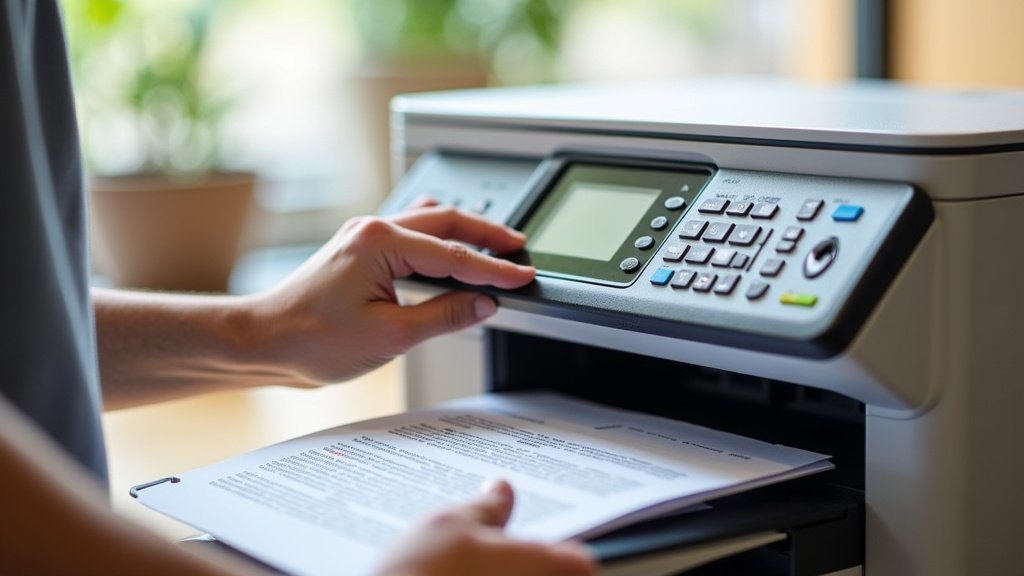
The ADF is a tray usually located on the top of your printer. You stack multiple pages in it, and the printer pulls them through one by one. This feature is a real time-saver when you have many pages to scan. Imagine needing to digitize a multi-page contract or a stack of invoices. The ADF handles it with ease.
However, the ADF isn’t for everything. We noticed that very thin, wrinkled, or stapled documents can jam or get damaged in an ADF. Always make sure your pages are neat and free of staples or paperclips before using it. You don’t want to accidentally damage your important papers.
Preparing Your Documents for Scanning
Proper preparation is key to a successful scan. A little care upfront can save you frustration later. What kind of documents are you scanning today?
- Remove Staples and Paperclips: This is especially important for ADF scanning to prevent jams or damage.
- Straighten Pages: Flat, uncreased pages produce cleaner scans.
- Clean the Glass: For flatbed scans, a quick wipe with a soft cloth removes dust or fingerprints. Smudges can show up on your scan!
- Orient Pages Correctly: For ADF, load pages face up or face down according to your printer’s guide. For flatbed, usually face down.
- Consider Document Type: Are you scanning text, photos, or a mix? This might influence your software settings.
Connecting Your Printer to Your Computer or Device
To scan, your printer needs to communicate with your computer, tablet, or smartphone. Most modern printers offer a few ways to achieve this connection. Which method works best for your setup?
Wired Connection: USB for Direct Control
The most straightforward connection is often a USB cable. You simply plug one end into your printer and the other into your computer. This creates a direct link, making it very reliable. We found that a USB connection often provides the fastest and most stable data transfer for scanning. It’s a great choice if your printer and computer are close to each other.
Wireless Connection: Wi-Fi for Flexibility
Many inkjet printers offer Wi-Fi connectivity. This allows your printer and computer to communicate over your home or office network without cables. This is incredibly convenient if your printer isn’t right next to your computer. You can place your printer in a convenient spot and still access its scanning functions from anywhere on your network.
Setting up Wi-Fi usually involves a one-time process on your printer’s control panel. We suggest having your Wi-Fi network name (SSID) and password handy. Once connected, your computer should be able to detect the printer for scanning.
Mobile App Scanning: Convenience on the Go
Did you know many printer manufacturers offer dedicated mobile apps? These apps allow you to initiate scans directly from your smartphone or tablet. The scanned document can then be saved directly to your device, cloud storage, or even emailed. This is super handy if you’re working away from your computer but still need to digitize a document quickly.
Scanning Documents Using Your Computer’s Software
Once your printer is connected, the scanning process typically happens through software on your computer. You have a few options here, ranging from your printer’s custom software to built-in operating system tools.
Printer Manufacturer’s Software: Full-Featured Scanning
When you installed your printer, you likely installed software provided by the manufacturer (e.g., HP Smart, Epson Scan, Canon IJ Scan Utility). This software is often the best choice for scanning because it’s designed specifically for your printer. It usually offers the most comprehensive set of features and settings.
We found that these programs often let you choose scan resolution, color modes (black and white, grayscale, color), file formats (PDF, JPG, PNG), and where to save your scanned files. Look for an icon on your desktop or in your applications folder. Launching it usually presents you with a simple “Scan” button to start.
Using Built-in Windows Tools
If you’re using a Windows computer, you don’t always need the manufacturer’s software. Windows has its own tools for scanning:
- Windows Scan App: This simple app, available in the Microsoft Store, is quite intuitive. Open it, select your printer, choose your scan type, and hit “Scan.” It’s great for basic needs.
- Fax and Scan: An older but still functional tool found in Windows accessories. It offers a bit more control over settings than the simple Scan app.
Scanning on a Mac with Image Capture or Preview
Mac users also have excellent built-in options. You can use:
- Image Capture: This application is specifically designed for scanning and importing images from devices. Open “Image Capture,” select your printer on the left, and adjust settings like resolution and destination.
- Preview: The versatile Preview app can also initiate scans. Go to “File” > “Import from Scanner” > [Your Printer Name].
Optimizing Your Scan Settings for Best Results
The quality of your digital document often depends on the settings you choose before scanning. What are your specific needs for this document?
| Setting | Description | When to Use |
|---|---|---|
| Resolution (DPI) | Dots Per Inch; determines clarity and file size. | 75-150 DPI: Web, quick reference. 300 DPI: Archiving, print, general documents. 600+ DPI: Photos, detailed images, OCR. |
| Color Mode | How colors are captured. | Black & White: Text-only documents, smallest file size. Grayscale: Text with shaded elements, good for newspapers. Color: Photos, colored documents, largest file size. |
| File Format | How the digital file is saved. | PDF: Multi-page documents, universally compatible, often searchable (OCR). JPEG (JPG): Photos, images, good compression, some quality loss. PNG: High-quality images, retains transparency, larger file size than JPG. |
| Destination | Where the scanned file is saved. | Choose a clear folder on your computer, cloud service, or attach directly to email. |
We found that most people stick to 300 DPI for general documents. This offers a good balance between file size and quality. If you’re scanning old photos for preservation, consider 600 DPI or higher to capture all the detail (PCMag).
Troubleshooting Common Scanning Issues
Even with the best intentions, you might run into a snag. Don’t worry, many scanning problems have simple solutions. Have you tried turning it off and on again?
My Printer Isn’t Recognized
This is a common issue. We suggest you first check your connections. If it’s USB, is the cable firmly plugged in at both ends? For Wi-Fi, is your printer showing as connected to your network? Sometimes, a quick restart of both your printer and computer can solve this. Make sure your printer drivers are up-to-date; outdated drivers can cause communication problems (TechRadar).
Scans are Blurry or Low Quality
Blurry scans can be frustrating. For flatbed scanning, check if the glass is clean. Any smudges or dust will show up on your scan. Also, ensure the document is lying flat against the glass. For ADF, make sure the original document isn’t wrinkled or folded. Incorrect resolution settings can also lead to poor quality; remember to choose at least 300 DPI for good document clarity.
Documents are Cropped or Skewed
If your scans look lopsided or cut off, it often points to improper document placement. On a flatbed, make sure the document is aligned with the guides. With an ADF, ensure the paper guides are snug against the stack of papers. This keeps the pages straight as they feed through the scanner.
Scanned File Size is Too Large
High-resolution color scans can create very large files. If storage space is a concern, consider reducing the DPI (e.g., from 600 to 300), changing the color mode to grayscale or black and white, or saving as a PDF with compression instead of a high-quality JPEG. You can often adjust these settings in your scanning software.
Checklist for a Smooth Scanning Experience
Here’s a quick list to run through for an optimal scanning process:
- Power on and connect your printer.
- Clean scanner glass if using flatbed.
- Remove staples/paperclips from documents.
- Select correct document feeder (flatbed or ADF).
- Open your preferred scanning software.
- Choose appropriate scan settings (DPI, color, format).
- Name your file and select a save location.
Conclusion
Scanning documents with your inkjet printer doesn’t have to be complicated. You now know how to choose between the flatbed and ADF, prepare your documents, and connect your printer. By understanding your settings and troubleshooting common issues, you can confidently digitize your important papers. Take these steps and turn those piles of paper into organized digital files. You’ll be surprised how much smoother your workflow becomes!
Frequently Asked Questions
Can I scan to a cloud service directly from my inkjet printer?
Many modern inkjet printers and their associated mobile apps allow you to scan directly to cloud services like Dropbox, Google Drive, or Evernote. Check your printer’s control panel or manufacturer’s app for these options. It’s a convenient way to store and access your documents from anywhere.
Is it better to use my printer’s software or a built-in OS tool for scanning?
For the most features and control over your scan settings, we recommend using your printer manufacturer’s software. It’s designed specifically for your device. However, built-in operating system tools like Windows Scan or Mac’s Image Capture are excellent for quick, basic scanning needs.
What’s the best file format for scanning multi-page documents?
For multi-page documents, the PDF (Portable Document Format) is generally the best choice. It combines all pages into a single file and is universally viewable. You can also often choose to create a searchable PDF, making it easy to find specific text within your scanned document later.
How do I make my scanned documents searchable?
To make your scanned documents searchable, look for an OCR (Optical Character Recognition) option in your scanning software. OCR analyzes the text in an image and converts it into selectable, searchable text. Not all basic scanning software includes OCR, but many manufacturer apps or dedicated scanning programs do.
My scanned image looks distorted. What could be wrong?
Distortion often happens if the document isn’t lying perfectly flat on the flatbed scanner or if it’s fed crookedly through the ADF. Ensure pages are smooth, guides are snug, and that you close the flatbed lid completely without pressing down too hard. Also, check for dust or smudges on the scanner glass.
