
How to Install Ink Cartridges in a Brother Printer?
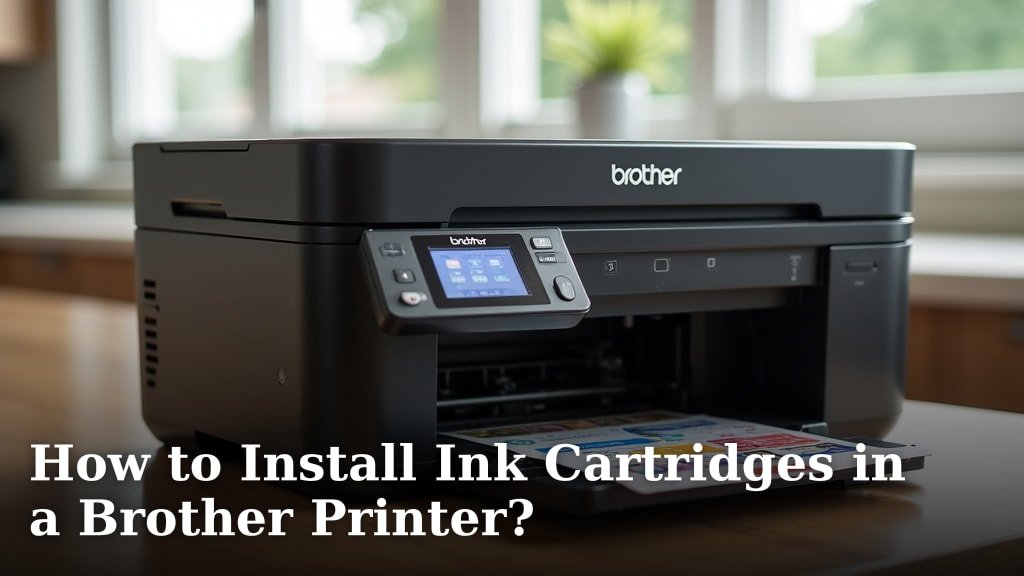
Installing ink cartridges in your Brother printer is a straightforward process that you can typically complete in just a few minutes. You just need to open the ink cartridge cover, remove the old cartridge, and then insert the new one until it clicks into place. Making sure you use the correct cartridge model is key to a successful installation.
When your Brother printer signals that an ink cartridge is low or empty, it’s time for a swap. This task is designed to be user-friendly, so you don’t need to be a tech wizard to handle it. We found that following the on-screen prompts or your printer’s manual ensures a smooth and error-free replacement, preventing common issues like print quality problems or error messages.
- Open the printer’s ink cartridge cover.
- Carefully remove the depleted ink cartridge.
- Gently insert the new cartridge until it locks.
- Close the cover and let the printer initialize.
Ready to get your printer back to full color? Let’s walk through exactly how to install your new Brother ink cartridges, step by step.
Getting Your Brother Printer Ink Replaced: A Quick Guide
Swapping out ink cartridges in your Brother printer doesn’t need to be a chore. We found that most models follow a very similar, simple procedure. You’ll want to get the right ink for your specific printer model to avoid any headaches. Think of it like putting the correct puzzle piece in – it just fits.
Before You Begin: What You’ll Need
Gathering your supplies beforehand makes the whole process much smoother. You don’t want to be halfway through and realize you’re missing something important. It’s like trying to bake a cake without flour!
The New Ink Cartridge
First and foremost, you need the correct replacement ink cartridge. Brother printers use specific cartridge numbers, so double-check your printer manual or the old cartridge itself. Using the wrong one can cause errors or even damage your printer. Many sources, like printer manufacturer websites, offer tools to find the exact ink model for your device.
A Clean Workspace
Find a well-lit area with plenty of space. You don’t want to risk dropping a cartridge or getting ink on your important documents. A clear desk is your friend here. We recommend laying down some old newspaper or a paper towel, just in case of minor spills. It’s a small step that can save you a big cleanup.
Your Printer Manual (Optional but Recommended)
While most Brother printers are quite intuitive, your manual is the ultimate authority for your specific model. It will have diagrams and model-specific instructions that might differ slightly. You can usually find a digital version on the Brother support website if you don’t have the physical copy handy.
The Step-by-Step Process for Changing Your Brother Ink
Now that you’re prepped, let’s get those cartridges swapped. This is where the magic happens, and your printer gets its color back!
Step 1: Accessing the Ink Cartridge Area
Locate the ink cartridge cover on your Brother printer. On most models, this is a panel on the front or top of the device. You might need to gently lift or slide it open. Some printers have a button to press, while others simply lift up. You’ll usually hear a little click when it’s unlocked. For many users, the on-screen display on the printer will also guide you to open this cover.
Opening the Cover
Carefully examine your printer’s top or front for any latches or handles. If you’re unsure, consult your printer’s manual. Once you find the opening mechanism, apply gentle pressure. Avoid forcing it, as this could lead to damage. We’ve found that most covers are designed for easy access.
Step 2: Removing the Old Ink Cartridge
Once the cover is open, you’ll see the ink cartridges. They might be housed in a carriage that moves across the printer. Most Brother printers will automatically move this carriage to the center, making the cartridges accessible. If yours doesn’t, check your manual for instructions on how to position it manually.
Identifying the Empty Cartridge
Your printer usually indicates which cartridge needs replacing, either through an on-screen message or a blinking light. Look for the color corresponding to the empty slot. It might also have a label indicating it’s low or empty.
The Removal Technique
Each cartridge typically has a small lever or tab you need to press or lift. Gently push this lever down or pull it up. While doing this, carefully pull the cartridge straight out of its slot. Don’t yank it; a steady, gentle pull is best. We found that sometimes a slight wiggle can help if it feels stuck. Immediately place the old cartridge into a plastic bag to prevent any ink from smudging your workspace.
Step 3: Inserting the New Ink Cartridge
This is the moment of truth! You’ve got your shiny new cartridge ready to go.
Preparing the New Cartridge
New ink cartridges often come with protective tape or seals. You’ll need to remove these. Most cartridges have a tab you pull to remove a strip of tape covering the ink nozzle. Be careful not to touch the nozzle itself, as oils from your fingers can interfere with print quality. Some cartridges also have a plastic cap that needs to be removed.
Placing the Cartridge Correctly
Find the correct slot for your new cartridge. Each slot is usually shaped to accept only the correct cartridge type. Align the cartridge with the slot, ensuring it’s facing the right direction. Gently slide the cartridge into place. You should feel it seat firmly. Then, push it in until you hear a distinct click. This click signifies that the cartridge is locked in and properly seated. If it doesn’t click, try removing and reinserting it, making sure it’s fully aligned.
Step 4: Finalizing the Installation
You’re almost done! Just a few more steps to get your printer fully operational again.
Closing the Cover
Once all your new cartridges are securely in place and have clicked, gently close the ink cartridge cover. Again, don’t force it. It should close smoothly. The printer will likely detect that the cover has been closed and begin its initialization process.
Printer Initialization and Alignment
After you close the cover, your Brother printer will typically go through a short initialization or charging process. This allows the printer to recognize the new cartridges and prepare them for use. You might see messages on the screen like “Initializing…” or “Please Wait.” Many sources suggest running an alignment or head cleaning cycle at this point. You can usually find these options in the printer’s settings menu on the control panel or through the printer software on your computer. Many sources suggest running an alignment or head cleaning cycle at this point to ensure optimal performance.
Performing a Test Print
The best way to confirm everything is working correctly is to print a test page. You can usually do this through your printer’s settings or directly from your computer. This confirms that the printer is reading the new cartridges and that the ink is flowing properly. If your test print looks good, you’ve successfully installed your new Brother ink cartridges!
Common Issues and Quick Fixes
Occasionally, things don’t go perfectly. Here are a few common hiccups and how to resolve them.
‘Ink Cartridge Not Recognized’ Error
This is a frequent issue. First, double-check that you removed all protective tape and seals. Ensure the cartridge is fully seated and has clicked into place. Sometimes, simply removing and reinserting the cartridge can fix the problem. Many experts recommend powering the printer off, waiting a minute, and then powering it back on after replacing cartridges.
Poor Print Quality
If your prints are streaky, faded, or have the wrong colors, it could be due to an issue with the new cartridge or the print head. We’ve found that running a print head cleaning cycle through the printer’s maintenance menu often resolves this. If the problem persists after cleaning and alignment, it’s possible the cartridge isn’t fully compatible or there’s an internal issue, and you might need to contact Brother support. If your prints are streaky, running a print head cleaning cycle often resolves this.
Ink Leaking
This is rare, but if you notice ink leaking, carefully remove the cartridge. Check for any damage to the cartridge itself or the printer slot. Clean up any spilled ink immediately with a damp cloth. Ensure you replaced the old cartridge with a new one securely. If the new cartridge appears faulty, contact the retailer or Brother support.
Your Ink Cartridge Replacement Checklist
To make sure you haven’t missed a step, run through this quick checklist:
- Verified you have the correct ink cartridge model for your printer.
- Opened the ink cartridge cover without forcing it.
- Removed all protective tape, seals, and caps from the new cartridge.
- Ensured the new cartridge clicked securely into place.
- Closed the ink cartridge cover properly.
- Allowed the printer to complete its initialization process.
Conclusion
You’ve successfully navigated the process of installing your new Brother ink cartridges! We know that swapping out ink might seem daunting, but you’ve seen how it’s a manageable task with a few simple steps. Remember, using the correct cartridge and ensuring it clicks firmly into place are the most critical parts. This ensures your printer continues to deliver those crisp, clear prints you rely on. If you encountered any issues, our troubleshooting tips should have you covered. Now, go ahead and print that document or photo you’ve been waiting for!
Frequently Asked Questions
How do I know which ink cartridge to buy for my Brother printer?
Always check your printer’s model number to find the compatible ink. You can usually find this on the printer itself or in its user manual. Your printer’s display screen might also tell you the specific cartridge code when it’s low.
What should I do if my Brother printer doesn’t recognize the new ink cartridge?
First, re-seat the cartridge to ensure it’s properly clicked in. Remove any protective tape you might have missed and try powering the printer off and on again. Sometimes, a simple restart resolves the “ink not recognized” error.
Is it okay to touch the ink nozzle on a new cartridge?
It’s best to avoid touching the ink nozzle or the electrical contacts. Oils from your skin can interfere with ink flow and electrical conductivity, potentially affecting print quality. Handle cartridges by their plastic edges.
How often should I run a print head cleaning cycle after changing ink?
Most Brother printers will prompt you to run an alignment or cleaning cycle after installation. If your print quality isn’t perfect, running a cleaning cycle once is usually sufficient. Avoid running it too frequently, as it uses ink.
Can I mix different brands of ink cartridges in my Brother printer?
While technically possible, we strongly advise against mixing ink brands. Using only official Brother cartridges or a trusted compatible brand ensures optimal performance and prevents potential issues like color inaccuracies or printer damage.
