
How to Clean a Clogged Print Head?
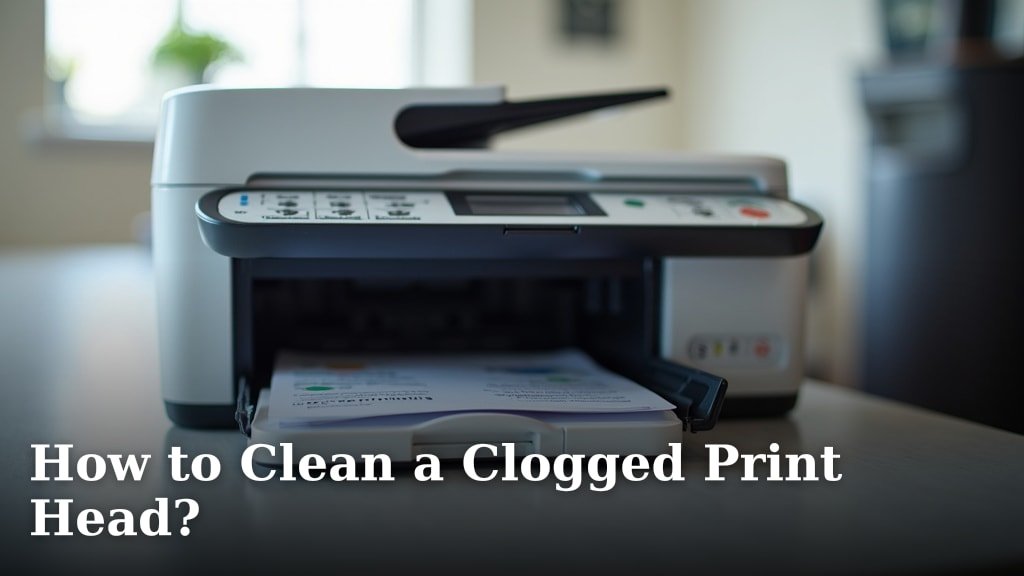
The easiest way to clean a clogged print head is by using your printer’s built-in cleaning cycle. This automatic process often resolves minor clogs and gets your printer back on track quickly. We found that this is often your best first step.
You know that frustration when your prints look streaky or faded? A clogged print head is a common culprit, often due to dried ink. Luckily, there are several straightforward methods you can try at home to fix these issues without needing a technician.
- Use your printer’s cleaning cycle.
- Run a print head alignment.
- Manually clean with a damp cloth.
- Consider a soaking method for stubborn clogs.
Let’s walk through exactly how to clean a clogged print head, step by step, so you can get back to perfect prints.
Solving Your Print Head Clogs: The First Steps
When your printer starts acting up, especially with lines or missing colors, a clogged print head is usually the reason. The good news is that many common clogs are easy to fix right at home. We’ll start with the simplest, most effective methods.
Using Your Printer’s Built-in Cleaning Cycle
This is often your best first attempt. Your printer has a self-cleaning function designed to clear minor blockages. It works by forcing a small amount of ink through the nozzles to dislodge dried ink.
How to Access the Cleaning Cycle
Every printer model is a little different, but the process is generally similar. You’ll typically find this option in your printer’s software on your computer, or directly on the printer’s control panel.
- On your computer: Go to “Devices and Printers” (Windows) or “System Preferences” > “Printers & Scanners” (Mac). Select your printer, then look for “Printing Preferences,” “Properties,” or “Options.” You’ll usually find a “Maintenance,” “Tools,” or “Utilities” tab where the cleaning cycle is located.
- On the printer itself: Many modern printers have LCD screens. Navigate through the menus using the arrow buttons until you find “Setup,” “Maintenance,” or “Tools.” The cleaning function will be listed there.
Once you initiate the cycle, the printer will make some noises as it works. This process can take a few minutes. We found that running this cycle two to three times often yields the best results for stubborn clogs (Epson support documentation).
After running the cycle, print a test page. Does it look better? If not, don’t worry. There are other methods to try.
Running a Print Head Alignment
Sometimes, it’s not just a clog but an alignment issue. When the print heads aren’t perfectly aligned, your prints can look blurry, uneven, or have jagged lines. This is a common issue that a simple alignment can resolve.
- Find the alignment option: Similar to the cleaning cycle, you’ll locate this feature in your printer’s software or on its control panel, often right next to the cleaning utility.
- Follow on-screen instructions: Your printer will usually print a test pattern. You’ll then be prompted to select the pattern that looks the best or input codes corresponding to the clearest lines.
This process ensures your printer’s nozzles are firing ink precisely where they should. It’s a good step to combine with cleaning cycles if you’re experiencing distorted images or text.
Manual Cleaning Methods for Stubborn Clogs
What if the automatic cleaning cycles aren’t cutting it? Sometimes, a more direct approach is needed. These methods involve getting a little more hands-on with your printer’s components.
Cleaning with a Damp, Lint-Free Cloth
This method is for when you can physically access the print head assembly. It’s a gentle way to remove dried ink buildup from the exterior of the nozzles.
Safety First: Power Down and Disconnect
Before doing anything, always turn off your printer and unplug it from the power source. This prevents accidental movement of the print head and protects you from electrical shock. Think of it like cooking: you wouldn’t reach into a hot oven without turning it off first, right?
The Cleaning Process
- Open the printer cover: Lift the access door as if you were going to change the ink cartridges. The print head carriage will usually move to the center.
- Locate the print head: It’s the part that holds the ink cartridges and moves back and forth.
- Prepare your cloth: Lightly dampen a lint-free cloth or cotton swab with distilled water. You can also use a print head cleaning solution, but plain distilled water is often enough. Avoid tap water, as its minerals can cause more clogs.
- Gently wipe: Carefully wipe the underside and edges of the print head, looking for any visible dried ink. Be very gentle; these components are delicate. Do not rub aggressively or touch the electrical contacts.
- Allow to dry: Let everything air dry for a few minutes before closing the cover and plugging the printer back in.
This method is excellent for removing surface-level gunk that the cleaning cycle might miss. We found it particularly effective for printers that haven’t been used in a while.
Consider a Soaking Method for Severe Blockages
For truly stubborn clogs, a gentle soak can work wonders. This method requires a bit more care, but it can revive a seemingly dead print head. This is usually a last resort before considering a replacement part.
When to Use the Soaking Method
Only consider this if the previous methods haven’t worked and you’re confident in disassembling part of your printer. This isn’t for everyone, and it does carry a slight risk of damaging components if not done carefully.
Step-by-Step Soaking
- Remove ink cartridges: Take out all the ink cartridges from the print head carriage.
- Carefully remove the print head: On some printers (like many older Epson models), the entire print head assembly can be detached. Consult your printer’s manual for specific instructions on how to do this safely. This step is critical and varies wildly by model. Some printers have integrated print heads that cannot be easily removed.
- Prepare the soaking solution: Use a shallow dish. Pour a small amount of distilled water into it, just enough to cover the bottom of the print head nozzles by a millimeter or two. You can also use a 50/50 mix of distilled water and isopropyl alcohol for tougher clogs (HP support forums often suggest this for their models).
- Soak gently: Place the print head into the dish, ensuring only the nozzle plate is submerged. Let it soak for 10-30 minutes. The idea is to soften and dissolve the dried ink. For very bad clogs, you might soak it for up to an hour, but keep an eye on it.
- Clean and dry: After soaking, gently blot the print head with a lint-free cloth to remove any loosened ink. Ensure it is completely dry before reinserting it into the printer. This might take several hours.
- Reinstall and test: Put everything back together, run a cleaning cycle, and print a test page. You might need to run a few cleaning cycles after this intense treatment.
This method has a higher success rate for severe clogs but also a higher risk of damage if done improperly. Proceed with caution and only if you’re comfortable with minor printer disassembly.
Preventing Future Print Head Clogs
An ounce of prevention is worth a pound of cure, right? Keeping your print head clean proactively can save you a lot of hassle. We found that simple habits make a big difference.
Your Print Head Maintenance Checklist
Here’s a quick list of things you can do to keep your print head in top shape:
- Print regularly: Even if it’s just a test page once a week, regular use keeps the ink flowing and prevents drying.
- Use genuine ink cartridges: Generic or refilled cartridges can sometimes have ink formulations that dry out faster or contain impurities, increasing clog risk. Many manufacturers, like Canon, strongly advise against third-party inks.
- Store your printer properly: Keep it in a moderate temperature and humidity environment. Extreme conditions can cause ink to dry out.
- Turn off correctly: Always use your printer’s power button to shut it down. This ensures the print head is “parked” in a sealed position, which prevents air exposure and drying.
- Run cleaning cycles periodically: If you haven’t printed in a while, run a quick cleaning cycle before starting a big print job.
By following these tips, you can significantly reduce the chances of encountering a clogged print head again. Your printer will thank you with crisp, clear prints every time!
Troubleshooting Common Clog Issues
Sometimes, what looks like a clog could be something else. Are you sure it’s not an empty cartridge? Have you checked your printer’s ink levels recently? A quick check can save you time and effort.
| Symptom | Possible Cause | Quick Fix |
|---|---|---|
| Faded, streaky prints | Minor print head clog, low ink | Run cleaning cycle, check ink levels |
| Missing colors/lines | Moderate print head clog | Run multiple cleaning cycles, manual wipe |
| Completely blank pages | Severe clog, empty cartridge, incorrect paper sensor | Soaking method, replace cartridge, check paper tray |
| Jagged lines/blurry text | Print head misalignment | Run print head alignment |
This table helps you quickly diagnose what might be going on with your printer. Often, the solution is simpler than you think.
Conclusion
You now have a complete toolkit to tackle a clogged print head. From your printer’s built-in cleaning cycles to more hands-on methods like gentle wiping or even a careful soaking, you can likely restore your print quality. Remember that preventative measures, like printing regularly and using genuine ink, are your best defense.
Don’t let streaky prints ruin your day. By applying these steps, you’ll save money and avoid technician visits. Take action with these tips to keep your printer running smoothly and producing crisp, clear documents every time.
Frequently Asked Questions
How often should I run a print head cleaning cycle?
It depends on your usage. If you print infrequently (less than once a week), running a quick cleaning cycle every two to four weeks can help prevent ink from drying. Otherwise, only run it when you notice print quality issues.
Can I use rubbing alcohol to clean my print head?
You should use rubbing alcohol (isopropyl alcohol) with caution and preferably diluted. Straight rubbing alcohol can be too harsh and may damage delicate components. A 50/50 mix with distilled water is generally safer for stubborn clogs, as mentioned by some manufacturers.
Why is my printer still printing blank pages after cleaning?
If you’re still getting blank pages, double-check your ink cartridges to ensure they aren’t empty or expired. Also, confirm they are seated correctly. A very severe clog might require multiple cleaning cycles or the soaking method described.
Is it better to replace the print head or buy a new printer?
This often comes down to cost and printer age. If your printer is relatively new and a replacement print head is affordable, it’s worth considering. For older, inexpensive printers, a new printer might be more economical, especially if print heads are difficult to find or expensive.
Can a clogged print head damage my printer?
While a clog itself won’t typically “damage” the printer’s mechanics, persistently trying to print through a severe clog can strain the print head motor. More importantly, dried ink can permanently block nozzles if left unattended for too long, making the print head unusable.
