
How to Print Custom Stickers for a Small Shop?
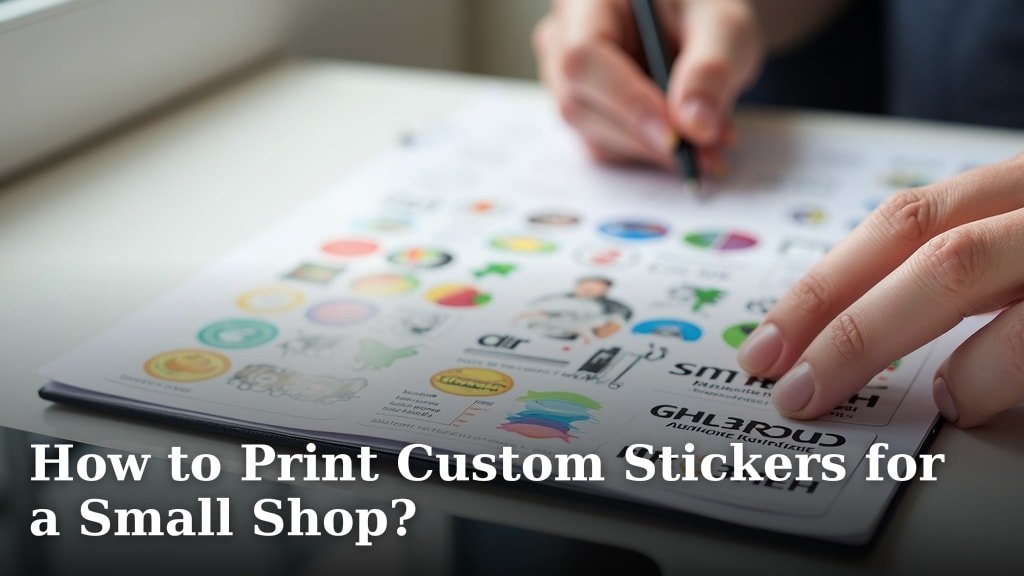
The easiest way to print custom stickers for a small shop is by using an at-home inkjet printer with special sticker paper. You can also send your designs to a professional printing service for a polished look. Both options help your brand stand out.
Creating your own stickers offers a fun, affordable way to boost your shop’s appeal. Whether you want to add them to packaging or sell them as merchandise, custom stickers are a powerful tool. We found that even small businesses can achieve great results.
- Choose between DIY printing or professional services.
- Understand the materials needed for at-home sticker making.
- Learn how to design your stickers effectively.
- Discover tips for getting the best print quality.
Ready to make your shop more memorable? Let’s walk through exactly how to print custom stickers, step by step.
Crafting Custom Stickers for Your Small Business
Making your own custom stickers is a fantastic way to personalize your brand. You can choose between DIY methods or hiring a professional. Both routes have their advantages, depending on your budget and desired finish.
DIY Sticker Printing at Home
Printing stickers yourself offers incredible flexibility. You can create small batches, experiment with designs, and adjust on the fly. It’s often the most budget-friendly option for small shops just starting out.
What You’ll Need for DIY Stickers
Getting started with DIY stickers requires just a few key items. You likely already own some of them. Here’s a quick list to get you organized:
- An inkjet printer (most home printers work well).
- Sticker paper (printable vinyl or label sheets).
- Design software (Canva, Adobe Illustrator, or even Google Docs).
- A cutting tool (scissors, craft knife, or a cutting machine like Cricut).
We found that investing in good quality sticker paper makes a huge difference. Cheap paper can smudge or tear easily.
Choosing the Right Sticker Paper
The type of sticker paper you pick impacts the final look and durability. There are several options, each with unique benefits. Think about where your stickers will be used.
- Matte sticker paper: Non-shiny, good for a natural, classic look. It’s easy to write on.
- Glossy sticker paper: Has a shiny finish, making colors pop. It’s more resistant to smudges.
- Clear sticker paper: Great for a “no-label” look, allowing the surface underneath to show through.
- Waterproof vinyl sticker paper: Best for outdoor use or items that might get wet, like water bottles. This is super durable.
For most small shops, waterproof vinyl is a great all-around choice. It holds up well and looks professional.
Designing Your Shop’s Stickers
Your sticker design is your brand’s little ambassador. It should be eye-catching and clearly represent your shop. Don’t rush this step!
Key Design Principles
Even if you’re not a graphic designer, you can create effective stickers. Keep these principles in mind:
- Keep it simple: Overly complex designs can look messy when shrunk down.
- Use clear fonts: Text should be readable at a glance.
- High-resolution images: Pixelated designs look unprofessional. Aim for 300 DPI.
- Brand consistency: Use your shop’s colors and logo. This helps customers recognize you.
Many free tools like Canva offer sticker templates. We found these templates are a great starting point if you’re not sure where to begin.
Software for Sticker Design
You don’t need expensive software to design great stickers. Here are some popular choices:
- Canva: User-friendly, lots of templates, great for beginners.
- Adobe Illustrator/Photoshop: Professional tools for detailed designs. There’s a learning curve.
- Procreate: Excellent for hand-drawn designs if you have an iPad and Apple Pencil.
- GIMP/Inkscape: Free, open-source alternatives to Adobe products. They offer many advanced features.
Choose the tool that feels most comfortable for you. The best software is the one you actually use!
The Printing Process: DIY Step-by-Step
Once your design is ready, it’s time to print! This is where your vision comes to life. Make sure your printer is ready.
- Load sticker paper: Ensure it’s facing the correct way for your printer.
- Check printer settings: Select “best quality” or “photo paper” for vibrant results. Match the paper type setting to your sticker paper for optimal ink distribution.
- Print a test sheet: Use regular paper first to check sizing and alignment. This saves expensive sticker paper.
- Print your stickers: Let them dry completely before handling to avoid smudges.
Remember, patience is key. Rushing can lead to wasted materials.
Cutting Your Custom Stickers
After printing, you need to cut out your stickers. This step can be done manually or with a machine. Your choice depends on your volume and desired precision.
Manual Cutting Options
For small batches, manual cutting is perfectly fine. You just need a steady hand.
- Scissors: Best for simple shapes.
- Craft knife and cutting mat: Great for straight lines and more intricate designs. Safety first here!
We found that a sharp craft knife gives much cleaner edges than scissors for detailed work. Always cut on a self-healing mat.
Using a Cutting Machine
If you plan to make many stickers, a cutting machine is a game-changer. These machines cut designs precisely and quickly.
- Cricut or Silhouette: Popular choices for small businesses. They connect to your computer.
- Software integration: You’ll send your designs from your computer to the machine.
- “Print then cut” feature: These machines often have sensors that read registration marks, allowing them to cut exactly around your printed designs.
A cutting machine saves a lot of time and gives your stickers a professional, consistent look. It’s an investment, but often worth it for efficiency.
When to Consider Professional Sticker Printing
While DIY is great, sometimes professional printing is the better choice. It offers unmatched quality and durability.
Benefits of Professional Printing
Professional printers have equipment and materials that home setups just can’t match. You often get:
- Superior print quality: Sharper details, more vibrant colors.
- Durable materials: Industrial-grade vinyl, stronger adhesives, and UV protection.
- Special finishes: Options like holographic, metallic, or matte lamination.
- Bulk discounts: Cheaper per sticker for larger orders.
If you need hundreds or thousands of identical stickers, professional services are usually more cost-effective and less time-consuming in the long run.
Finding a Reliable Printer
Choosing a good printing partner is important. Look for companies with good reviews and clear pricing. Ask for samples if you can.
- Check their customer service responses.
- Compare pricing for your desired quantity and finish.
- Look at their available materials and custom options.
Many online printers specialize in stickers. We found that checking customer reviews on independent sites gives a good sense of reliability.
DIY vs. Professional: A Quick Comparison
Still on the fence? Here’s a quick overview to help you decide what’s best for your shop right now.
| Feature | DIY Printing (At Home) | Professional Printing |
|---|---|---|
| Cost per Sticker | Higher for small batches, lower for very few. | Lower for large quantities, higher for small custom runs. |
| Quality | Good, but depends on printer/paper. | Excellent, high durability and finish. |
| Speed/Turnaround | Immediate, as fast as you can print. | Days to weeks, depending on service. |
| Minimum Quantity | As few as one. | Usually a minimum order (e.g., 50-100). |
| Material Options | Limited to what you can buy locally. | Wide range of specialty materials and finishes. |
| Effort/Time | Requires your time for printing and cutting. | Less effort from you, just design submission. |
Consider your current needs and future growth. Your choice might change over time!
Final Checklist for Sticker Success
Before you hit print, let’s make sure you’ve covered all your bases. This little checklist helps ensure your stickers turn out great.
- Is your design high resolution (300 DPI)?
- Are your colors vibrant and true to your brand?
- Have you done a test print on regular paper?
- Is your sticker paper loaded correctly in the printer?
- Do you have a plan for precise cutting?
- Have you proofread all text for typos?
Taking these extra steps can prevent common sticker printing headaches. Go make some amazing stickers!
Conclusion
You now have a solid understanding of how to create custom stickers for your small shop. Whether you choose the flexibility of DIY or the polished look of professional printing, each method offers unique advantages. We found that the right approach depends on your budget, time, and desired final quality. Remember, even a small sticker can make a big impact on your brand’s presence and customer experience.
So, take these steps, experiment with designs, and start bringing your unique vision to life. Your custom stickers are waiting to become little ambassadors for your shop.
Frequently Asked Questions
How long do homemade stickers last compared to professionally printed ones?
Homemade stickers generally last less time than professional ones, especially if not made with waterproof vinyl. Professional stickers use more durable materials and inks, often with UV protection, which helps them withstand fading and wear for years. Your DIY stickers might last a few months to a year, depending on use and material.
Can I print custom stickers without a special cutting machine?
Absolutely, you can print custom stickers without a cutting machine. For simple shapes like circles or squares, regular scissors work well. For more intricate designs or straight lines, a craft knife and a self-healing mat will give you cleaner, more precise results. It just takes a little more time and a steady hand.
What is the most affordable way to get custom stickers for my small business?
For very small quantities or if you’re just starting, printing stickers at home is usually the most affordable option. You only need to buy sticker paper and use your existing printer. However, for larger batches (hundreds or thousands), professional printing services often offer significant bulk discounts, making them more cost-effective per sticker.
Do I need special ink for printing stickers at home?
No, you generally don’t need special ink for printing stickers at home. Most standard inkjet printers use pigment or dye-based inks that work well with printable sticker paper. The key is to use high-quality sticker paper designed for inkjet printers to ensure your designs look vibrant and don’t smudge.
How can I make my homemade stickers waterproof?
To make your homemade stickers more waterproof, start by printing on waterproof vinyl sticker paper. After printing, you can also apply a clear laminate sheet over the top of your printed stickers. This adds an extra protective layer against moisture, scratches, and UV light, significantly increasing their durability. Our guide on whether inkjet printers print on vinyl offers more details on compatible materials and settings.
