
How to Print on Printable Vinyl?
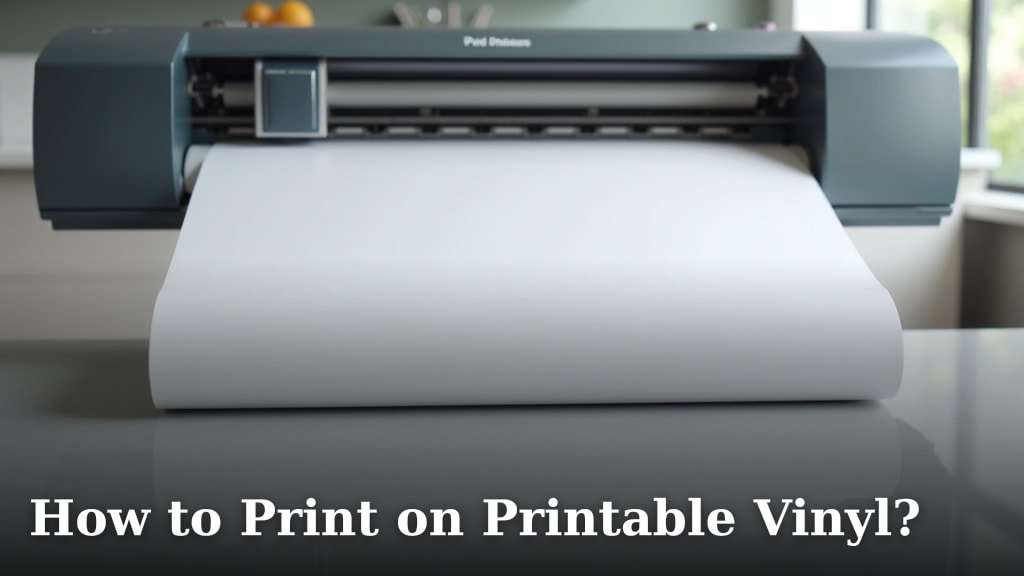
To print on printable vinyl, you need an inkjet printer, printable vinyl sheets, and your chosen design software. The easiest way is to load the vinyl into your printer like regular paper and then print your image.
This process lets you create custom decals, stickers, and labels right from your home or office. We found that choosing the right vinyl type for your project, like matte or glossy, makes a big difference in the final look and durability.
TL;DR:
- Use an inkjet printer.
- Load printable vinyl like paper.
- Design your image using software.
- Print directly onto the vinyl.
- Peel and stick your new creation!
Ready to get started? Let’s walk through exactly how to print on printable vinyl, step by step, ensuring you get perfect results every time.
Getting Ready to Print on Your Vinyl
Before you hit that print button, a little preparation goes a long way. Think of it like baking a cake; you gather your ingredients first. Here’s what you’ll need to make your printable vinyl projects shine.
Your Essential Toolkit for Printing
You don’t need fancy equipment, just the right basics. We found that having these items on hand makes the whole process smooth and stress-free.
Choosing the Right Printer
Do you have an inkjet printer or a laser printer? This is very important. Printable vinyl is specifically made for inkjet printers. Laser printers use heat, and that heat can melt or distort the vinyl. It can even damage your printer (HP Support). So, stick to inkjet!
- Inkjet printers use liquid ink sprayed onto the surface. This works perfectly with the special coating on printable vinyl. Most home printers are inkjet.
- Laser printers use toner powder and heat to fuse the image. This heat is a big no-no for vinyl.
Selecting Your Printable Vinyl
This is where your vision comes to life! Printable vinyl isn’t one-size-fits-all. There are different types, each with its own look and purpose. We found that considering your end-use helps you pick the best one.
- Matte Vinyl: Has a non-glossy, subtle finish. Great for a classic, understated look. Often good for labels.
- Glossy Vinyl: Offers a shiny, vibrant finish that makes colors pop. Ideal for striking stickers and decals.
- Clear Vinyl: Transparent, allowing the surface underneath to show through. Perfect for window decals or giving a “no-label” look.
- Waterproof Vinyl: Essential if your creations will face moisture, like on water bottles or outdoor signs. This vinyl has an extra protective layer.
Always check the product description to make sure it’s compatible with your inkjet printer and suitable for your project.
Design Software and Image Prep
Your design needs to be perfect before printing. This step ensures your image looks crisp and clear on your vinyl. Don’t worry, you don’t need to be a graphic design expert!
- Design Software: You can use free programs like Canva or GIMP. More advanced users might choose Adobe Photoshop or Illustrator. Even simple word processing software can work for basic shapes and text.
- Image Resolution: Make sure your image has a high resolution. Low-resolution images will look pixelated or blurry when printed. Aim for at least 300 DPI (dots per inch) for best results.
- Color Profile: Most home printers use the RGB color profile. When creating your design, ensure your software is set to RGB for accurate color representation.
- Testing Your Design: Before printing on vinyl, we always recommend doing a test print on regular paper. This checks for size, color accuracy, and overall layout. It saves you valuable vinyl sheets!
The Step-by-Step Printing Process
Now that you have everything ready, let’s walk through the actual printing. It’s surprisingly similar to printing on regular paper, but with a few important adjustments.
Loading Your Printable Vinyl Correctly
This is often where people make their first mistake. Loading vinyl incorrectly can cause jams or prints on the wrong side. Take your time here.
- Identify the Printable Side: Printable vinyl usually has two sides: one is sticky (the backing) and the other is the printable surface. The printable side often feels slightly slicker or has a matte/glossy finish, while the backing feels like paper. If you’re not sure, try scratching a tiny corner with your fingernail; the printable side will show a faint mark.
- Flat Loading: Most printers prefer a flat, single sheet. Avoid bending or rolling the vinyl.
- Tray Orientation: How you load it depends on your printer. Does your printer feed from the front, top, or back?
For most front-loading trays, you’ll place the vinyl face down. For top or rear trays, you usually place it face up. Always consult your printer’s manual if you’re unsure. A quick test with a piece of paper marked “THIS SIDE UP” can confirm.
- One Sheet at a Time: To prevent jams, load only one sheet of printable vinyl into the paper tray at a time. This ensures smooth feeding and perfect alignment.
Adjusting Printer Settings for Best Results
This is a critical step for getting vibrant, detailed prints. Your printer’s default settings are usually for plain paper, not specialty media like vinyl.
| Setting | Recommendation | Why it Matters |
|---|---|---|
| Paper Type | Select “Photo Paper Glossy” or “Photo Paper Matte” (depending on your vinyl type), or “Specialty Paper.” | Tells the printer what kind of surface it’s printing on, adjusting ink saturation and drying time. |
| Print Quality | Choose “Best,” “High,” or “Photo Quality.” Avoid “Draft” or “Normal.” | Uses more ink and prints slower, resulting in sharper images and richer colors. |
| Paper Size | Match this to your vinyl sheet size (e.g., “Letter 8.5×11 inches”). | Ensures your design prints within the correct boundaries and doesn’t get cut off. |
| Borderless Printing | Enable this if your design goes to the very edge of the vinyl, otherwise, disable it. | Prevents white margins around your print for edge-to-edge designs. |
We found that ignoring these settings often leads to faded prints or smudging. It’s a small step that makes a huge difference.
The Final Print and Drying
Once your settings are dialed in, it’s time for the moment of truth! Click “Print” from your design software.
- Observe the Print: Watch as your printer slowly brings your design to life. If you notice any immediate issues, you can stop the print.
- Handle with Care: Once printed, the ink will be wet. Do not touch the printed surface immediately. We learned this the hard way, leaving many an accidental fingerprint.
- Allow for Drying Time: This is arguably one of the most overlooked steps. Even if the surface looks dry, the ink needs time to fully cure and adhere.
Many experts say to let your vinyl dry for at least 15-30 minutes, but some recommend up to 24 hours for waterproof vinyl or highly saturated designs to prevent smudging and ensure durability (Epson Support).
- Protect Your Print: You might consider applying a clear sealant spray or a clear laminate over your dried vinyl for extra protection, especially if it will be exposed to water, UV, or heavy handling. This is an optional but recommended step for long-lasting results.
Troubleshooting Common Printing Problems
Even with careful preparation, sometimes things don’t go perfectly. Don’t get discouraged! Most issues are easy to fix.
Checklist for Common Issues
Here’s a quick list to run through if you encounter a problem:
- Is your printer an inkjet? (Laser won’t work!)
- Did you load the vinyl with the printable side facing the correct way?
- Are printer settings (paper type, quality) adjusted for vinyl?
- Is your image resolution high enough?
- Are your printer’s ink cartridges full and not clogged?
- Did you allow enough drying time?
Solving Specific Problems
Let’s tackle some specific hiccups you might encounter.
Smudged Prints
If your prints are smudging, it’s usually an ink drying issue. We understand how frustrating this can be!
- More Drying Time: Allow ample time for the ink to dry, as mentioned above. Try drying for several hours or overnight.
- Less Ink: In your printer settings, try a “Photo Paper” setting that might use slightly less ink, or choose a “Standard” photo quality instead of “Best.” Sometimes “Best” uses too much ink for the vinyl to absorb quickly.
- Protective Spray: After drying, apply a clear acrylic sealant spray to protect the ink.
Faded or Dull Colors
Your beautiful design looks dull on the vinyl. What gives?
- Printer Settings: Double-check that your “Print Quality” is set to “High” or “Best” and “Paper Type” is set to “Photo Paper Glossy/Matte.”
- Ink Levels: Ensure your ink cartridges aren’t low. Low ink can lead to faded prints.
- Image Color Profile: Confirm your design software is using the RGB color profile.
- Vinyl Type: Some matte vinyls naturally produce slightly less vibrant colors than glossy types.
Paper Jams or Misalignment
When the printer grabs the vinyl incorrectly, it can be a pain.
- Load One Sheet: Always load only one sheet of vinyl at a time. This is a game-changer for smooth feeding.
- Proper Loading: Ensure the vinyl is straight in the tray and not bent. The paper guides in the tray should lightly hold the vinyl in place without being too tight.
- Clean Rollers: Over time, printer rollers can get dirty. Gently clean them according to your printer’s manual.
Conclusion
You now have all the tools and knowledge to successfully print your own custom vinyl creations at home. By selecting the right inkjet printer, choosing suitable vinyl, and adjusting your settings carefully, you can achieve professional-looking results. Don’t forget that crucial drying time!
Each step, from design to final print, contributes to a perfect finish. We encourage you to experiment with different vinyl types and designs. Your next step is clear: pick a project, gather your materials, and start bringing your unique ideas to life on printable vinyl today!
Frequently Asked Questions
Can you really use waterproof printable vinyl for outdoor projects?
Yes, absolutely! Waterproof printable vinyl is designed with an extra protective layer. This helps your designs withstand exposure to moisture, making them perfect for outdoor signage, car decals, or items like water bottles that get wet regularly.
Do I need special ink for printing on vinyl?
No, you don’t need special ink. Your standard inkjet printer ink is perfectly suitable for printing on printable vinyl. The vinyl sheets themselves have a special coating that allows them to absorb and hold the ink effectively.
Why are my colors sometimes different on the vinyl than on my screen?
Color variations can happen due to differences in monitor calibration and printer ink profiles. Always ensure your design software is set to the RGB color profile. Additionally, doing a test print on regular paper can help you catch and adjust for color discrepancies before using your vinyl.
Can I print on both sides of printable vinyl?
No, printable vinyl is typically designed with only one printable side. The other side is usually the backing paper that protects the adhesive. Always make sure you’re loading the vinyl correctly to print on the intended surface.
How do I prevent my custom vinyl stickers from peeling at the edges?
To prevent peeling, ensure the surface you’re applying the sticker to is clean, dry, and smooth. For extra durability or items that see a lot of handling, consider applying a clear sealant spray or a clear laminate over your dried vinyl print.
