What Temperature Is Best for Sublimation Printing?
On this page (6 sections)
The best temperature for sublimation printing typically falls between 380°F and 400°F (195°C to 205°C). This range allows the sublimation ink to properly turn into a gas and bond with your blank item, creating a vibrant, lasting print. Getting this temperature right is essential for professional results.
You’ll find that different materials might prefer specific points within this range. For instance, a ceramic mug might need a slightly different temperature than a polyester t-shirt for optimal ink transfer. We’ve found that paying close attention to your blank’s material is key for preventing issues like faded colors or scorched items.
- Optimal temperature range: 380-400°F.
- Temperature varies by material.
- Correct heat prevents faded prints.
- Too much heat can scorch items.
- Testing is often needed for best results.
Ready to master your heat press? Let’s walk through how to achieve the perfect temperature for all your sublimation projects, ensuring beautiful results every time you print. To learn more about the entire process from design to pressing, our guide on how to Master Home Sublimation Printing can help.
Achieving the Ideal Temperature for Sublimation Printing
The sweet spot for sublimation printing temperature is usually between 380°F and 400°F (195°C to 205°C). This range is where your sublimation inks transform into a gas, ready to bond permanently with your blank. Think of it like baking: too cool, and it won’t set; too hot, and it might burn. Precision matters here for beautiful, long-lasting results.
You’ll notice that different materials have different needs. A ceramic mug, for example, is denser and might require a slightly different approach than a thin polyester shirt. Understanding these differences helps you fine-tune your process and get the best color vibrancy every time.
Understanding Sublimation Temperature Basics
Sublimation relies on a unique chemical process. When heated to the correct temperature, solid ink turns directly into a gas, bypassing the liquid state. This gas then penetrates the special coating or fibers of your blank item. As it cools, the gas turns back into a solid, permanently embedded within the material. This is why sublimation prints don’t crack or peel – they’re part of the item itself.
If the temperature is too low, the ink won’t fully gasify. You’ll end up with a pale, faded, or incomplete transfer. It’s like trying to boil water with lukewarm heat; nothing really happens. Conversely, too much heat can damage your blank, cause colors to bleed, or even scorch the material. Finding that perfect balance is key.
The Role of Your Heat Press in Temperature Control
Your heat press is the heart of your sublimation setup. A good quality heat press offers consistent and accurate temperature control. We’ve found that cheaper presses can have “cold spots” or fluctuating temperatures, which directly impacts print quality. Investing in a reliable press can save you a lot of frustration and wasted blanks.
Always calibrate your heat press if you suspect it’s not heating evenly. You can use an infrared thermometer for a quick check, or heat strips for a more precise reading across the platen. This ensures that the temperature you set is the temperature your blank actually experiences. Consistency is your friend in sublimation.
Temperature Guidelines for Common Sublimation Blanks
While the 380-400°F range is a general rule, we find that specific materials perform best at particular temperatures within that window. Think of it as a recipe – some ingredients need a little more heat than others to cook perfectly. Knowing these nuances can significantly improve your results.
Always check the manufacturer’s recommendations for your specific blanks. They often provide the most accurate starting points. If you don’t have those, the following guidelines are excellent places to begin your testing. Remember, these are starting points, not rigid laws. Your unique setup might vary.
Sublimation Temperatures for Fabric Items
Polyester fabrics are the stars of sublimation. For apparel like t-shirts, you’re generally looking at temperatures around 385-400°F. The time, however, can vary depending on the fabric’s thickness and blend. Heavier fabrics often need a bit longer to absorb the heat fully.
- Polyester T-Shirts (100%): 385-400°F for 35-45 seconds. Use a medium pressure.
- Polyester/Cotton Blends (50% or more poly): 385-395°F for 40-50 seconds. Be aware that the cotton won’t sublimate, so colors will appear vintage or faded on those fibers.
- Mouse Pads & Coasters: Often 390-400°F for 45-60 seconds. These are usually thicker, requiring more time.
- Flags & Banners: Similar to t-shirts, 385-400°F for 40-50 seconds, depending on material thickness.
When working with fabrics, always use a blowout paper (parchment or butcher paper) both above and below your item. This prevents ink bleed-through onto your press or subsequent items. It’s a small step that saves a lot of cleanup.
Sublimation Temperatures for Hard Goods
Hard goods, like mugs, keychains, and phone cases, typically require higher temperatures and longer pressing times than fabrics. This is because they are denser and take more time to reach and maintain the necessary temperature for sublimation. Patience is a virtue here.
| Material | Temperature Range | Time Range | Pressure |
|---|---|---|---|
| Ceramic Mugs | 380-400°F | 180-240 seconds | Medium-Firm |
| Metal Panels/Signs | 390-400°F | 60-90 seconds | Medium |
| FRP (Fiber Reinforced Plastic) | 375-385°F | 45-75 seconds | Medium |
| Glass Items | 380-400°F | 180-240 seconds | Medium |
| Wood Blanks | 380-400°F | 60-90 seconds | Medium |
For hard goods, cooling is also important. Some items, like mugs, benefit from cooling quickly after pressing, while others might prefer to cool naturally. We’ve found that rapid cooling can sometimes make colors pop more intensely, but always check the manufacturer’s advice first. Don’t skip the cool-down phase.
Factors That Influence Your Sublimation Temperature
It’s not just about setting the number on your heat press and walking away. Several elements can subtly, or not-so-subtly, affect the actual temperature experienced by your blank. Think of it like cooking a steak – the pan temperature matters, but so does the thickness of the steak, whether it’s frozen, and how hot your kitchen is. Everything plays a role.
The Impact of Time and Pressure Settings
Temperature, time, and pressure work together in a delicate dance. If your temperature is a little lower than ideal, you might compensate with a longer press time. This gives the ink more opportunity to gasify and bind. However, too long at a lower temperature can still result in dull prints. It’s a balancing act.
Pressure is equally important. Medium pressure is generally recommended for most sublimation projects. Too little pressure, and the ink might not fully transfer or colors could look patchy. Too much pressure can squeeze the ink out, distort your design, or even damage your blank. We find that a firm but not crushing pressure usually works best.
Environmental Conditions and Their Effect
Yes, even the weather can play a part! A cold workshop will cause your heat press to work harder to maintain its temperature. It might even lead to a slight temperature drop when you open the press to load your blank. Humidity can also be a factor, especially with certain types of paper. Keep your workspace consistent.
Consider the ambient temperature of your room. If it’s very cold, your blank will absorb more heat from your press before reaching sublimation temperature, potentially requiring a slightly longer dwell time. It’s a minor adjustment, but one that can make a difference for optimal results (National Institutes of Health).
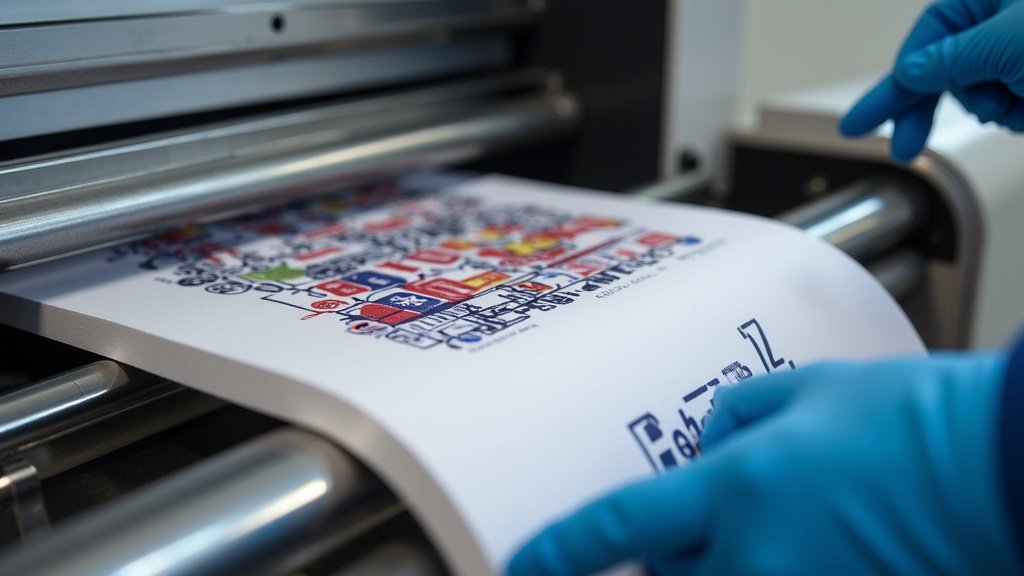
Testing Your Temperature Settings for Perfect Results
The best way to nail down your ideal sublimation temperature is through testing. Think of it as a scientist in your own lab, gathering data to get repeatable, perfect prints. Every heat press is a little different, and every batch of blanks might have slight variations. Trial and error is your friend.
Start with the manufacturer’s recommended settings or our guidelines. Then, perform small test presses on scrap material or the least critical part of your blank. Adjust temperature, time, or pressure in small increments until you achieve the desired vibrancy and clarity. Document everything you do!
Your Sublimation Temperature Checklist
Before you press your final product, run through this quick checklist. It helps catch common issues before they happen and ensures your temperature settings are optimized for success. We’ve seen many people skip these steps only to regret it later. Prevention is better than fixing mistakes.
- Is your heat press fully warmed up and stable at your set temperature?
- Have you verified the temperature with a thermometer if you have doubts?
- Are you using the correct temperature, time, and pressure for this specific blank?
- Is your blank clean, dry, and free of lint or debris?
- Do you have protective paper (blowout paper) in place above and below?
- Are you prepared to cool the item properly after pressing?
By systematically checking these points, you create a consistent process that leads to predictable and professional results. It’s like following a recipe step-by-step; you’re more likely to get a delicious outcome. Happy pressing!
Conclusion
Mastering sublimation temperatures is a journey of precision and patience. You’ve learned that the 380-400°F range is your starting line, but your specific blanks dictate the exact sweet spot. Remember that time, pressure, and even your workshop’s environment all play a role in how your final product turns out.
Don’t be afraid to test and refine your settings. Keep detailed notes on what works best for each material. By doing so, you’ll consistently achieve those vibrant, professional results you’re aiming for. Now, go confidently create some stunning sublimation projects!
Frequently Asked Questions
Why are my sublimation colors coming out faded?
Faded colors usually mean your temperature is too low or your pressing time is too short. The ink didn’t fully gasify and transfer into the blank. Try increasing the temperature slightly or extending the press time by 5-10 seconds to see if that improves vibrancy.
Can I sublimate on cotton fabric?
Pure cotton fabric cannot be sublimated directly because it lacks the necessary polyester fibers. The ink won’t bond permanently, leading to washes-out designs. You can use cotton/polyester blends (at least 50% poly) for a vintage look, or use special sublimation coatings or transfer sheets designed for cotton.
What happens if the sublimation temperature is too high?
Too much heat can cause several issues. Your colors might bleed, appearing blurry or washed out. The blank itself could scorch or yellow, especially lighter materials. It can also cause your transfer paper to stick to the blank, making it difficult to remove cleanly.
Do different sublimation inks require different temperatures?
While the general temperature range for sublimation printing remains consistent, some ink manufacturers might have slight variations in their recommended settings. Always check the specific guidelines for your brand of sublimation ink. However, the blank material is usually the bigger factor.
How important is pressure in addition to temperature?
Pressure is extremely important. It ensures even contact between your transfer paper, ink, and the blank. Too little pressure can result in patchy or incomplete transfers, while too much pressure can distort the image or squeeze ink out, leading to ghosting. Medium, even pressure is typically ideal.