
How to Align the Print Head on an Inkjet Printer?
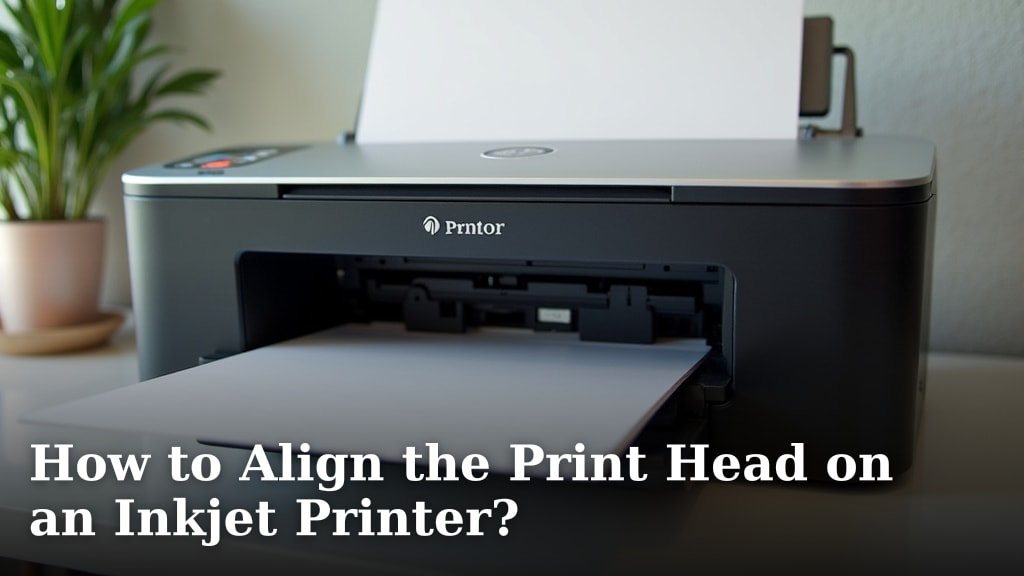
To align the print head on an inkjet printer, you typically use your printer’s utility software or control panel. This process helps fix blurry prints and streaky lines by ensuring your printer’s nozzles are spraying ink precisely. It’s a quick fix for common print quality issues.
You know that frustrating moment when your important document looks less than perfect? A misaligned print head is often the culprit behind those annoying streaks or faded colors. Performing a print head alignment is like giving your printer a quick calibration, bringing it back to optimal performance.
TL;DR:
- Aligning the print head fixes blurry or streaky prints.
- Use your printer’s software or control panel.
- It recalibrates the ink nozzles for precision.
- This maintenance step improves print quality.
Ready to get those crisp, clear documents back? Let’s walk through the steps to align your inkjet printer’s print head and make those printing problems disappear.
Getting Your Inkjet Printer’s Print Head in Line
Aligning the print head helps your printer spray ink precisely onto the page, fixing common issues like blurry text or streaky images. It’s a quick maintenance step that brings back sharp, clear prints.
When to Consider a Print Head Alignment
Ever pull a document from your printer only to see lines where there shouldn’t be lines, or colors that just don’t look right? These are often the tell-tale signs that your print head needs a little adjustment. Don’t worry, it’s not usually a sign of a big problem, just some routine maintenance.
-
Streaky or Banded Prints: If your printouts have light or dark lines running across them, it’s a classic symptom.
-
Blurry or Faded Text/Images: When words aren’t crisp or pictures lack their usual pop, a misaligned head might be the cause.
-
Incorrect Colors: Are your reds looking a bit orange, or blues a bit purple? Color shifts can indicate a need for alignment.
-
New Ink Cartridges: Sometimes, after replacing cartridges, your printer might need a fresh alignment to recognize the new setup.
-
Infrequent Use: Printers that sit idle for a while can sometimes benefit from an alignment before heavy use.
Think of it like tuning a guitar. Even if it sounds okay, a quick tune-up makes it sound perfect. Your printer is similar!
What You’ll Need for the Alignment Process
Good news! You probably already have everything required. This isn’t a complex procedure that needs special tools. Most of what you need is built right into your printer or computer.
-
Your Inkjet Printer: Of course! Make sure it’s turned on and connected.
-
Computer or Smart Device: Most alignments are done through software. If you’re using your printer’s control panel, you might not even need a computer.
-
Plain White Paper: Have a few sheets ready. The printer will print a test pattern.
-
Adequate Ink Levels: This is important! You don’t want to start an alignment only to run out of ink halfway through. Check your levels beforehand.
That’s it! No fancy wrenches or screwdrivers. Just you, your printer, and some paper.
Ready, Set, Align: Step-by-Step Instructions
The process of aligning your print head is usually quite straightforward, whether you’re using your computer or the printer’s own controls. We’ll cover both main ways.
Aligning via Your Printer’s Utility Software
This is the most common method, especially for newer printers. The software guides you through each step, making it fairly user-friendly.
Accessing Printer Preferences
First, you need to find your printer’s settings. It’s usually a few clicks away.
-
For Windows: Go to “Start” > “Settings” > “Bluetooth & devices” > “Printers & scanners.” Find your printer in the list, click on it, and then select “Printing preferences” or “Printer properties.”
-
For Mac: Go to “System Settings” (or “System Preferences”) > “Printers & Scanners.” Select your printer, and then look for “Options & Supplies” or a similar button that opens printer utility software.
Once you’re in the printer’s preferences window, you’re looking for a tab or section usually labeled “Maintenance,” “Services,” “Utilities,” or “Tools.”
Running the Alignment Tool
Inside the maintenance section, you’ll find an option for “Print Head Alignment,” “Align Print Head,” or something similar. Click on it. Your printer will then typically:
-
Print a Test Pattern: It will produce a page with various lines, grids, or patterns. Don’t throw this away!
-
Provide On-Screen Instructions: The software will then prompt you to examine the printed pattern. You’ll usually need to select which line or box looks the straightest or most complete. This tells the printer how to adjust its nozzles precisely.
-
Complete the Alignment: Once you make your selections, the printer makes the internal adjustments. Sometimes it might print another pattern to confirm.
It’s like an eye exam for your printer, but you’re doing the looking!
Aligning Using Your Printer’s Control Panel
Many printers, especially those with screens, allow you to perform alignment directly. This is handy if your printer isn’t connected to a computer, or if you prefer a direct approach.
Navigating the Printer Menu
Look for a “Setup,” “Tools,” “Maintenance,” or “Settings” menu on your printer’s display. Use the arrow keys or touchscreen to navigate through the options.
Initiating the Alignment
Once you find the “Print Head Alignment” option (or similar), select it. The printer will often:
-
Print a Pattern: Just like with the software method, it will print a test page. Some printers will automatically analyze this page once it’s printed. Others might ask you to re-insert the page into a specific feeder for scanning.
-
Give Feedback: The printer’s screen will confirm if the alignment was successful or if it needs to be run again.
Always refer to your printer’s manual if you’re unsure about the exact menu options. Every model can be a little different, just like different car models have slightly different dashboard layouts.
Here’s a quick comparison of the two methods:
| Feature | Software Alignment | Control Panel Alignment |
|---|---|---|
| Accessiblity | Requires computer/device connection | Directly on printer |
| User Guidance | Often more detailed on-screen steps | Relies on printer screen prompts |
| Visuals | May show visual aids for pattern selection | Typically text-based prompts |
| Convenience | Good for regular users | Good for quick fixes, no computer needed |
Troubleshooting and Best Practices
Sometimes, alignment isn’t a one-and-done deal. Or, you might run into a snag. Here’s what else to keep in mind to keep those prints looking their best.
If the Alignment Doesn’t Fix the Issue
You’ve aligned, but the prints still look off. What now? Don’t despair! Alignment is just one tool in your printer maintenance kit.
-
Clean the Print Head: Often found right next to the alignment option in your printer’s utility software or control panel. Clogged nozzles can cause streaking and poor quality, even if the head is aligned. This is a common solution (HP Support).
-
Check Ink Cartridges: Make sure they are properly seated and not empty or nearly empty. Sometimes a cartridge just isn’t making good contact.
-
Use Quality Paper: Believe it or not, the type of paper can affect print quality. Using paper that’s too thin or has an improper coating can lead to ink bleeding or uneven absorption.
-
Perform a Nozzle Check: This test print will show you if all the tiny nozzles are firing correctly. It can pinpoint specific color issues.
If you’ve tried these steps and still have problems, it might be time to look into more specific printer diagnostics or consider professional help. But usually, these initial steps solve most common issues.
A Quick Checklist for Perfect Prints
Want to minimize future print quality headaches? Here’s a simple checklist to keep your inkjet humming along happily:
-
Run a print head alignment when print quality drops.
-
Clean your print heads regularly, especially if you don’t print often.
-
Use genuine ink cartridges when possible (they’re designed for your printer).
-
Store your printer in a stable environment, avoiding extreme temperatures.
-
Keep your printer drivers updated for optimal performance.
Conclusion
You’ve now got the know-how to tackle those blurry prints and streaky lines head-on. Aligning your inkjet printer’s print head is a simple yet powerful maintenance step that restores print quality, making your documents look sharp again. Whether you use your computer’s software or your printer’s control panel, the process is designed to be straightforward.
Don’t let subpar prints frustrate you. By regularly performing this quick adjustment, and remembering to clean your print heads when needed, you can enjoy crisp, professional-looking results every time. Give your printer the little tune-up it needs – you’ll be glad you did!
Frequently Asked Questions
How often should I align my printer’s print head?
You generally don’t need to align your print head on a strict schedule. It’s best to perform an alignment when you notice a drop in print quality, such as streaky lines or blurry text. Some users also choose to do it after replacing ink cartridges or if the printer has been idle for a long time.
Can a print head alignment fix all print quality issues?
While print head alignment fixes many common issues like blurriness and streaking due to nozzle misalignment, it’s not a universal fix. If problems persist, you might need to clean the print head to clear clogged nozzles, check your ink levels, or ensure you’re using appropriate paper. It’s one tool in your printer maintenance kit.
Does print head alignment use a lot of ink?
A print head alignment uses a small amount of ink to print test patterns. It’s generally not a significant consumption, but it does use some ink. Ensure you have sufficient ink levels before starting the process to avoid interruptions and ensure the alignment can complete successfully.
What if my printer doesn’t have an alignment option?
Almost all inkjet printers have a print head alignment function, either through their utility software on a computer or directly from the printer’s control panel. If you can’t find it, check your printer’s user manual. The feature might be under a different name, such as “Calibration” or “Maintenance.”
Is print head alignment the same as print head cleaning?
No, print head alignment and print head cleaning are two different maintenance tasks. Alignment adjusts the physical position of the print head nozzles for precise ink placement. Cleaning, on the other hand, flushes out dried ink or debris from the nozzles to prevent clogs and ensure smooth ink flow. Both are important for good print quality.
