
How to Clean the Print Head on a Epson Printer?
The easiest way to clean the print head on your Epson printer is by using the built-in cleaning utility. This feature is designed to **flush out clogged ink nozzles**, which are often the cause of faded prints or missing colors. You’ll want to run this utility **a couple of times** if you’re seeing stubborn lines or streaks. It’s a straightforward process that can save you from more involved manual cleaning.
When your Epson prints start looking a bit sad, like they’ve seen better days, a dirty print head is often the culprit. This can lead to **streaky lines** or **colors not appearing correctly**. Fortunately, Epson printers have a helpful maintenance routine that can fix these common printing issues. Keeping your print head clean ensures your printer continues to deliver **sharp and vibrant output**.
- Run the built-in cleaning utility first.
- Repeat the cleaning process if needed.
- Check your print quality after cleaning.
- Consider manual cleaning if utility fails.
Let’s walk through exactly how to get your Epson printer’s print head sparkling clean, step by step.
Keeping Your Epson Print Head in Top Shape
When your Epson printer starts showing its age with faded colors or annoying streaks, a dirty print head is usually the culprit. We’ve all been there, staring at a document that looks like it was printed through a dusty window. The good news? You don’t always need a technician to fix this. Your Epson printer has built-in tools designed to clear those stubborn clogs.
This process is much like giving your printer a gentle internal shower. It uses ink to flush out any dried-up bits that are blocking the tiny nozzles. Think of it as a spa day for your printer’s most important part. We’ll guide you through using your printer’s own software to do this. This is often the first and easiest step to getting those vibrant prints back.
Using Your Epson’s Built-In Cleaning Utility
Most Epson printers come with a handy maintenance feature right in their software. This utility is specifically designed to clean the print head. It’s your go-to solution for common printing problems like streaks or missing colors. You can usually access this tool from your computer or sometimes directly from the printer’s control panel.
Cleaning Through Your Computer
Let’s start with the most common method: using your computer. This is straightforward and works for most Epson models. You’ll be navigating through your printer’s properties or settings.
First, you’ll need to access your printer’s settings. On Windows, you’ll typically go to ‘Control Panel,’ then ‘Devices and Printers.’ Find your Epson printer, right-click on it, and select ‘Printing preferences’ or ‘Printer properties.’ Look for a ‘Maintenance,’ ‘Utility,’ or ‘Services’ tab. This is where the magic happens.
Once you’ve found the maintenance section, you should see an option labeled ‘Head Cleaning,’ ‘Nozzle Check,’ or something similar. Before you run the cleaning, it’s a good idea to run a ‘Nozzle Check.’ This prints a pattern that shows you exactly which nozzles are blocked. It’s like a diagnostic report for your printer’s ink flow. We found this step is incredibly helpful to see if cleaning actually did anything.
After the nozzle check, if you see gaps or missing lines in the pattern, proceed with the ‘Head Cleaning.’ You’ll likely need to click ‘Start’ or ‘Clean.’ The printer will then perform its cleaning cycle. This can take a few minutes, so be patient. You might hear some whirring and clicking noises – that’s just the printer working its magic.
Running the Cleaning Utility Multiple Times
Sometimes, one cleaning cycle isn’t enough. Stubborn clogs might require a repeat performance. If your nozzle check still shows issues after the first cleaning, don’t panic. It’s perfectly normal to run the head cleaning utility two or three times in a row. We found that persistence pays off here.
After each cleaning cycle, remember to run the ‘Nozzle Check’ again. This helps you track your progress. If the nozzle check pattern starts looking better with fewer gaps, you’re on the right track. However, if you’ve run the cleaning utility three times and the nozzle check still isn’t perfect, it might be time to consider other options. It’s a good practice to let the printer rest for a bit between cleanings, too. Give it about 15-30 minutes. This allows the ink to settle.
Checking Print Quality After Cleaning
Once you’ve completed the cleaning cycles, the final step is to verify the results. Print a test page or the document you were trying to print. Compare it to the quality you were getting before. Are the colors brighter? Are those annoying streaks gone?
If your prints look good, congratulations! You’ve successfully cleaned your Epson print head. If the problem persists, it might indicate a more significant issue, but don’t despair yet. We still have more tricks up our sleeve.
Cleaning Directly from the Printer’s Control Panel
Some Epson printers allow you to initiate the print head cleaning directly from the printer itself, without needing your computer. This can be a lifesaver if your computer isn’t readily available or if you prefer a more direct approach. Check your printer’s manual or the LCD screen for options.
Navigate through the printer’s menu using the buttons on the control panel. Look for ‘Setup,’ ‘Maintenance,’ or ‘Tools.’ Within that menu, you should find the ‘Head Cleaning’ option. Select it, and follow the on-screen prompts. Similar to the computer method, you might want to perform a nozzle check first if available on the printer’s display.
Just like before, running the cleaning utility multiple times might be necessary. Remember to print a test page after a few cycles to see if the print quality has improved. This method offers a convenient alternative when you’re away from your PC.
When the Built-In Utility Isn’t Enough: Manual Cleaning Steps
If you’ve run the head cleaning utility several times and you’re still seeing poor print quality, it’s time for a more hands-on approach. Manual cleaning can sometimes dislodge clogs that the automatic process misses. We found that this method requires a bit more care but can be very effective.
Important Safety Note: Always unplug your printer before attempting any manual cleaning. You don’t want any unexpected movements or electrical mishaps. Also, be gentle. The print head is a delicate component.
Gathering Your Supplies
Before you begin, make sure you have the right materials. You’ll need:
- Distilled water (tap water can leave mineral deposits)
- Lint-free cloths or swabs (like those used for cleaning electronics or camera lenses)
- A small container or tray
- Gloves (optional, but recommended to keep your hands clean)
Accessing the Print Head
The print head usually resides on a carriage that moves back and forth across the paper width. You’ll need to get this carriage to a position where you can easily access the print head.
First, turn on your printer. Wait for the print carriage to move to its home position. Then, carefully unplug the power cord from the back of the printer. This should leave the carriage unlocked and movable. You might need to gently slide it manually. Some printers have a specific way to release the carriage, so consulting your printer’s manual is a good idea if you’re unsure. We found that if the carriage is stuck, forcing it can cause damage.
Performing the Manual Clean
Once you have access to the print head, you’ll want to gently clean the underside. Dampen a lint-free cloth or swab with distilled water. Don’t soak it; it should be just damp.
Carefully wipe the bottom of the print head, paying attention to the rows of tiny nozzles. You’re trying to lift away any dried ink or debris. You might see ink residue on the cloth or swab – this is normal. Repeat this gentle wiping motion with clean sections of the cloth or new swabs until no more ink comes off. Be careful not to touch the electrical contacts on the print head itself.
Some sources suggest using a small amount of print head cleaning solution instead of just distilled water for tougher clogs. If you choose to do this, ensure the solution is specifically designed for inkjet printers. Again, apply it sparingly to a lint-free cloth or swab, not directly onto the print head. Always follow the manufacturer’s recommendations if you’re unsure.
What If You Can’t Access the Print Head?
If your printer’s design makes it difficult or impossible to manually access the print head, don’t worry. You can often create a makeshift cleaning station. Place a shallow tray lined with paper towels soaked in distilled water (or cleaning solution) under where the print head normally rests. Then, manually move the print head carriage over the wet towels. Let it sit there for several hours, or even overnight. This allows the moisture to help dissolve dried ink. After soaking, move the carriage back and forth a few times to wipe the nozzles clean.
Reassembling and Testing
After manual cleaning, carefully move the print carriage back to its home position. Reconnect the power cord and turn on the printer. The printer might perform an initial cleaning cycle on startup. Once it’s ready, run a nozzle check and then print a test page. You should see a marked improvement in print quality. If it’s still not perfect, you might need to repeat the manual cleaning, or consider that the print head might need replacement.
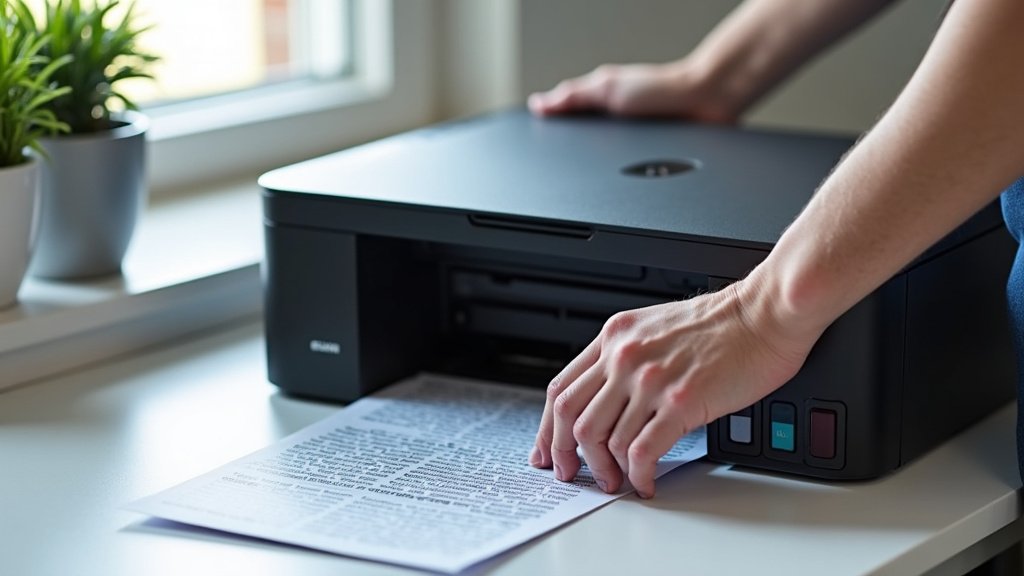
When to Seek Professional Help
While most print head issues can be resolved with the methods above, there are times when professional help is the best option. If you’ve tried everything – multiple utility cleanings, manual cleaning, and even print head cleaning solutions – and your printer still produces subpar results, it might be time to call in the experts.
This could mean that the print head is permanently damaged, or there’s another internal issue. If your printer is still under warranty, contacting Epson support is your best bet. They can guide you through specific troubleshooting steps or arrange for repairs. For printers out of warranty, you might consider a reputable local printer repair shop. They have the tools and expertise to diagnose and fix more complex problems. Sometimes, especially with older or less expensive models, the cost of repair might approach the cost of a new printer.
A Quick Checklist for Print Head Maintenance:
- Run the built-in print head cleaning utility.
- Perform a nozzle check before and after cleaning.
- Repeat the cleaning cycle 2-3 times if needed.
- Allow the printer to rest between cleaning attempts.
- If issues persist, try gentle manual cleaning with distilled water.
- Consider professional repair if problems continue.
Conclusion
You’ve learned how to tackle those frustrating print head clogs on your Epson printer! We covered using the built-in cleaning utility, repeating the process for stubborn issues, and even manual cleaning if needed. Remember to always check your nozzle pattern before and after cleaning to see your progress. Keeping your print head clean ensures your printer delivers the crisp, vibrant prints you expect. If you’ve tried these steps and still face issues, don’t hesitate to seek professional support. Now, go print something amazing!
Frequently Asked Questions
How often should I clean my Epson printer’s print head?
You generally only need to clean your Epson printer’s print head when you notice a decline in print quality, like streaks or faded colors. Running the cleaning utility too often can waste ink. Most users find they only need to perform a cleaning once every few months, or as needed.
Can I use rubbing alcohol to clean the print head?
It’s best to avoid rubbing alcohol as it can be too harsh for the delicate print head components. Stick to distilled water for manual cleaning. If you choose to use a cleaning solution, ensure it’s specifically formulated for inkjet printer print heads.
My printer is new, why is the print head clogged already?
Even new printers can experience clogs if they sit unused for a while. Ink can dry in the nozzles during shipping or storage. Running the built-in cleaning utility a couple of times shortly after unboxing and initial setup can help prevent this. Ensure you perform a nozzle check to confirm proper ink flow.
What’s the difference between a nozzle check and a print head cleaning?
A nozzle check prints a pattern to show you which ink nozzles are blocked or not firing correctly. It’s a diagnostic tool. A print head cleaning is the actual process that uses ink to flush out those clogged nozzles. You run a nozzle check to see if cleaning is needed and to verify if the cleaning was successful.
Is it safe to manually move the print carriage?
Yes, it is generally safe to manually move the print carriage once the printer is powered off and unplugged, allowing you to access the print head for cleaning. However, always check your printer’s manual first to ensure you release it correctly, as forcing it can cause damage. Be gentle when manipulating the carriage and print head.
