
How to Fix a Paper Jam in an Inkjet Printer?
To fix a paper jam in an inkjet printer, you should first turn off the printer and unplug it. Then, carefully open all access doors to find the jammed paper and gently pull it out in the direction of the paper path. This often resolves the problem quickly.
Paper jams are a common, yet frustrating, printer issue that can disrupt your workflow. Most times, the paper gets stuck because of misaligned paper, dust, or worn rollers. We found that patience and a gentle touch are key to avoiding further damage to your printer.
- Turn off and unplug the printer.
- Open all access panels.
- Gently remove the jammed paper.
- Check for small pieces of paper.
- Close panels, plug in, and power on.
Ready to get your printer working smoothly again? Let’s walk through the steps to clear that paper jam, and discuss some simple ways to prevent them from happening in the first place.
Clearing a Jammed Inkjet Printer
When your inkjet printer decides to eat your documents, it can feel like a mini-crisis. Don’t worry, most paper jams are simple to fix with a little care and patience. You can usually clear them yourself without needing a repair person.
Understanding Why Jams Happen
Have you ever wondered why your printer suddenly decides to crinkle your important papers? We found that several common culprits often lead to these frustrating paper jams. Knowing the cause can help you prevent future issues.
Common Causes of Paper Jams
Many jams happen for surprisingly simple reasons. Sometimes, it’s just a matter of how you load the paper. Other times, it’s something a bit more mechanical. Let’s look at the usual suspects.
- Misaligned Paper: This is probably the most frequent cause. If the paper isn’t straight in the tray, the printer might grab it at an odd angle, leading to a jam. Always make sure your paper guides are snug.
- Dust and Debris: Over time, tiny paper fibers, dust, and other debris can build up inside your printer. These bits can interfere with the paper’s path or clog sensors.
- Worn Rollers: The rollers are what grab and pull the paper through your printer. If they become worn or dirty, they might not grip the paper effectively, causing it to slip or get stuck.
- Wrong Paper Type: Printers are designed for specific paper weights and types. Using paper that’s too thick, too thin, or too textured can confuse the printer and cause jams.
- Overfilling the Paper Tray: Trying to stuff too much paper into the tray is a recipe for disaster. This can cause multiple sheets to feed at once, leading to a jam.
- Damaged Paper: Any paper with bent corners, tears, or staples (even tiny ones you might miss) can easily snag inside the printer’s mechanisms.
Step-by-Step Guide to Clearing Your Paper Jam
Now, let’s get down to business. Fixing a paper jam is mostly about being methodical and gentle. Rushing can make things worse, potentially damaging the printer or leaving small paper fragments behind.
Initial Safety Precautions
Before you even think about touching the inside of your printer, safety first! Electricity and moving parts don’t mix well with exploring hands. We always recommend these initial steps.
- Turn off the printer: Locate the power button and press it. Wait for any lights to go out or for the printer to fully shut down.
- Unplug the power cord: This is a critical step. Don’t just rely on the power button. Unplug the printer from the wall outlet. This prevents any accidental power surges or moving parts while you’re working.
- Let it cool down (if applicable): While less common with inkjet printers, some components can get warm. If you’ve been printing heavily, give it a minute or two before opening it up.
Locating and Removing the Jammed Paper
Okay, the printer is off and unplugged. Now it’s time to play detective and find that elusive piece of paper. Most inkjet printers have multiple access points.
Opening Access Panels
Your printer has several doors and covers designed for maintenance. Start by opening the main lid where you access the ink cartridges. Then, look for other panels. Many printers have a rear access door or a front panel that folds down. Consult your printer’s manual if you’re unsure where these are located. Many manufacturers provide diagrams (HP Support).
Gentle Extraction Techniques
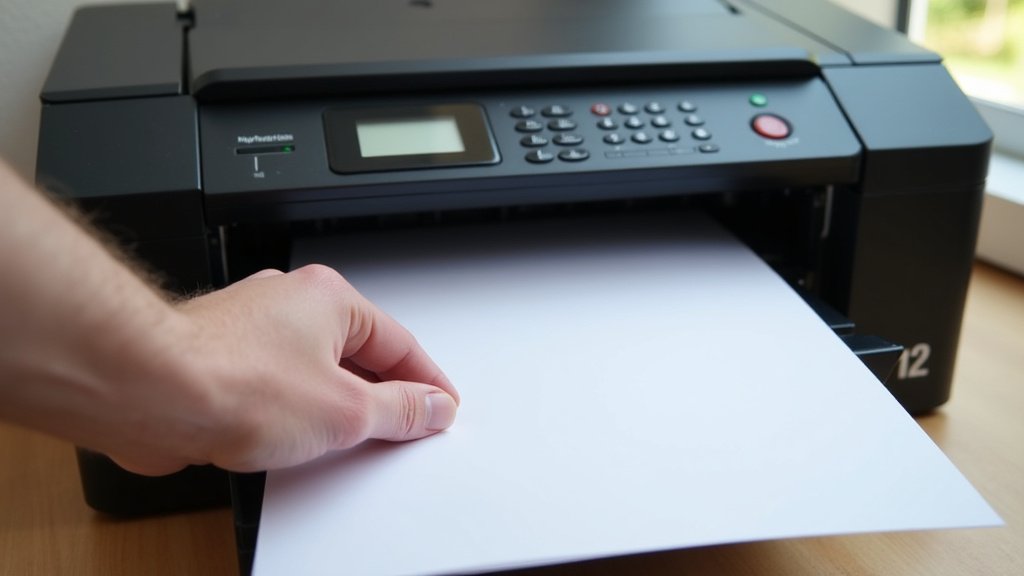
Once you see the paper, the temptation might be to just yank it out. Resist that urge! Pulling too hard or in the wrong direction can tear the paper, leaving small pieces behind, or even damage delicate printer parts. We found that a slow, steady approach works best.
- Pull in the direction of the paper path: Imagine how the paper normally feeds through the printer. Try to pull the jammed paper in that same direction. This minimizes stress on the rollers and sensors.
- Use both hands if possible: If the paper is long enough, try to grasp it with both hands to apply even pressure as you pull.
- Avoid tearing the paper: If the paper feels stuck, don’t force it. Look for another access point or try to gently wiggle it. A torn piece can be harder to remove.
- Check multiple areas: Sometimes, a jam isn’t just in one spot. Check the paper tray, the rollers, the output tray, and any other accessible areas.
The Post-Jam Inspection
You’ve pulled out the main piece of paper. Great job! But your work isn’t quite done. A crucial step is checking for any lingering fragments. These small pieces can cause a new jam or damage your printer down the road.
Searching for Small Fragments
Use a flashlight if needed to peer into all the nooks and crannies. Look for any tiny bits of paper, especially around the rollers and inside the paper path. Even a tiny sliver can cause problems later. We found that many secondary jams are caused by these overlooked fragments. Consider using tweezers for those hard-to-reach bits.
Cleaning Rollers (Optional but Recommended)
While you’re in there, it’s a good time to inspect the rollers. If they look dirty or dusty, a quick clean can help prevent future jams. Many experts suggest using a lint-free cloth lightly dampened with distilled water (Epson Support). Gently wipe down the rollers, turning them as you go. Make sure they are completely dry before closing up the printer.
Preventing Future Paper Jams
An ounce of prevention is worth a pound of cure, right? By adopting a few good habits, you can significantly reduce the chances of encountering another paper jam. Nobody wants that frustration again!
Best Practices for Printer Maintenance
Taking a little time now can save you a lot of headache later. These simple habits can keep your inkjet printer running smoothly for longer.
| Action | Why It Helps | Frequency |
|---|---|---|
| Align Paper Correctly | Prevents skewed feeding and misaligned prints. | Every time you load paper |
| Don’t Overfill Tray | Reduces chances of multiple sheets feeding at once. | Every time you load paper |
| Use Recommended Paper | Ensures compatibility with printer’s mechanisms. | When purchasing paper |
| Inspect Paper Before Loading | Catches bent corners, staples, or tears. | Before loading a new ream |
| Regular Cleaning | Removes dust and debris that can cause friction. | Every few months or as needed |
| Keep Printer Covered | Protects from dust buildup when not in use. | When not actively printing |
Checklist for Jam Prevention
Here’s a quick checklist you can use to ensure you’re doing everything you can to keep your printer jam-free:
- Are paper guides snug against the paper stack?
- Is the paper quantity within the tray’s maximum limit?
- Am I using the correct paper type and weight for my printer?
- Have I fanned the paper before loading to separate sheets?
- Are there any staples or paper clips on the paper I’m loading?
- Is the printer kept in a clean, dust-free environment?
Conclusion
You’ve seen that fixing a paper jam isn’t a battle; it’s a careful dance with your printer. By following these steps—turning off the power, gently removing the paper, and diligently checking for fragments—you can typically get your inkjet back on track quickly. We understand the frustration of a jammed printer, but with a bit of patience and these techniques, you’re well-equipped to handle it.
Remember, prevention is key. Implement the simple maintenance tips we discussed to minimize future jams. Your printer (and your sanity) will thank you for it!
Frequently Asked Questions
What if I can’t find the jammed paper?
Sometimes, the paper can be lodged deep inside. Thoroughly check all access panels, including the back and bottom. Use a flashlight to illuminate dark areas. If you still can’t find it, consult your printer’s manual for diagrams of common jam locations.
Is it okay to use tweezers or tools to remove a jam?
For small, stubborn pieces of paper, clean, non-metallic tweezers can be helpful. Avoid using sharp tools like scissors or knives, as these can easily damage delicate internal components. Always be gentle and pull in the direction of the paper path.
Can a paper jam damage my printer?
Yes, if not handled properly. Forcing paper out or leaving small fragments inside can bend or break internal sensors, rollers, or even the print head. That’s why being gentle and thorough is so important.
Why does my printer keep getting jammed even after I clear it?
Persistent jams often point to underlying issues. Check for tiny paper fragments you might have missed. Worn or dirty rollers are another common culprit. Also, ensure you’re using the correct paper type and not overfilling the tray, as these are frequent causes we found.
When should I call a professional for a paper jam?
If you’ve tried all the steps, including a thorough inspection and cleaning, and the printer still jams or won’t function, it might be time for professional help. This could indicate a more serious mechanical problem that requires expert attention.
