
Why Is My Epson Printer Printing Lines Across the Page?
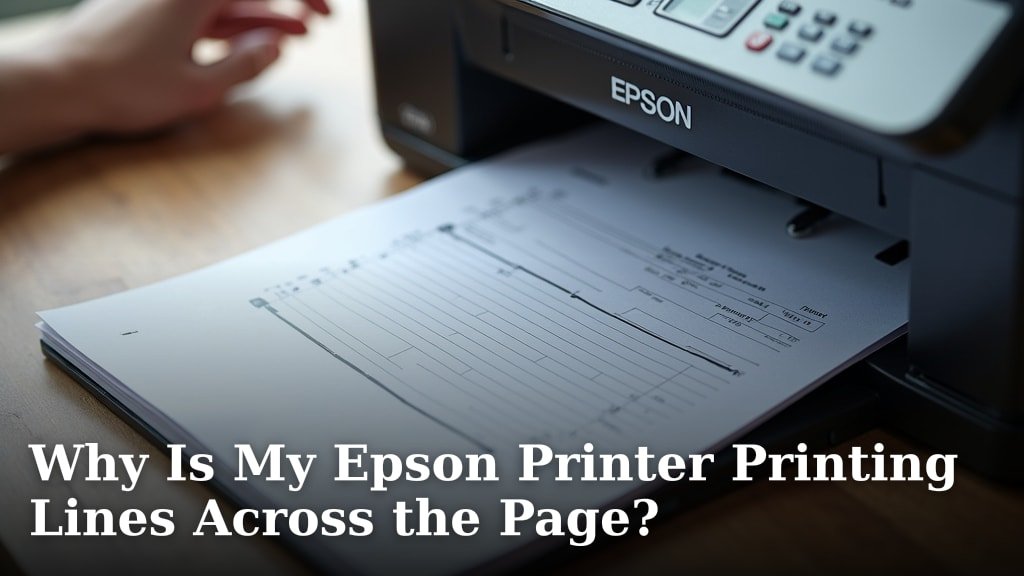
Your Epson printer printing lines across the page usually means there’s a clogged print head or an issue with the ink delivery system. This common printing problem can make your documents look messy and unreadable. Don’t worry, we’ve researched common fixes.
We found that these lines, often called banding or streaking, can appear for several reasons. It’s often related to ink flow, the print head nozzles, or even the quality of the ink you’re using. Understanding the cause is the first step to getting your printer back to producing clean, crisp pages. Many users report success with simple cleaning routines.
- Clogged print heads are the most common culprit.
- Ink levels and quality can also cause banding.
- The printer’s cleaning cycle often solves the issue.
- Sometimes, a print head alignment is needed.
Let’s walk through the most effective ways to fix those annoying lines on your Epson printer, so you can get back to printing without frustration.
Troubleshooting Epson Printer Lines on Your Page
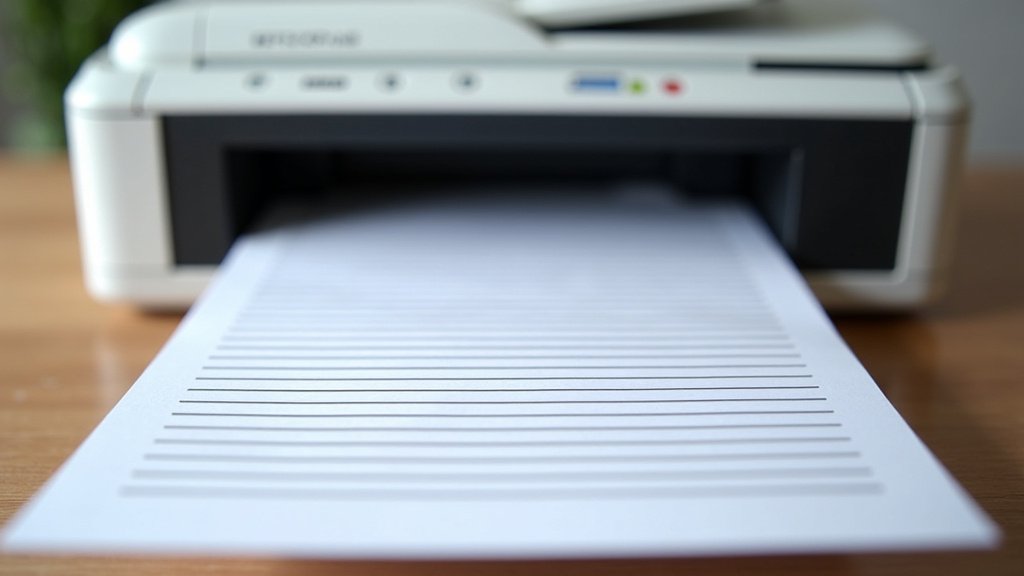
It can be frustrating when your Epson printer starts printing lines across the page. These lines, often called banding or streaking, can make your documents look unprofessional. You might be wondering what’s causing this issue and how to fix it. The good news is that most causes are quite common and have straightforward solutions.
Research into printer problems shows that lines often appear due to minor clogs in the print head or issues with how the ink is flowing. Sometimes, it’s as simple as needing to run a maintenance cycle. We’ve gathered the most effective steps to get your Epson printing clearly again.
Understanding Why Lines Appear on Your Prints
Your Epson printer uses a print head to spray tiny droplets of ink onto the paper. When this process is interrupted or imperfect, you see those unwanted lines. It’s like a painter whose brush is a little dry or uneven – the stroke won’t be smooth. We found that several factors can disrupt this delicate process.
Common Culprits for Banding and Streaking
The most frequent reason for lines on your prints is a clogged print head nozzle. Ink can dry and build up in the tiny holes (nozzles) that spray ink. When a nozzle is blocked, it can’t release ink properly, leading to gaps or faint lines in your print. This is a very common issue, especially if you don’t print very often.
Another possibility is a problem with the ink delivery system. This involves the tubes and cartridges that supply ink to the print head. If there’s an air bubble or a blockage in these parts, the ink flow can become inconsistent. This inconsistency can manifest as lines on the page.
We also found that ink quality and type can play a role. Using non-genuine Epson ink or refilled cartridges can sometimes lead to printing problems. These inks might not have the same viscosity or pigment composition as original Epson inks, affecting how they flow through the print head.
Finally, the physical alignment of the print head can also be a cause. If the print head isn’t perfectly positioned, it might not lay down ink in the precise locations needed. This can result in faint lines or misaligned text and images. Many experts suggest checking alignment if cleaning doesn’t solve the problem.
Step-by-Step Solutions for Epson Printer Lines
Don’t worry, you don’t need to be a tech wizard to fix this. We’ve organized the solutions from the simplest to the more involved. You’ll likely find a fix within these steps.
1. Run the Nozzle Check and Cleaning Cycles
This is almost always the first and most effective step. Your Epson printer has built-in tools for this. You can usually access these through your printer’s control panel or your computer’s printer settings.
Performing a Nozzle Check
A nozzle check prints a pattern that shows if all the ink nozzles are firing correctly. If you see gaps or broken lines in the pattern, it confirms a nozzle issue. This is your visual cue that cleaning is needed.
Executing the Head Cleaning Utility
Once you confirm a nozzle issue with the nozzle check, you’ll run the head cleaning utility. This process forces ink through the print head nozzles to dislodge any dried ink or debris. It’s like a deep clean for your printer’s ink delivery system. You might need to run this utility 2-3 times for it to be fully effective.
Tip: After running the cleaning cycle, always perform another nozzle check to see if the problem is resolved. If the nozzle check pattern looks solid and complete, you’re likely in the clear! If not, you might need to repeat the cleaning process.
2. Check Your Ink Levels and Cartridges
Low ink levels can sometimes cause printing issues, including banding. When a cartridge is running very low, the ink flow might become intermittent. This can lead to those dreaded lines appearing on your prints.
Ensuring Sufficient Ink
Check the ink levels on your printer’s display or through your computer software. If any colors are very low or empty, replace the cartridge. We found that ensuring all cartridges are at a reasonable level can prevent many printing hiccups.
Properly Seated Cartridges
Make sure your ink cartridges are installed correctly. Sometimes, a cartridge might not be seated firmly, preventing proper ink flow. Remove the cartridge and reinsert it, ensuring it clicks into place. This simple check can resolve many connectivity issues, including ink delivery problems.
3. Verify Your Print Head Alignment
If cleaning the print head and checking ink levels didn’t solve the problem, the next step is to check the print head alignment. This ensures the print head is perfectly positioned over the paper to lay down ink accurately.
Running the Print Head Alignment Tool
Your Epson printer likely has a print head alignment utility. You can typically access this through the printer’s maintenance menu on its control panel or via your computer’s printer settings. The utility will print a series of test patterns. You’ll then need to select the pattern that looks the clearest and most aligned. Your printer uses your selection to adjust the print head’s position.
Note: This process is more involved than a simple cleaning. Follow the on-screen instructions carefully. Many users report that a correct print head alignment significantly improves print quality and can eliminate banding issues.
4. Consider the Paper and Print Settings
Believe it or not, the type of paper you’re using and your printer’s settings can also influence print quality and the appearance of lines.
Choosing the Right Paper
Some papers, especially very thin or rough ones, might not absorb ink evenly. This can sometimes lead to banding. If you’re printing on a specialty paper, try printing on plain, good-quality copier paper to see if the issue persists. This helps isolate whether the paper is the culprit.
Adjusting Print Quality Settings
Check your print settings in the software you’re using. Ensure you haven’t accidentally selected a “draft” or “economy” mode, which uses less ink and can sometimes result in lighter lines or banding. Try printing in a standard or high-quality mode to see if the results improve. We found that sometimes, simply changing the print quality setting from “fast” to “normal” can make a big difference.
5. Isolate the Problem: What to Try Next
If you’ve tried the above steps and are still seeing lines, it’s time to do some further detective work.
Test Different Colors and Black
Do the lines appear with all colors, or just one specific color? Or perhaps only when printing black text? If the lines are only present with a specific color, it strongly suggests an issue with that particular ink cartridge or its corresponding print head nozzles. If it’s only black, focus your cleaning efforts there.
Try a Different Document or Application
Sometimes, the problem might not be with your printer at all, but with the document you’re trying to print or the application you’re using. Try printing a simple test page from your printer’s utility, or try printing a different document from another application. If the lines disappear, the issue might be with the original file or software.
When to Consider Professional Help or Replacement
You’ve gone through the standard troubleshooting steps. If you’re still experiencing lines across your pages, it might be time to consider more advanced options or even a new printer.
When to Contact Epson Support
If your printer is still under warranty, and none of the DIY solutions have worked, your best bet is to contact Epson support. They may have additional troubleshooting steps or be able to arrange for repair or replacement. Many users find that professional support can diagnose issues you might miss.
Is It Time for a New Printer?
For older printers, especially if they are not high-end models, the cost of professional repair might exceed the cost of a new printer. If you’ve exhausted all troubleshooting options and the problem persists, it might be time to look for a new, reliable printing companion. We found that for some older models, frequent banding issues are a sign that the print head itself may be failing.
Here’s a quick checklist to help you remember the key steps:
- Run a nozzle check to identify any blockages.
- Perform the head cleaning utility 2-3 times if needed.
- Ensure your ink cartridges are full and seated correctly.
- Check and adjust print head alignment if lines persist.
- Test print quality with different paper and settings.
- If all else fails, contact Epson support or consider a replacement.
Conclusion
Seeing lines on your Epson prints can be a real headache, but you’ve learned that it’s usually a fixable issue. We found that most banding problems stem from simple things like clogged print heads or low ink. By running the nozzle check and cleaning cycles, checking your ink levels, and verifying print head alignment, you’ve got powerful tools at your disposal. Don’t forget to experiment with paper types and print settings. If you’ve tried these steps and the lines persist, it might be time to reach out to Epson support or consider a printer upgrade. You’ve got this!
Frequently Asked Questions
How often should I run the print head cleaning utility?
You should run the head cleaning utility only when you notice lines or poor print quality. It’s best to start with a nozzle check first. Running the cleaning cycle too often can use up a lot of ink.
Can I use third-party ink cartridges with my Epson printer?
While third-party cartridges might seem cheaper, we found they can sometimes cause banding or other printing issues. The ink composition might not be optimized for your Epson print head, leading to inconsistent ink flow.
My Epson printer is printing faint lines, not dark ones. What does this mean?
Faint lines often indicate a partial clog in the print head nozzles or a very low ink level. Running the cleaning utility a couple of times and ensuring all your ink cartridges are sufficiently full should help resolve this.
Is print head alignment difficult to do myself?
No, print head alignment is usually straightforward. Your Epson printer has a built-in utility that guides you through the process. You’ll typically print test patterns and select the best one, which helps your printer recalibrate.
What’s the difference between a nozzle check and a head cleaning?
A nozzle check prints a pattern to *show* you if there are gaps or missing lines, indicating a clog. A head cleaning is the *action* that forces ink through the nozzles to clear out those clogs. You always perform a nozzle check first to diagnose, then a cleaning to fix.
