How to Print Envelopes on an Inkjet Printer?
On this page (7 sections)
Yes, you can absolutely print envelopes on an inkjet printer. If you print envelopes regularly, our guide to a printer duty cycle explains its rated workload. It’s a common task, and with a little preparation, you can achieve professional-looking results right from your home or office. We found that most modern inkjet printers are designed to handle various media types, including different envelope sizes.
You might be wondering if your specific printer can do it, or if there are special settings you need. Good news! We found that printing envelopes is often a straightforward process once you understand your printer’s capabilities and the correct way to load the envelopes. You’ll need to adjust a few settings in your printer software to ensure everything aligns perfectly. If you also print checks, our inkjet check printing guide explains the supplies and setup.
TL;DR:
- Most inkjet printers can print envelopes.
- Check your printer’s manual for specific loading instructions.
- Adjust print settings for envelope size and type.
- Proper alignment is key for good results.
- It’s easier than you might think to get professional-looking envelopes.
Let’s walk through exactly how to print envelopes on an inkjet printer, step by step. We’ll cover everything from loading to software settings, helping you avoid common pitfalls.
Preparing Your Inkjet Printer for Envelope Printing
Before you start printing envelopes, a little preparation goes a long way. Think of it like getting your ingredients ready before you bake. We found that taking a few moments now can save you a lot of frustration later. You want to make sure your printer is ready to handle this slightly different task.
Gathering Your Supplies and Checking Compatibility
First things first, let’s talk about what you’ll need. You’ll obviously need your inkjet printer and your envelopes. But are your envelopes the right kind? We found that not all envelopes are created equal when it comes to printing.
Choosing the Right Envelopes
When selecting envelopes, look for those labeled “printer friendly” or “for inkjet printers.” These often have a smoother finish and are less prone to smudging. Avoid envelopes that are too thick, glossy, or have uneven surfaces. Thick envelopes can sometimes jam your printer, and glossy ones might not absorb the ink properly, leading to smears. You might also want to avoid envelopes with clasps, windows, or excessive embossing, as these can interfere with the print heads or cause paper jams.
The standard business envelope in the US is a No. 10 envelope (4 1/8 x 9 1/2 inches). You’ll likely be printing this size most often. But your printer can probably handle others too!
Consulting Your Printer Manual
This might sound obvious, but we can’t stress this enough: check your printer’s manual. Every printer is a little different, and your manual is the ultimate guide to its specific capabilities and limitations. We found that the manual will tell you:
- Which envelope sizes your printer supports.
- The maximum envelope thickness it can handle.
- The correct way to load envelopes into the paper tray.
- Any special settings or drivers you might need.
If you don’t have the physical manual, don’t worry! Most printer manufacturers offer digital versions on their websites. Just search for your printer model number.
Loading Envelopes into Your Printer
Loading envelopes correctly is probably the most crucial step for successful printing. It’s often where people run into the most trouble. Think of it as correctly placing a picture in a frame – if it’s crooked, the whole thing looks off. We’ve seen many folks struggle with this, but it’s simple once you know how.
Understanding Printer Feed Types
Inkjet printers typically have one of two ways to feed paper: a front-loading tray or a rear-feed slot. Each has its own best practice for envelopes.
Front-Loading Trays (Cassette Tray)
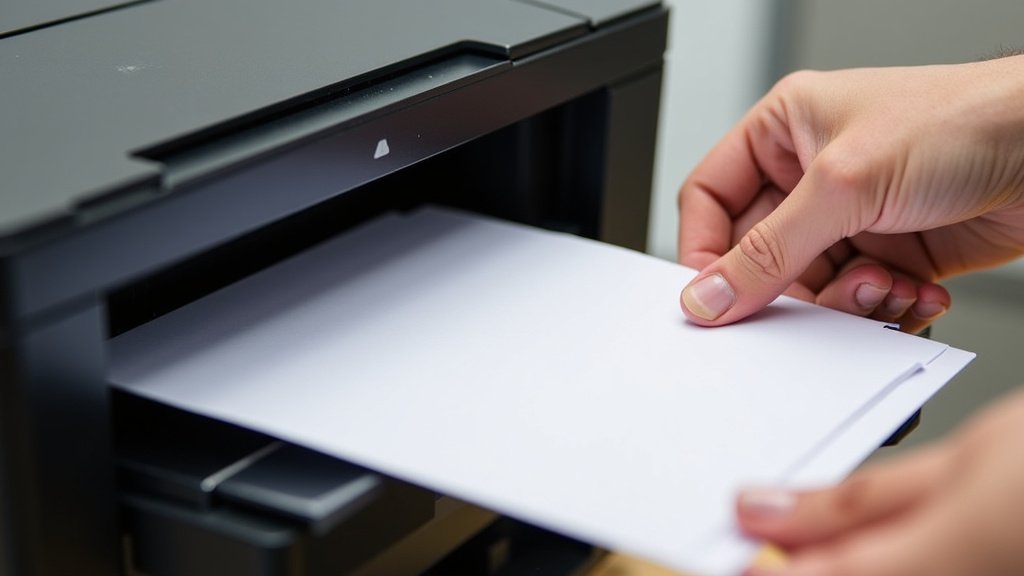
Most common inkjet printers have a front-loading tray where paper lies flat. When loading envelopes into this type of tray, you’ll usually place them face down, with the flap side to the left (or right, depending on your printer). You’ll often need to adjust the paper guides snugly against the edges of the envelopes to keep them from shifting. Always check your manual for the exact orientation, as it can vary. We found that some printers might want them face up.
Rear-Feed Slots (Bypass Tray)
Many inkjet printers, especially those designed for heavier media or special papers, also have a rear-feed slot. This is often the best option for envelopes, as it allows them to travel through the printer with a straighter path, reducing the chance of creasing or jamming. For rear-feed slots, you typically load envelopes face up, with the flap going into the printer first. Again, adjust those paper guides! The straighter the path, the better your results. (National Paper Association)
Tips for Smooth Loading
- Fan the envelopes: Before loading, fan the stack of envelopes to separate them and prevent multiple sheets from feeding at once. This is a common trick for any paper loading!
- Don’t overfill: Only load a few envelopes at a time. Overfilling the tray can lead to jams or misfeeds. Start with just one or two to test.
- Check alignment: Make sure the envelopes are perfectly straight and flush against the paper guides. Any slight angle can cause crooked printing.
Setting Up Your Software for Envelope Printing
Once your envelopes are loaded, the next step is to tell your computer and printer what you’re trying to print on. This involves adjusting settings in your word processor and your printer driver. We found this is where many people get intimidated, but it’s really just a few clicks.
Configuring Document and Printer Settings
You’ll typically prepare your envelope in a word processing program like Microsoft Word or Google Docs. These programs have built-in tools for envelopes.
Using Word Processor Envelope Features
In Microsoft Word, for example, go to the “Mailings” tab and select “Envelopes.” Here, you can enter the delivery address and your return address. You’ll also select the envelope size (e.g., Size 10). This feature helps you format the addresses correctly for the envelope dimensions. Most word processors have something similar. We suggest using these built-in tools instead of trying to manually format a document to envelope size; it saves a lot of hassle!
Adjusting Printer Driver Settings
This is the critical step. After you click “Print” in your word processor, you’ll see a print dialog box. Don’t just hit print yet! Look for “Printer Properties,” “Preferences,” or “Settings.” This will open your printer’s specific driver interface.
Within these settings, you’ll need to:
- Select the correct paper size: Choose “Envelope #10” or whatever size you’re using. This tells your printer exactly how big the paper is.
- Choose the paper type: Select “Envelope,” “Matte Photo Paper,” or a similar option if available. This helps the printer adjust ink dispersion for a non-standard paper surface.
- Set the print quality: For envelopes, “Normal” or “Best” quality is usually fine. Avoid “Draft” quality, as it might look faded.
- Orientation: Make sure the orientation matches how you loaded the envelope (e.g., landscape or portrait).
We found that overlooking these settings is a common reason for misaligned or smudged prints.
Troubleshooting Common Envelope Printing Issues
Even with the best preparation, things can sometimes go wrong. Don’t panic! Most issues with envelope printing are easy to fix. Think of it as a little puzzle to solve. We’ve seen these problems countless times.
Addressing Misalignment and Crooked Printing
If your addresses are printing off-center or at an angle, it’s usually due to how the envelope was loaded or a setting in your software.
- Check envelope loading: Is the envelope snug against the paper guides? Is it loaded in the correct direction according to your printer manual? This is often the culprit!
- Verify software settings: Did you select the correct envelope size in your word processor AND your printer driver? A mismatch here can cause printing to be off.
- Print head alignment: If your printer has an option for print head alignment or calibration, run it. Sometimes, the internal components just need a little adjustment.
Dealing with Smudging and Fading
Smudged ink or faded text is another common issue. This usually points to ink, paper type, or drying time.
- Paper type selection: Did you select “Envelope” or a similar option in your printer driver? This tells the printer to use less ink or adjust its drying time.
- Allow drying time: Inkjet ink needs a moment to dry, especially on slightly less absorbent envelope paper. Avoid touching fresh prints immediately.
- Check your ink: Are your ink cartridges low? Faded prints can sometimes mean an ink cartridge is running out.
- Clean print heads: If your prints are streaky or faded in specific areas, your print heads might be clogged. Most printers have a utility to clean the print heads from the maintenance section of the printer driver. (Epson Support)
Your Envelope Printing Checklist
To make sure you’ve covered all your bases, here’s a quick checklist to run through:
| Step | Check |
|---|---|
| Envelope Choice | Using “printer friendly” envelopes? Avoiding excessive thickness or gloss? |
| Manual Check | Consulted your printer manual for specific loading and size info? |
| Loading Correctly | Envelopes fanned, loaded correctly (face up/down, flap orientation), and guides snug? |
| Software Setup | Used your word processor’s envelope feature to format addresses? |
| Printer Driver | Selected correct envelope size, paper type, and quality settings? |
| Test Print | Did you try printing just one envelope first to test everything? |
Remember, practice makes perfect. Your first envelope might not be flawless, but with these steps, you’ll be printing professional-looking envelopes in no time!
Conclusion
You’ve now got all the tools to successfully print envelopes on your inkjet printer. We’ve walked through choosing the right envelopes, understanding your printer’s feeding mechanisms, and mastering software settings. For a coordinated occasion, see how to print an invitation with matching envelopes. It might seem like a lot of steps, but each one is simple. The key is patience and a willingness to adjust. Your inkjet printer is more versatile than you might think. Now, go ahead and confidently print those professional-looking envelopes for your next mailing!
Frequently Asked Questions
Can I print color images or logos on my envelopes?
Yes, most inkjet printers can handle color images and logos. Just ensure your chosen envelopes are suitable for inkjet printing to prevent smudging. You might need to select a higher print quality setting for the best results.
What if my printer doesn’t have an “envelope” paper type setting?
If you don’t see an explicit “envelope” option, try selecting “Matte Photo Paper” or “Cardstock.” These settings often use a slower print speed and more precise ink application, which works well for the thicker material of an envelope.
My envelopes keep jamming. What should I do?
First, check that you’re not overfilling the tray; load only a few envelopes at a time. Ensure the paper guides are snug against the envelopes. Also, check your printer manual for any specific weight or thickness limits for envelopes. Thicker envelopes are more prone to jamming.
Do I need special ink for printing on envelopes?
No, you typically use your standard inkjet printer ink cartridges. However, some envelopes can be less absorbent than plain paper, which might increase drying time. Using “printer-friendly” envelopes helps with ink absorption.
How can I find my printer’s manual if I lost the physical copy?
You can almost always find a digital version online. Go to your printer manufacturer’s official website, navigate to their support section, and search for your specific printer model number. You’ll usually find a downloadable PDF manual there.